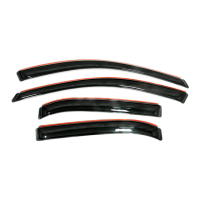
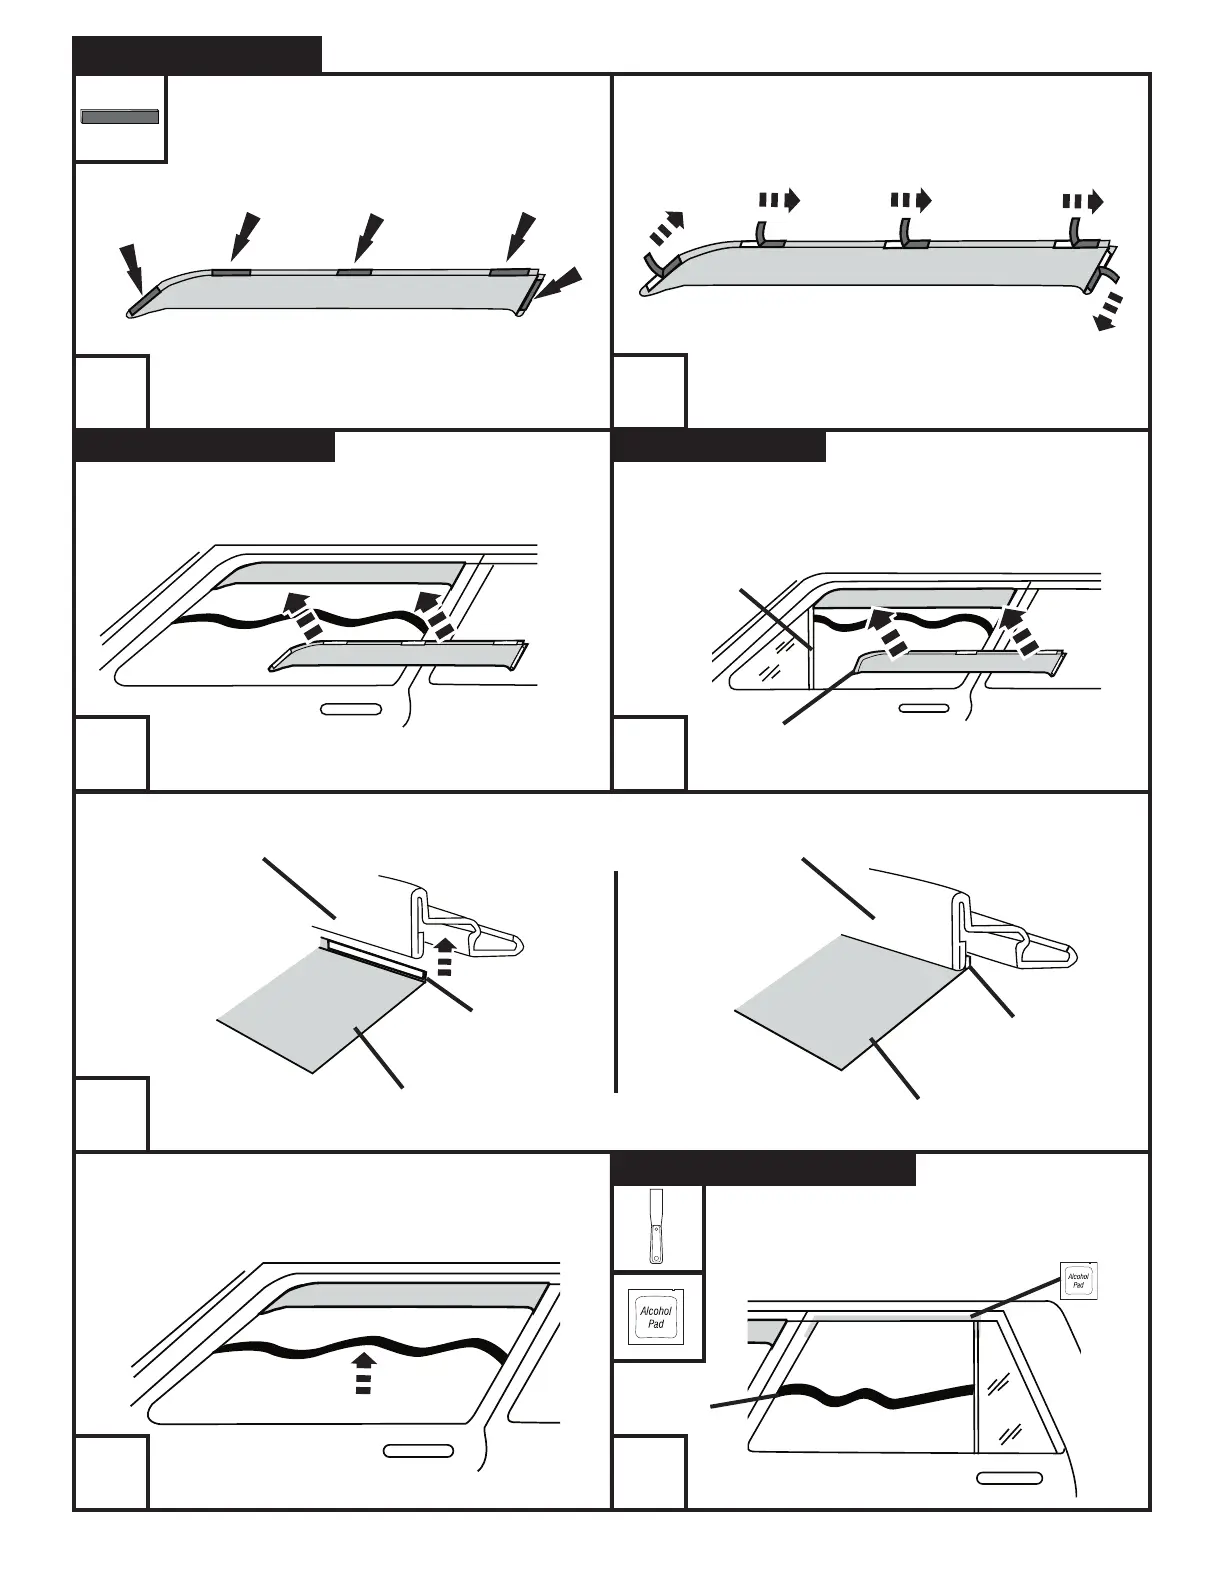
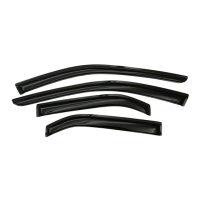
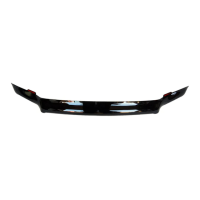
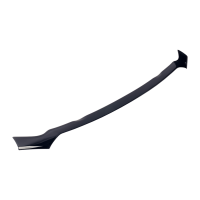
Installation Steps
NOTE: Actual application may vary slightly from illustrations.
2
Page 2 of 3
4
6
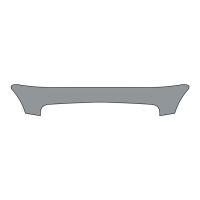
Apply included tape tabs to the deflector edge as
shown.
NOTE: the tape tabs are wider than the flange of the
deflector. Align the tape so that one edge is flush with
the inner edge of the deflector.
With Vent Post
The deflector flanges should be INSIDE the window channel. Pull the deflector firmly outwards so that the tape adheres securely.
Replace rubber window channel and raise window to
fully seat window channel.
Rear door installation
7 8
Locate deflector in upper window frame and place in position
as shown.
Without Vent Post
Carefully peel back the tape liner off of the tape tabs.
3
NOTE: In cars with a vent post put NO tape on the front end of the
part. Insert the end flange between the weatherstrip and the vent
post and push the deflector up into position.
5
no tape
vent post
outside of vehicle
tape tab
deflector
tape tab in position
deflector in position
outside of vehicle
Lower window. Use a putty knife to grasp and pull
down the rubber window channel. Clean the inside of
the window channel with an alcohol pad.
rubber window
channel