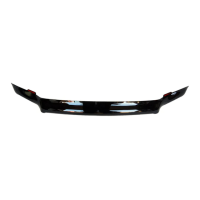
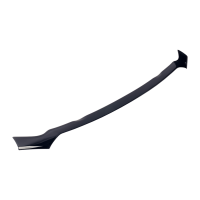
Installation Steps
NOTE: Actual application may vary slightly from illustrations.
9
Page 3 of 3
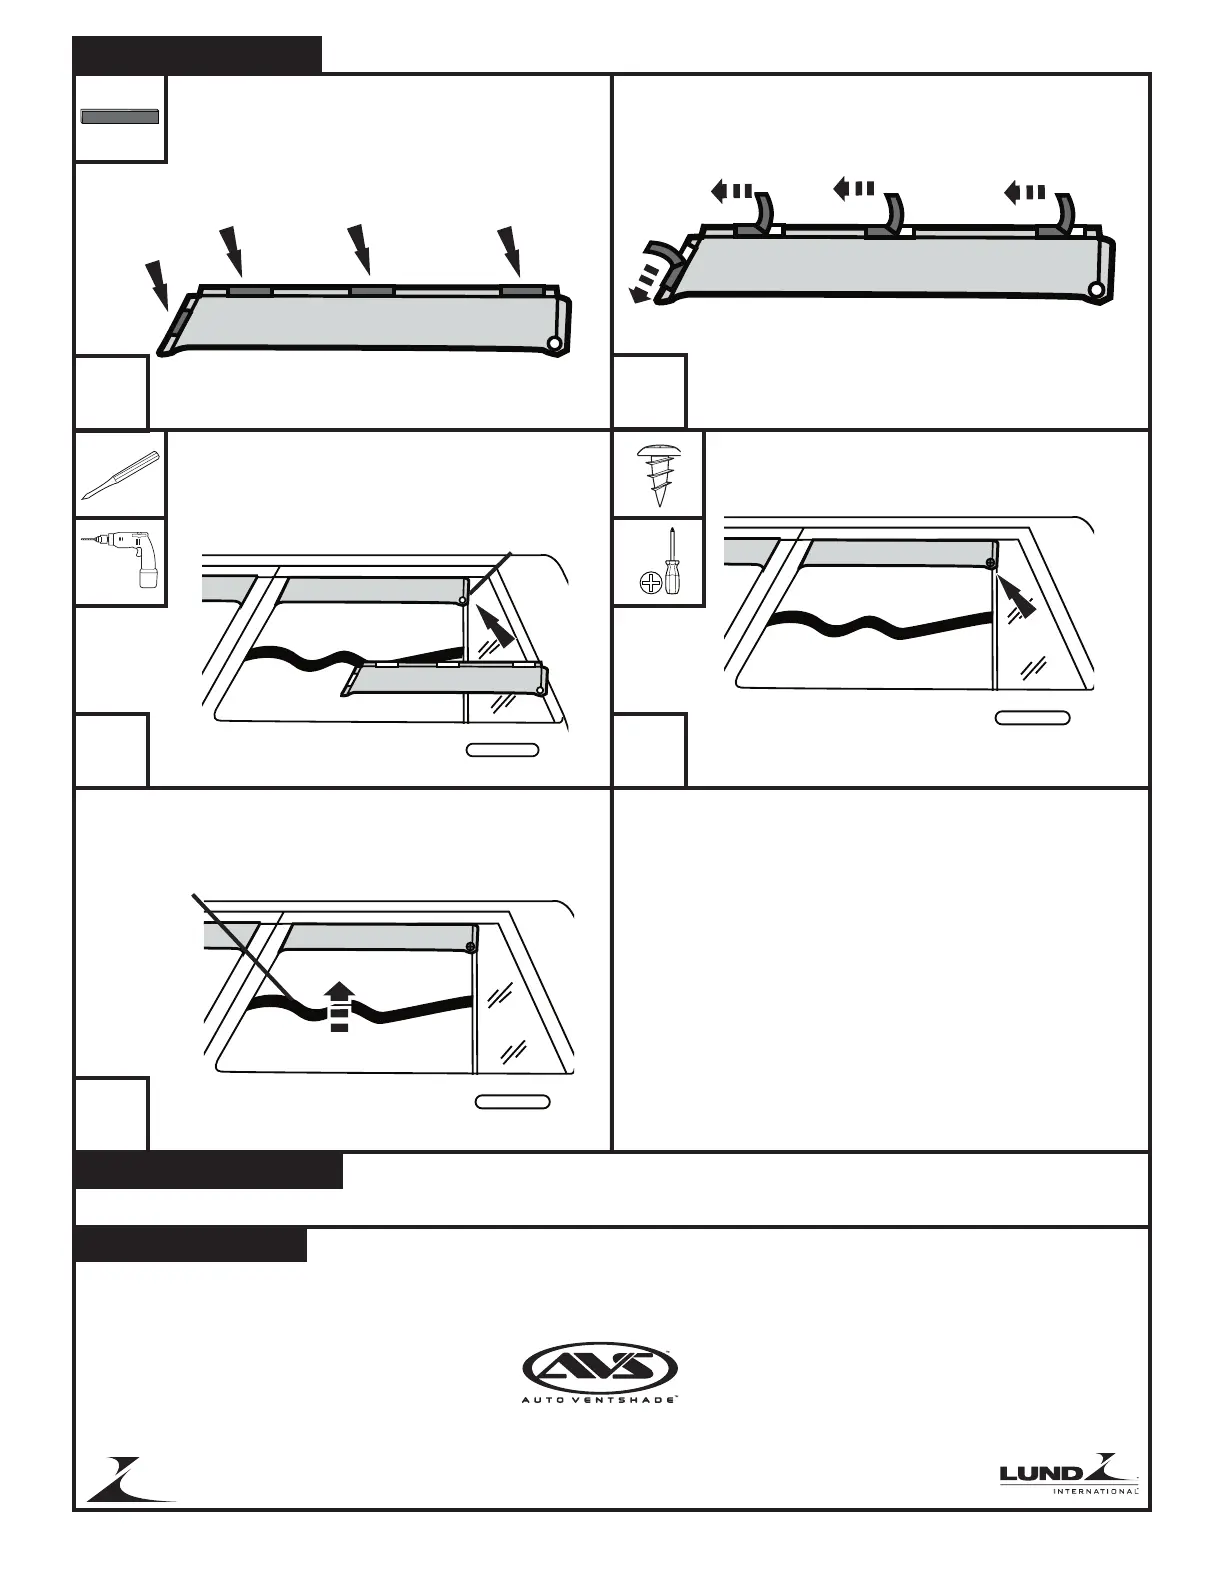
Pull the deflector flush with the post. Pull the deflector
firmly outwards so that the tape adheres securely. Us-
ing the hole in the deflector as a guide, centerpunch
and drill a 1/16” hole.
hole
10
Insert (1) screw.
11
Replace rubber window channel and raise window to fully seat
window channel.
rubber window channel
Repeat Steps 1-13 for remaining windows
Apply included tape tabs to the deflector edge as
shown.
NOTE: the tape tabs are wider than the flange of the
deflector. Align the tape so that one edge is flush with
the inner edge of the deflector.
Carefully peel back the tape liner off of the tape tabs.
12
13
Care and Cleaning
• Wash only with mild soap & dry with a clean cloth.
Congratulations!
You have purchased one of the many quality Auto Ventshade™ branded products offered by Lund International, Inc. We take the utmost pride in our
products and want you to enjoy years of satisfaction from your investment. We have made every effort to ensure that your product is top quality in
terms of fit, durability, finish and ease of installation.
© 2006 Lund International, Inc. All rights reserved.
Auto Ventshade
TM
, the Auto Ventshade
TM
logo and the AVS
TM
logo are trademarks of Lund International, Inc.
Lund International, Ventshade Accessories Division
655 Raco Drive, Lawrenceville, GA 30045
800-241-7219 • Fax 770-339-5839 • Visit us at lundinternational.com
™