MAIN MENU
23
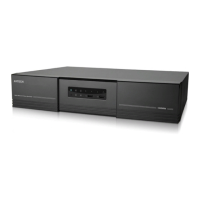
5.4 ADVANCED CONFIG
5.4.1 CONNECTION
To manually assign the address of your camera connected locally, click “URI” to modify.
ADVANCED CONFIG
CONNECTION CHANNEL URI CONFIG
CAMERA
CH1 AVTECH://ip_office.ddns.eagleeyes.tw:80 SETUP
DETECTION
CH2 ONVIF://10.1.1.125:88 SETUP
ALERT
CH3 AVTECH://10.1.1.30:88 SETUP
NETWORK
CH4 AVTECH://10.1.1.12:88 SETUP
DISPLAY
CH5 AVTECH://10.1.1.14:88 SETUP
RECORD
CH6 ONVIF://10.1.1.15:88 SETUP
NOTIFY
CH7 AVTECH://10.1.1.16:88 SETUP
MULTICASTING
CH8 AVTECH://10.1.1.17:88 SETUP
CH9 AVTECH://10.1.1.18:88 SETUP
CH10 ONVIF://10.1.1.19:88 SETUP
CH11 AVTECH://10.1.1.20:88 SETUP
CH12 AVTECH://10.1.1.21:88 SETUP
NEXT
EXIT
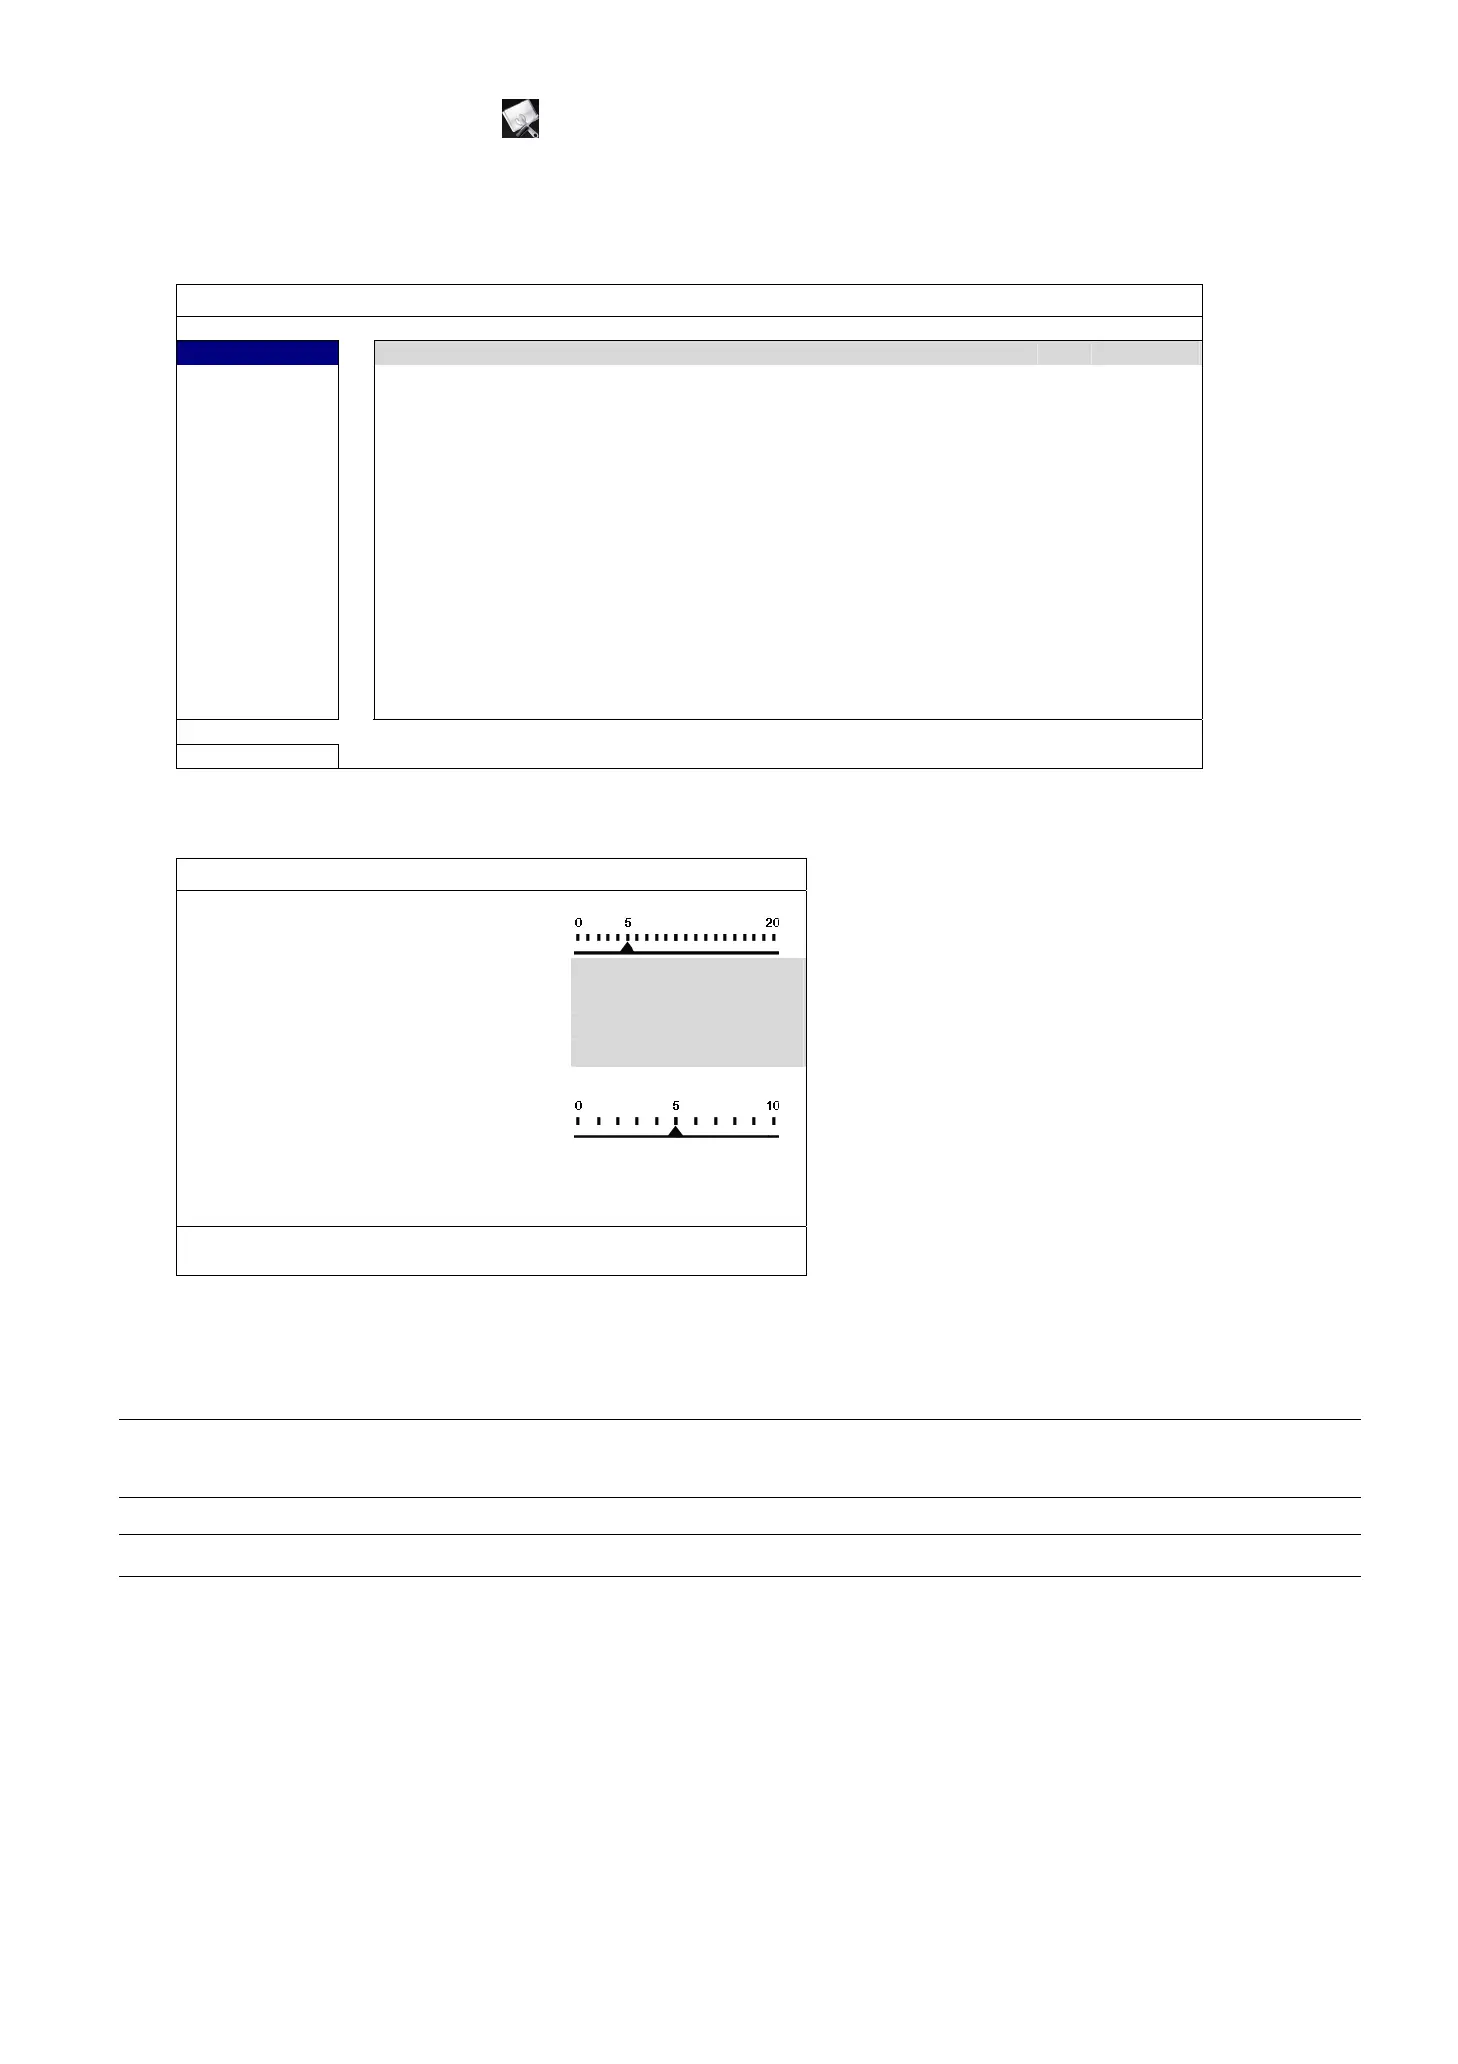
Then, click “SETUP” to enter the access information of the camera:
CONFIG-CH1
CACHE TIME (MSEC)
VENDOR AVTECH
DEVICE IPCAM(FIXED)
PROFILE PROFILE-3
TYPE H264
IMAGE SIZE 720 X 480
QUALITY
I.P.S. 30
AUDIO ON
EXIT
Step1: Click “DEVICE” to detect and make sure the access information you’re intended to connect is correct.
Step2: Select the image size, image quality, and I.P.S.
Note: The options selectable for “IMAGE SIZE” and “I.P.S.” depends on the camera you’re intended to
connect.
Note: The “IMAGE SIZE” options for selected 8CH models are up to 1280 x 720.
Step3: (Optional) For the camera with audio recording, select “ON” or “OFF”.