2
This antenna does not require a ground plane in order to operate, so
may be fitted on a metal or plastic roof panel.
Step 1
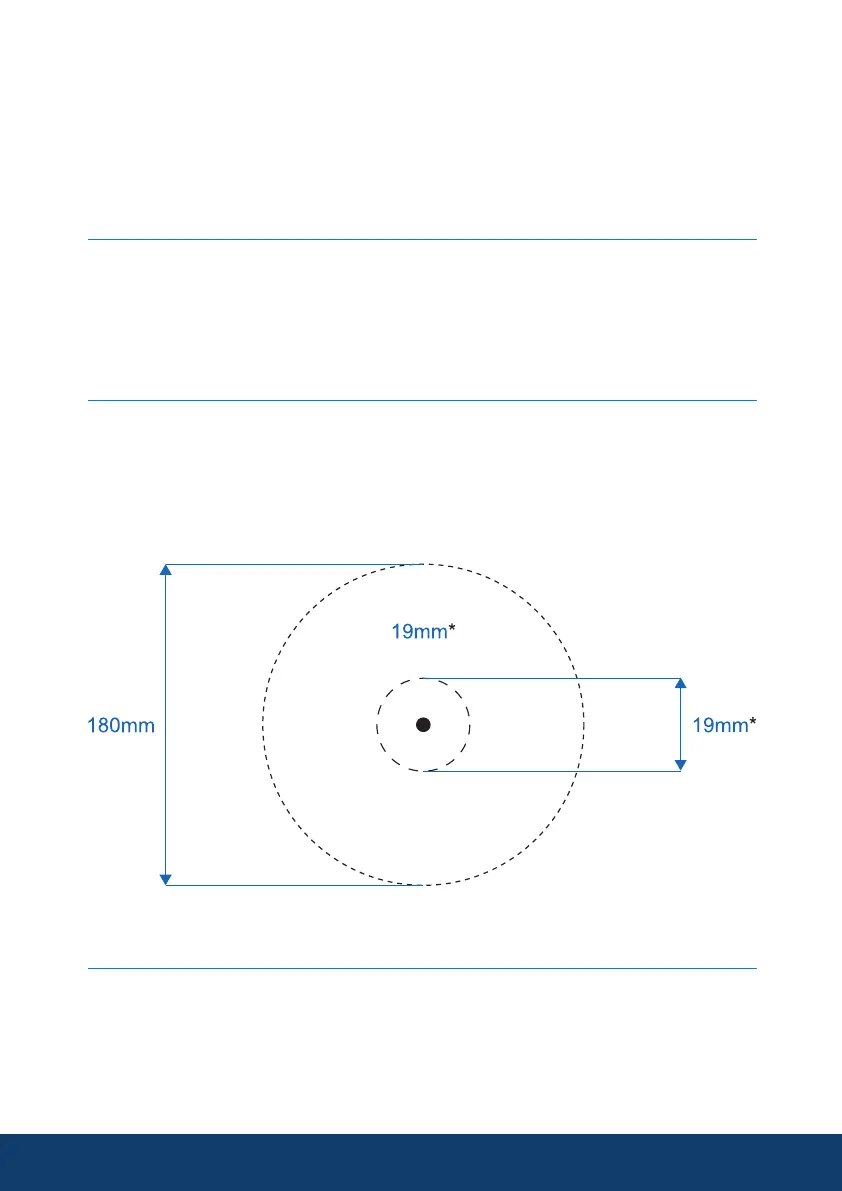
When the antenna is to be co-located with other antennas or roof mounted
equipment, try to achieve a minimum of 30cm (12”) clearance around the antenna
in order to avoid de-tuning and interference issues. The antenna will fit on a panel
up to 9mm (0.35in) thick – an extender kit is supplied for thicker panels.
Step 2
Mask the panel area around the hole position to protect the paintwork and
headliner. Drill a pilot hole, and then either use a hole cutter of correct size or
increase the hole diameter to 19mm (or 25mm if using extension bolt),
ensuring that drill/cutter bit does not contact the internal headliner. Clean area
around the hole, carefully removing all swarf, debris and any grease.
Antenna Installation
* 25mm if using extension bolt
Step 3
The adhesive pad provides a means to affix the antenna and to prevent
rotation during installation, it also augments the sealing function of the
antenna to the mounting panel provided by the sealing boot – it is
recommended that the installation is not carried out in temperatures of less
than 50°F (10°C).