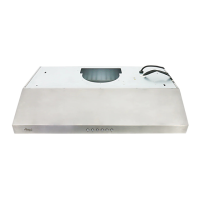
• Draw power cord through cabinet access opening and center the hood beneath the cabinet.
• From inside of the hood, place screws into the exact center of each knockout hole and secure to
cabinet bottom. Finish tightening all screws until secure.
CAUTION: Make sure the range hood is secure before releasing!
• For safety purpose, mount the screws through the pre-drilled mounting holes or/and drill new holes
from inside the back of the hood to the studs or lumbers. For a more secure installation, use as many
mounting holes as needed to secure from the inside of hood.
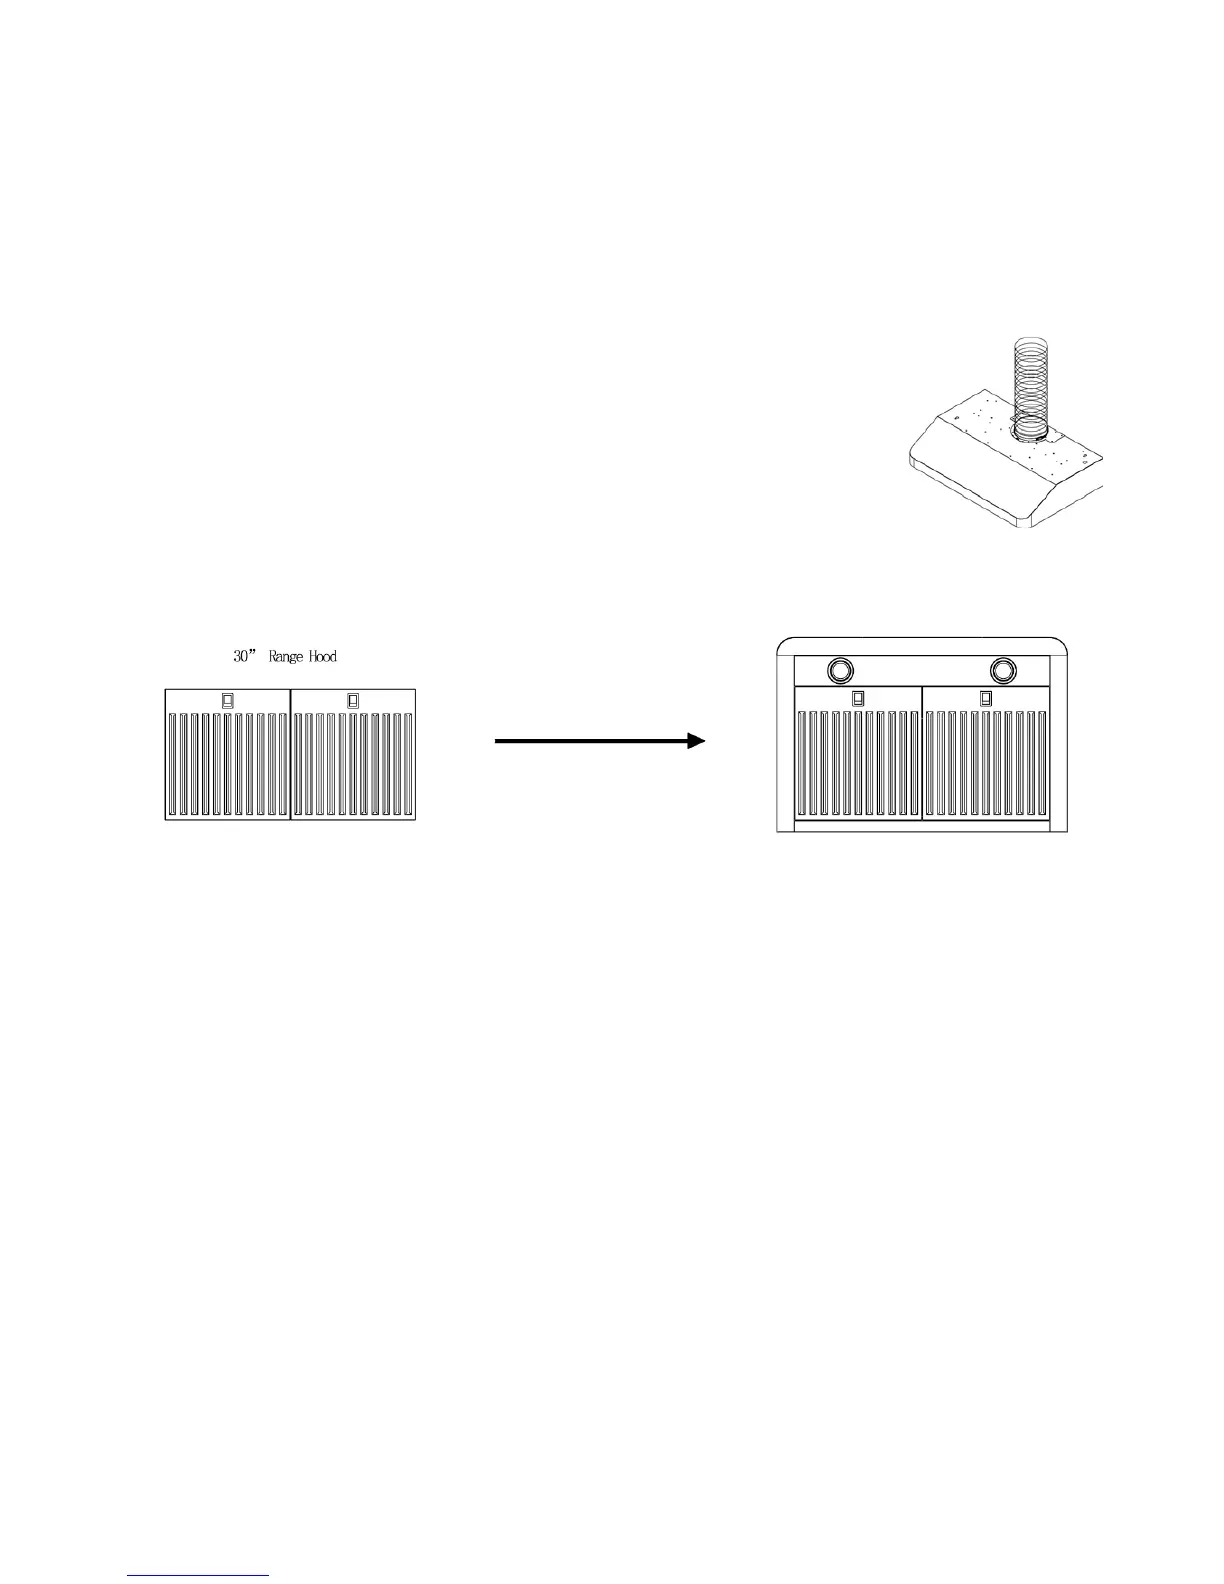
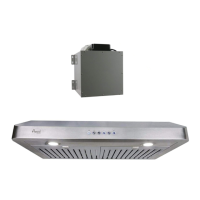
8) Use 6” round metal duct (or semi-rigid aluminum duct, follow building codes in
your area) to connect the exhaust on the hood to the duct-work above. Use foil
tape or duct tape to make all joints secure and air tight.
9) Connect the range hood to a designated grounded standard outlet.
• Or cut off the plug and connect three wires (black, white and green) to house
wires and cap with wire connectors. Connect according to colors (i.e. black
to black, white to white, and green to green). Store excess wires in the wiring
box.
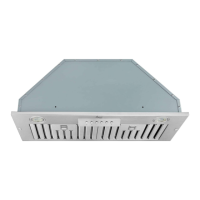
10) Install baffle filters and stainless spacer if any.
11) Turn power ON in control panel. Check all lights and fan operations.