Test before installing:
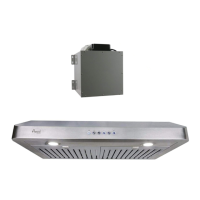
• Please unpack the range hood and accessories carefully. Remove the baffle filters.
• Check for any dent or damage inside and outside. If found any loosing parts, please remove them.
• Place the range hood on a flat stable surface. Connect the range hood to a designated standard outlet (120-Volt,
60Hz, AC only). Press the power button and the speed buttons to turn on.
• Check if any unusual metal touching noise, check the speed variation, and press the Light button to check
the lights. Verify all functions by referring to Section 9 RANGE HOOD OPERATIONS. Refer to Section 10
TROUBLESHOOTING if any malfunction was found.
• Place all supplied parts and required hardware on a flat stable surface and verify the existence of all supplied parts
listed on Section 2 INCLUDED PARTS & ACCESSORIES.
• Carefully remove the white plastic protective film from the range hood if any. The white protective film might not
cover all stainless steel area; it was removed prior for welding or packing.
NOTE: To avoid damage to your hood, prevent debris from entering the vent opening.
CAUTION: If moving the cooking range is necessary to install the hood, unplug the power on an
electric range. SHUT OFF THE GAS VALVE BEFORE MOVING A GAS RANGE.
8. INSTALLATION INSTRUCTIONS
1) Installation planning
• Measure the distance between stove top and the bottom of range hood. A distance of 27” to 30” is
recommended. Minimum 24” is required for safety concern.
• Decide the venting method and the location of the venting pipe from the hood to the outside.
• Purchase any necessary accessories from a hardware store, such as duct, elbow, reducer, damper,
duct tape, screws, etc.
• Find and mark the stud locations using a stud finder to plan the mounting locations firmly.
2) For top venting, measure the top vent and the power cord positions, cut the
openings (slightly larger for easy accessible) for hood exhaust and power cord
under the cabinet.
3) For rear venting, refer to page 3, remove the 6” top vent adapter and install the top
vent cover. Remove the 2 rear vent covers and install the rectangle rear vent adapter.
Create rectangle duct access to the wall, cut the hole for the power cord under the
cabinet.
• Connect the rear vent adapter to the rectangle duct. Seal the connection before mounting the range
hood. Might need to access from the exterior wall to seal the duct connection.
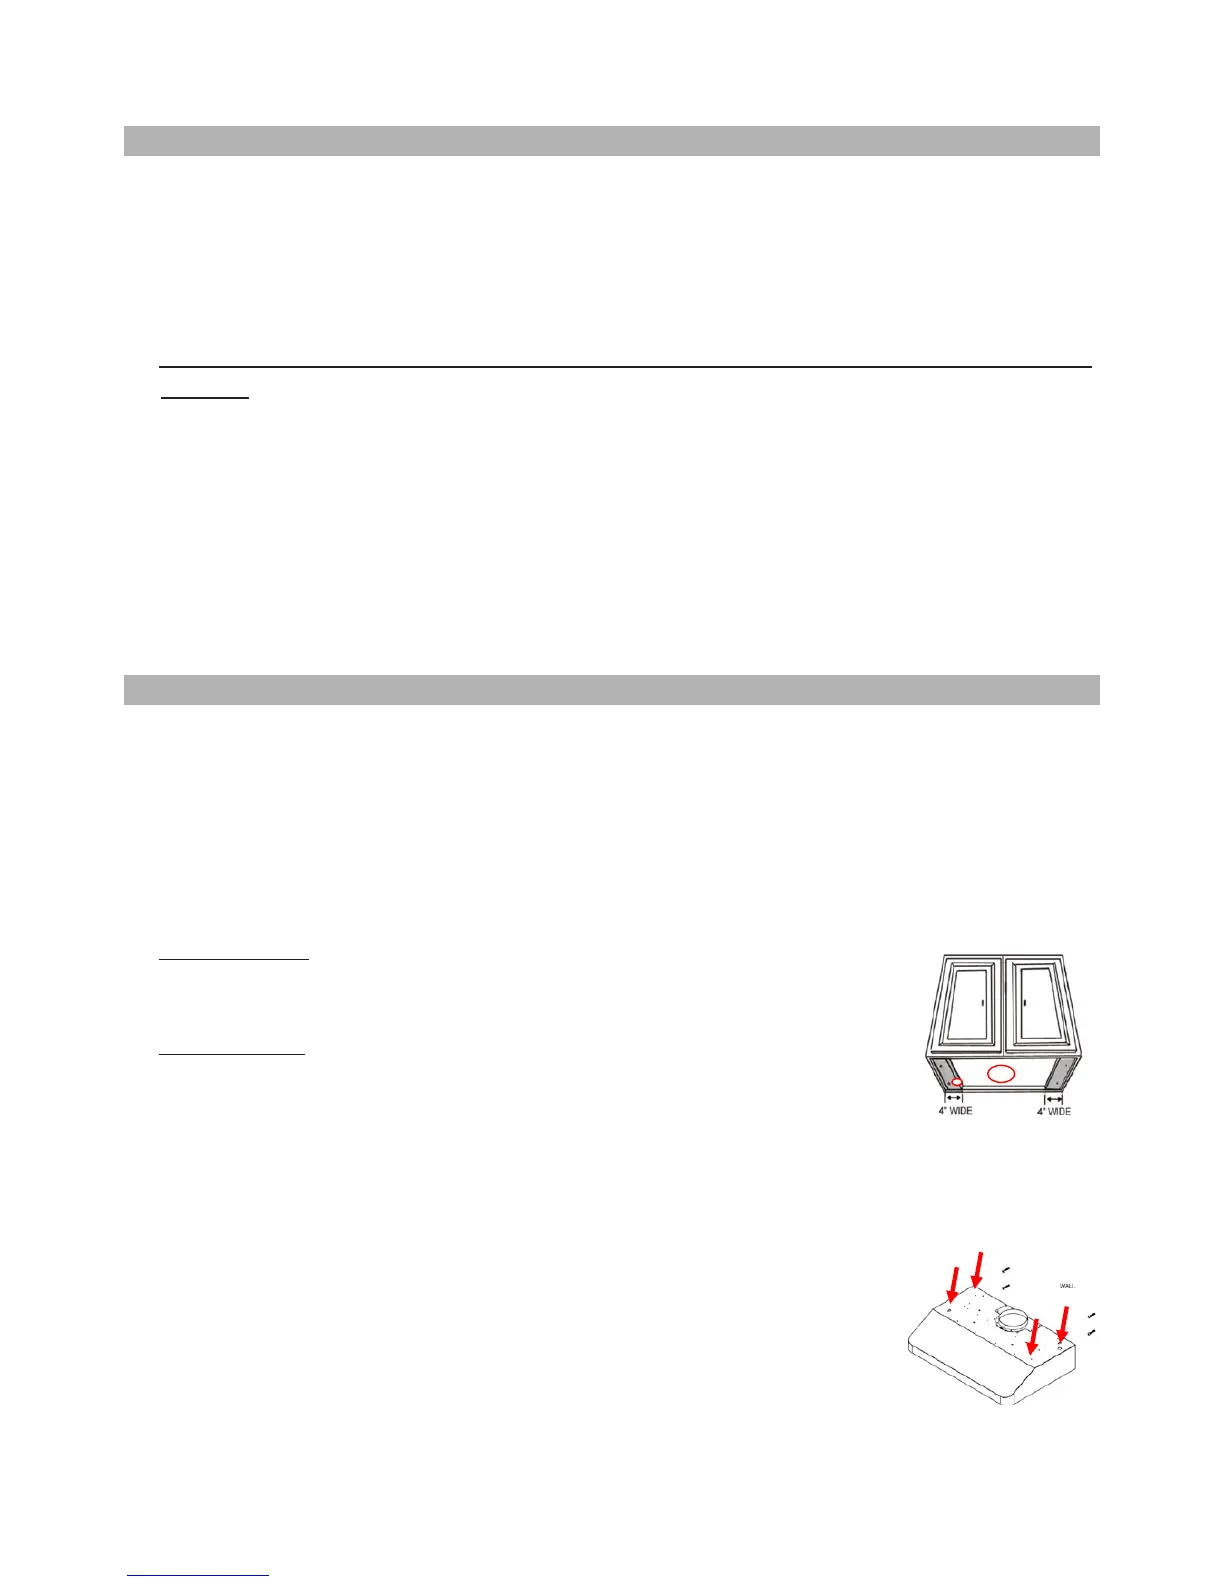
4) For installing under the cabinet with recessed bottom, attach 4-inch wide wood filler strips (not provided)
on each side.
5) Puncture the power cord’s knockout hole and through the power cord from inside
of the range hood to outside.
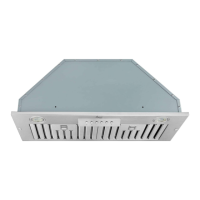
6) Puncture the knockout screw holes on the top for screw mounting under the
cabinet.
7) Mount this range hood under the cabinet, 2 people are required for this installation.