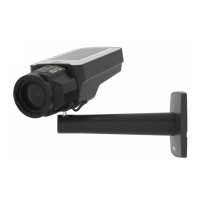
AXISQ1615-EMkIINetworkCamera
•Usinganyotherthantheprovidedcableglandmaycausewatertoseepinanddamage
theproduct.
•Alwaysuseashieldednetworkcable(STP)intendedforoutdoorusebetweenthe
Axisproductandtheendpointandensurethattheendpointisproperlygrounded.
InstallationsofAxisproductsusingashieldednetworkcable(STP)andaproperly
groundedendpointhavebeentestedtocomplywithindustryimmunitystandardlevels
suchassurgeprotection.Anyotherinstallationmethodwillvoidthewarrantyand
leavetheunitatarisk.
•Anoptionalcablewithadiameterof4.0mm-5.5mmshouldberoutedthrougha
separatecablegland.SeeProductoverviewonpage10.
1.Usethesupplieddrilltemplatetoprepareawallorpoleforinstallationofthewall
bracket.
2.Routethenetworkcablethroughthewallbracket,andthroughthebracketadapter.
Leaveapproximately30cm(11.8”)ofcableforconnectingtothecamera.
3.Installthewallbracketonawall,ceiling,orpoleusingscrewsandplugsappropriatefor
thematerial(e.g.wood,metal,sheetrock,stone).
Dothefollowingtoroutethenetworkandother(optional)cables:
1.Loosenthebottomcoverscrewsandliftthetopcover.
2.Loosenthecablecoverscrews;detachthecablecoverfromthebottomcover.
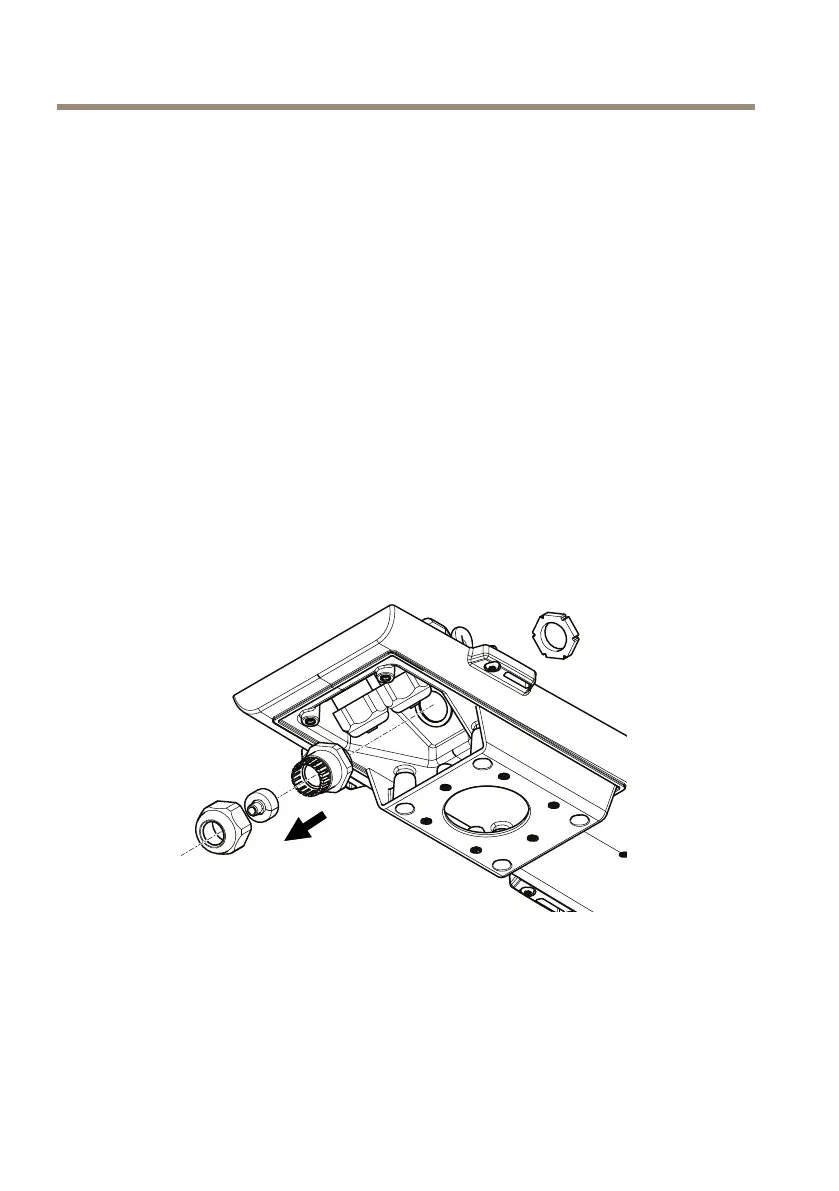
3.Removethecap,theplugandthegasketfromthecableglandtobeused.
4.Removethegroundingscrew,washerandgroundingshoering.
5.Fastentheshoeringmountedgroundingwireandwasherwiththegroundingscrew.
20
 Loading...