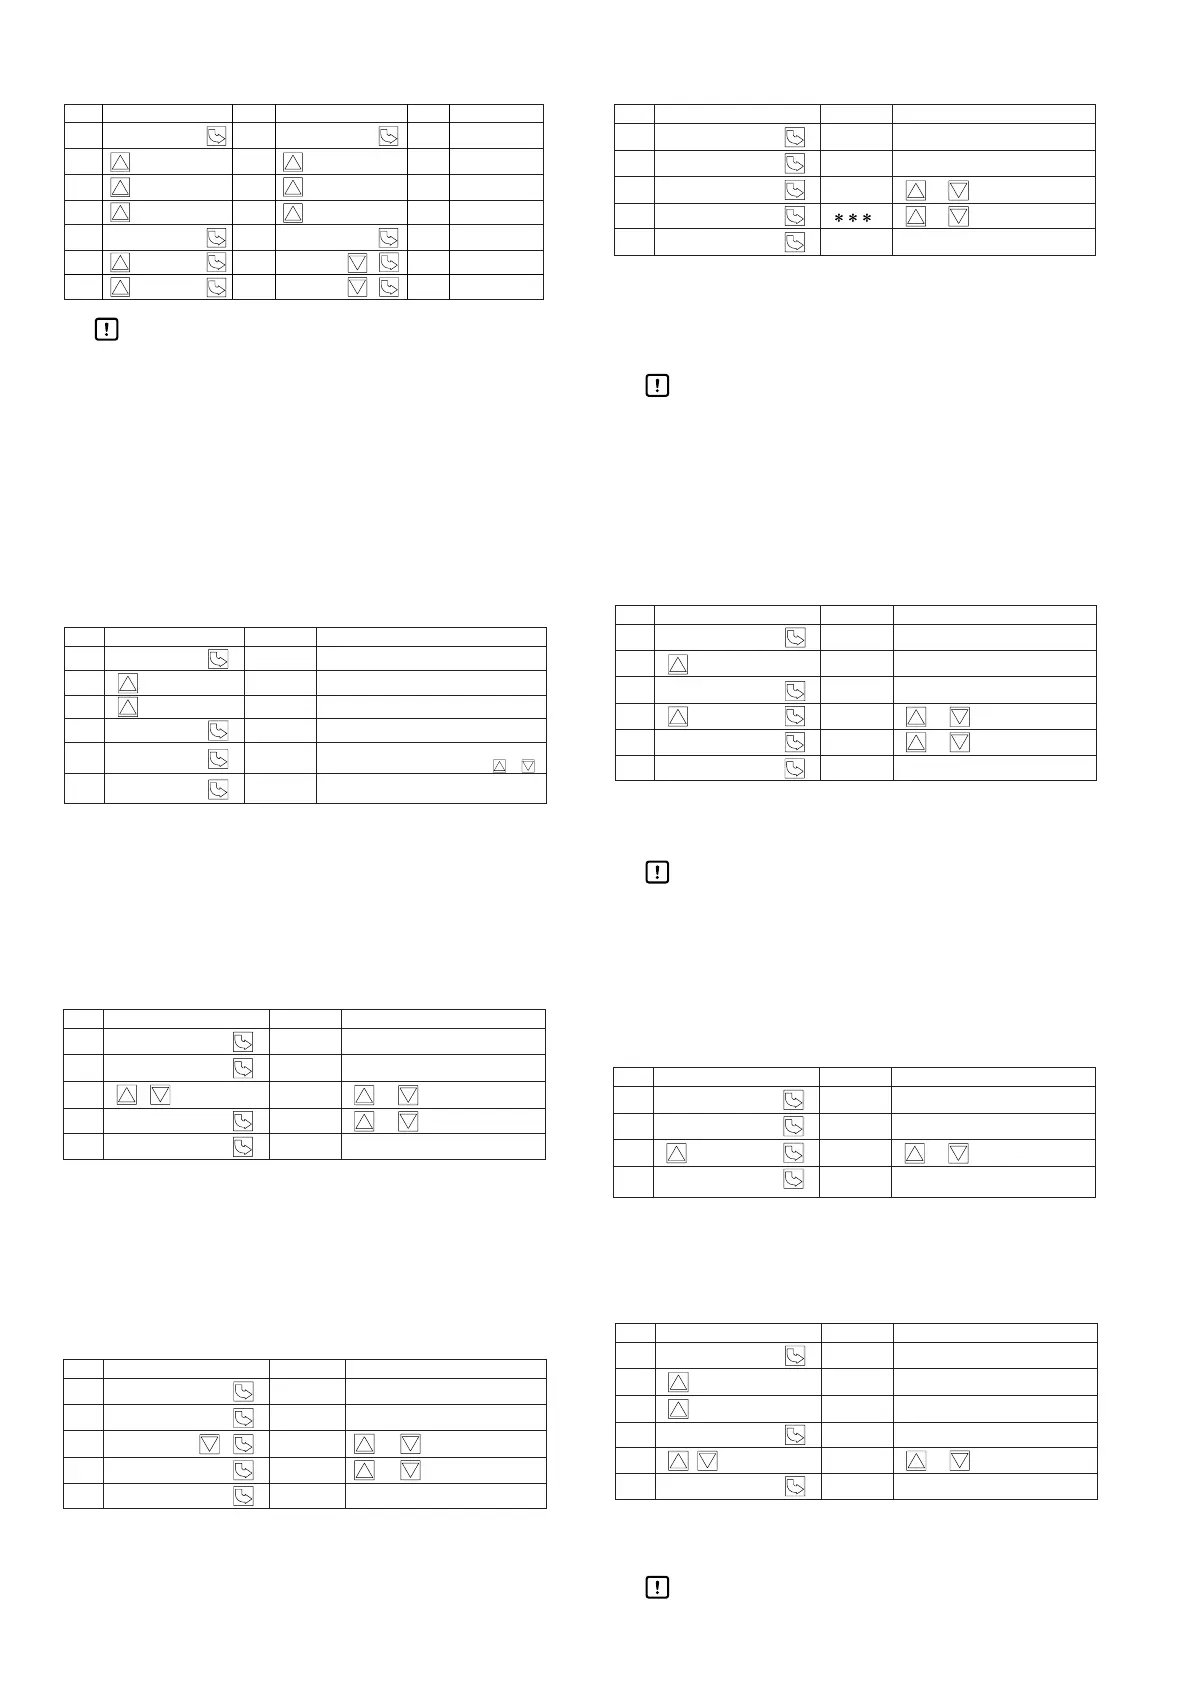
1-3 Peak hold and bottom hold
The peak or bottom flow rate can be displayed.
Handling Precautions
•
The displayed channel can be changed during hold.
• If the power is turned OFF, the peak hold or
bottom hold is cancelled.
• Peak hold and bottom hold cannot be done at
the same time.
• When the indication hold function is activated,
the output hold function is also activated at the
same time.
1-4 Flow rate display moving average setting
The flow rate moving average shown on the 7-seg-
ment LED can be set.
Flow rate display moving average setting
f- 1: Disabled (display updated every 125 ms)
f-2: Twice
f-3: 4 times
f-4: 8 times
2 Basic settings
2-1 Flow sensor selection
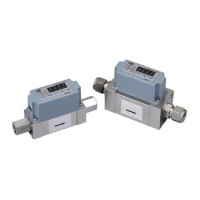
The desired flow sensor can be set for each channel.
Flow sensor settings
SE 1: MCS100A100 (-3 to +3L/min)
SE2: MCS100A104 (0 to 3L/min)
SE3: MCS100A108 (-500 to +500mL/min)
SE4: MCS100A112 (0 to 500mL/min)
SE5: MCS100A120 (0 to 10L/min)
2-2 Operation mode selection
The desired operation mode can be set for each channel.
Operation mode settings
C0 1: Window comparator mode 1
C02: Window comparator mode 2
C03: Window comparator mode 3
C04: Window comparator mode 4
2-3 Threshold settings (L1 (∆ L)/L2)
The desired threshold flow rate can be set for each channel.
Threshold flow rate settings
11: 1ch_L1/∆L 31: 3ch_L1/∆L
12: 1ch_L2 32: 3ch_L2
21: 2ch_L1/∆L 41: 4ch_L1/∆L
22: 2ch_L2 42: 4ch_L2
Handling Precautions
• If the threshold flow rate is set such that L1 ≤
L2, the switch output does not turn ON.
• “L1 ≤ L2” may also come about when ∆L is
set in window comparator mode 2 or 3, due to
reading of the reference value, with the result
that the switch output does not turn ON.
2-4 Hysteresis settings
The desired hysteresis can be set for each channel.
Hysteresis settings
HS1: Ch. 1 HS3: Ch. 3
HS2: Ch. 2 HS4: Ch. 4
Handling Precautions
• To prevent chattering, set the hysteresis value
to 2 or more.
3Advanced settings
3-1 Reading the reference flow rate (window
comparator mode 2 or 3)
When window comparator mode 2 or 3 is used, the
reference flow rate may be read.
Enabled channel settings
aEF 1: Ch. 1 aEF3: Ch. 3
aEF2: Ch. 2 aEF4: Ch. 4
3-2 Zero point adjustment (zero reset)
The zero point can be adjusted for each channel.
Zero point adjustment settings
b- 1: Ch. 1 b-3: Ch. 3
b-2: Ch. 2 b-4: Ch. 4
Handling Precautions
• If the power is turned OFF, the zero point
adjustment is cancelled.
7-seg. LED
7-seg. LED
7-seg. LED
7-seg. LED
7-seg. LED
7-seg. LED Remarks
7-seg. LED
7-seg. LED


 To Next Page