27
rJ Cold junction compensation
NOTE: Make sure “tL” and “tH” are correctly calibrated
before attempting “rJ” calibration.
a)Measure the temperature close to terminals 1 and 3
using an appropriate instrument, as shown below.
1
3
Measuring
Device
+
-
b) Wait a few minutes to allow temperature stabilization
of the entire system (compensation cable, sensor,
calibrator and instrument).
c)Using the s and t keys, make the readout value equal
to the temperature measured by the measuring device
in tenths of a °C.
tH TC input maximum range value
a)The upper display shows “OFF”, the lower display
shows “tH”.
b) Set the calibrator to 50.000 mV.
c)Press the s key; the display changes to “ON”.
c)After a few seconds, start calibration by pressing the
FUNC key. The decimal point of the least significant
digit will light to indicate the instrument is performing
the calibration. When calibration is complete, the
instrument will proceed to the TC input check.
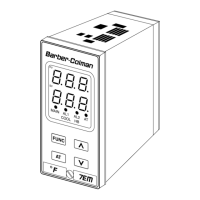
t. TC input check
The display will show ”t.” followed by a number showing
the measured value in counts. The calibration for “tH” is
correct if the indication is “t.30 000” ±10 counts.
a)Check the “Minimum Range” calibration (see
parameter tL) by setting the calibrator to 0.000 mV -
the readout must be equal to “t.00 000” ±10 counts
b) Check linearity at half scale by setting 25.000 mV on the
calibrator. The readout must be “t.15 000” ±10 counts.
c)Check the “Maximum Range” calibration by setting the
calibrator to 50.000 mV - the readout must be equal
to “t.30 000” ±10 counts
d) Press the FUNC key and the instrument will proceed
to cold junction compensation.
Entering Calibration Values
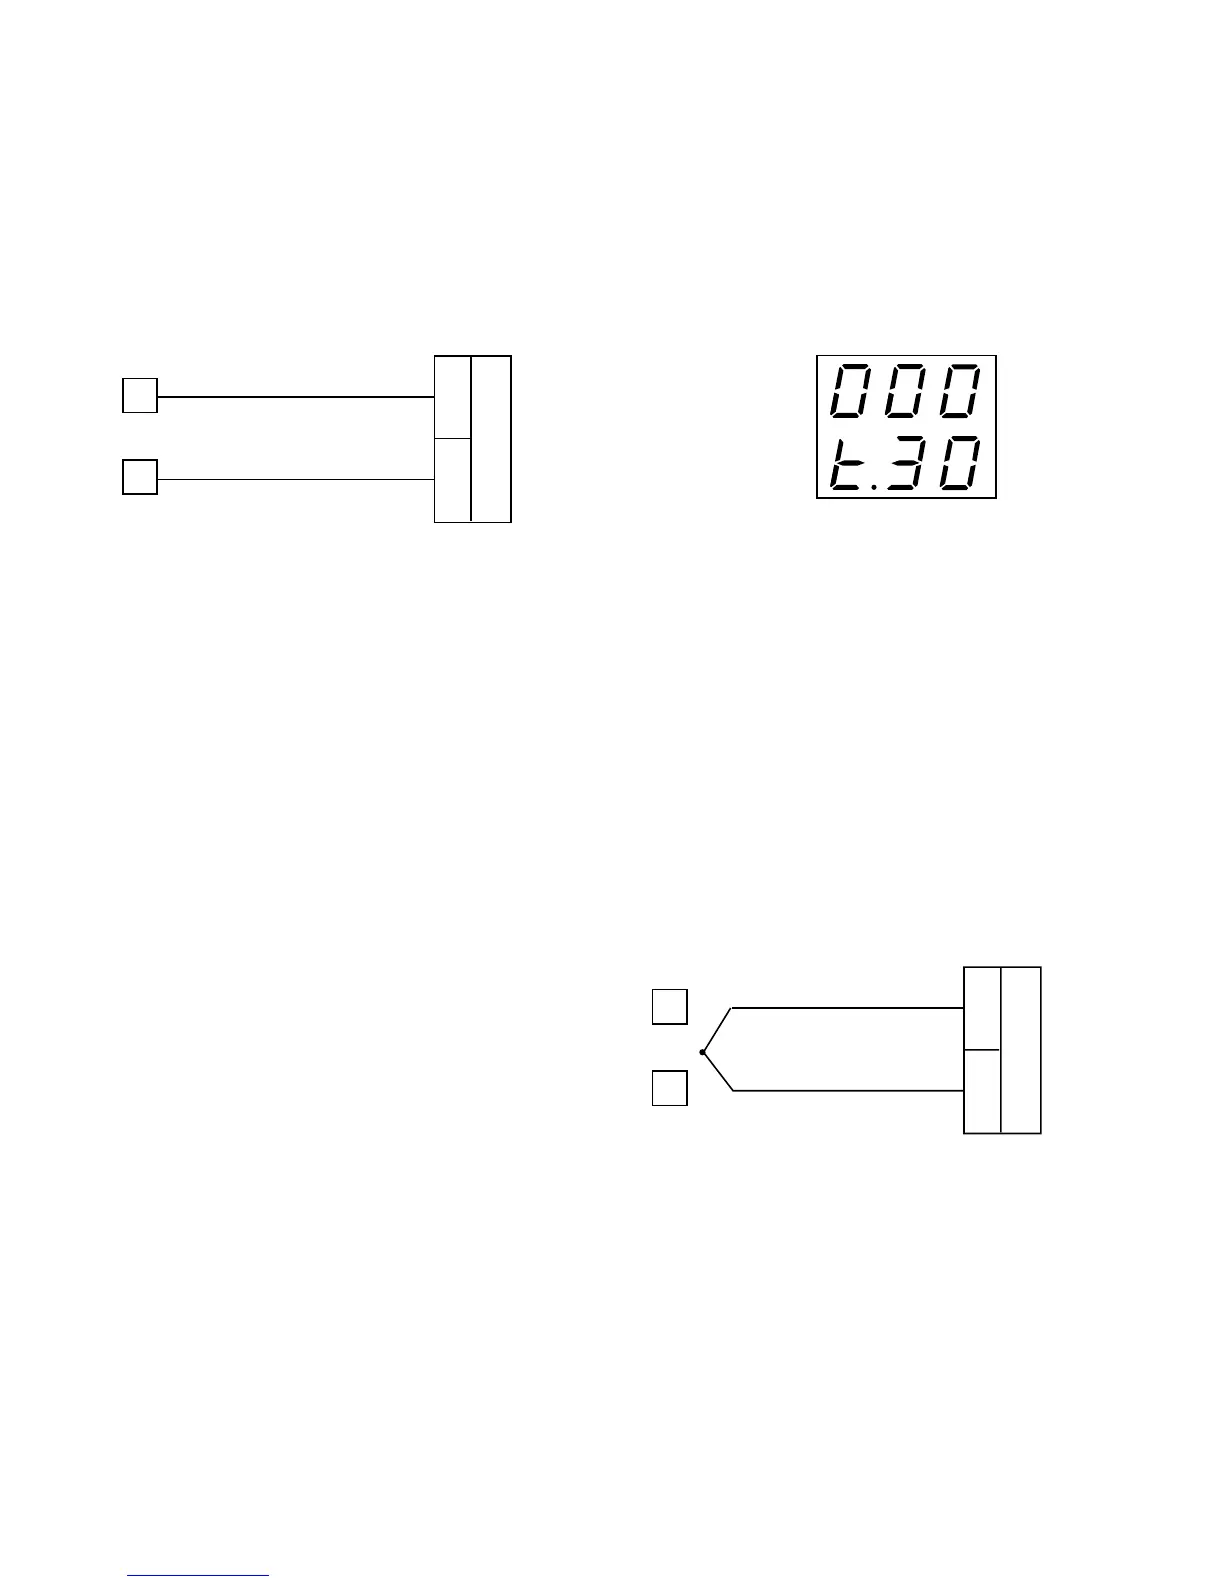
tL TC input minimum range value
a)Connect calibrator and instrument as shown below.
1
3
+
-
b) The upper display shows “OFF”, the lower display
shows “tL”.
c)Set the calibrator to 0.000 mV.
d) Press the s key; the display changes to “ON”.
e)After a few seconds, start calibration by pressing the
FUNC key. The decimal point of the least significant
digit will light to indicate the instrument is performing
the calibration. When calibration is complete, the
instrument will proceed to the next parameter.
 Loading...