6 7
GAS SPECIFICATIONS
GAS SPECIFICATIONS LEAK TEST PROCEDURE
LEAK TEST PROCEDURE
GAS TYPE
NATURAL
GAS
UNIVERSAL
LPG
PROPANE
Maximum gas
consumption
67.2 MJ/h 64.0 MJ/h 71.0 MJ/h
Injector office
diameter
1.75mm 0.90mm 0.95mm
Number of
injectors
6 6 6
Regulator
pressure
1.00 kPa 2.75 kPa 2.75 kPa
NOTES:
• This appliance MUST be installed and serviced only by a
qualified licensed person.
• This product must be installed as per the instructions
which requires the installation of venting to enable
the barbecue to operate correctly. Failure to provide
adequate ventilation for supply of air to the appliance
may result in poor burner performance or excessive
heat build-up within the mounting enclosure.
• Ventilation holes in the unit must not be obscured by the
installation.
Failure to adhere to these installation instructions may
affect your ability to make a claim under the manufacturer’s
warranty.
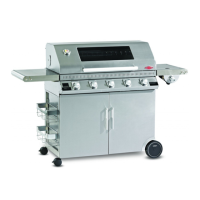
Natural gas installation
This barbecue is set up for Natural Gas and is labelled
accordingly. A Universal LPG and Propane conversion kit is
included if required.
Connecting the appliance to an NG gas supply
Componets supplied in a bag for NG are:
• 1 x Natural gas regulator
• Natural gas installation pipe
• 2 x sealing washers
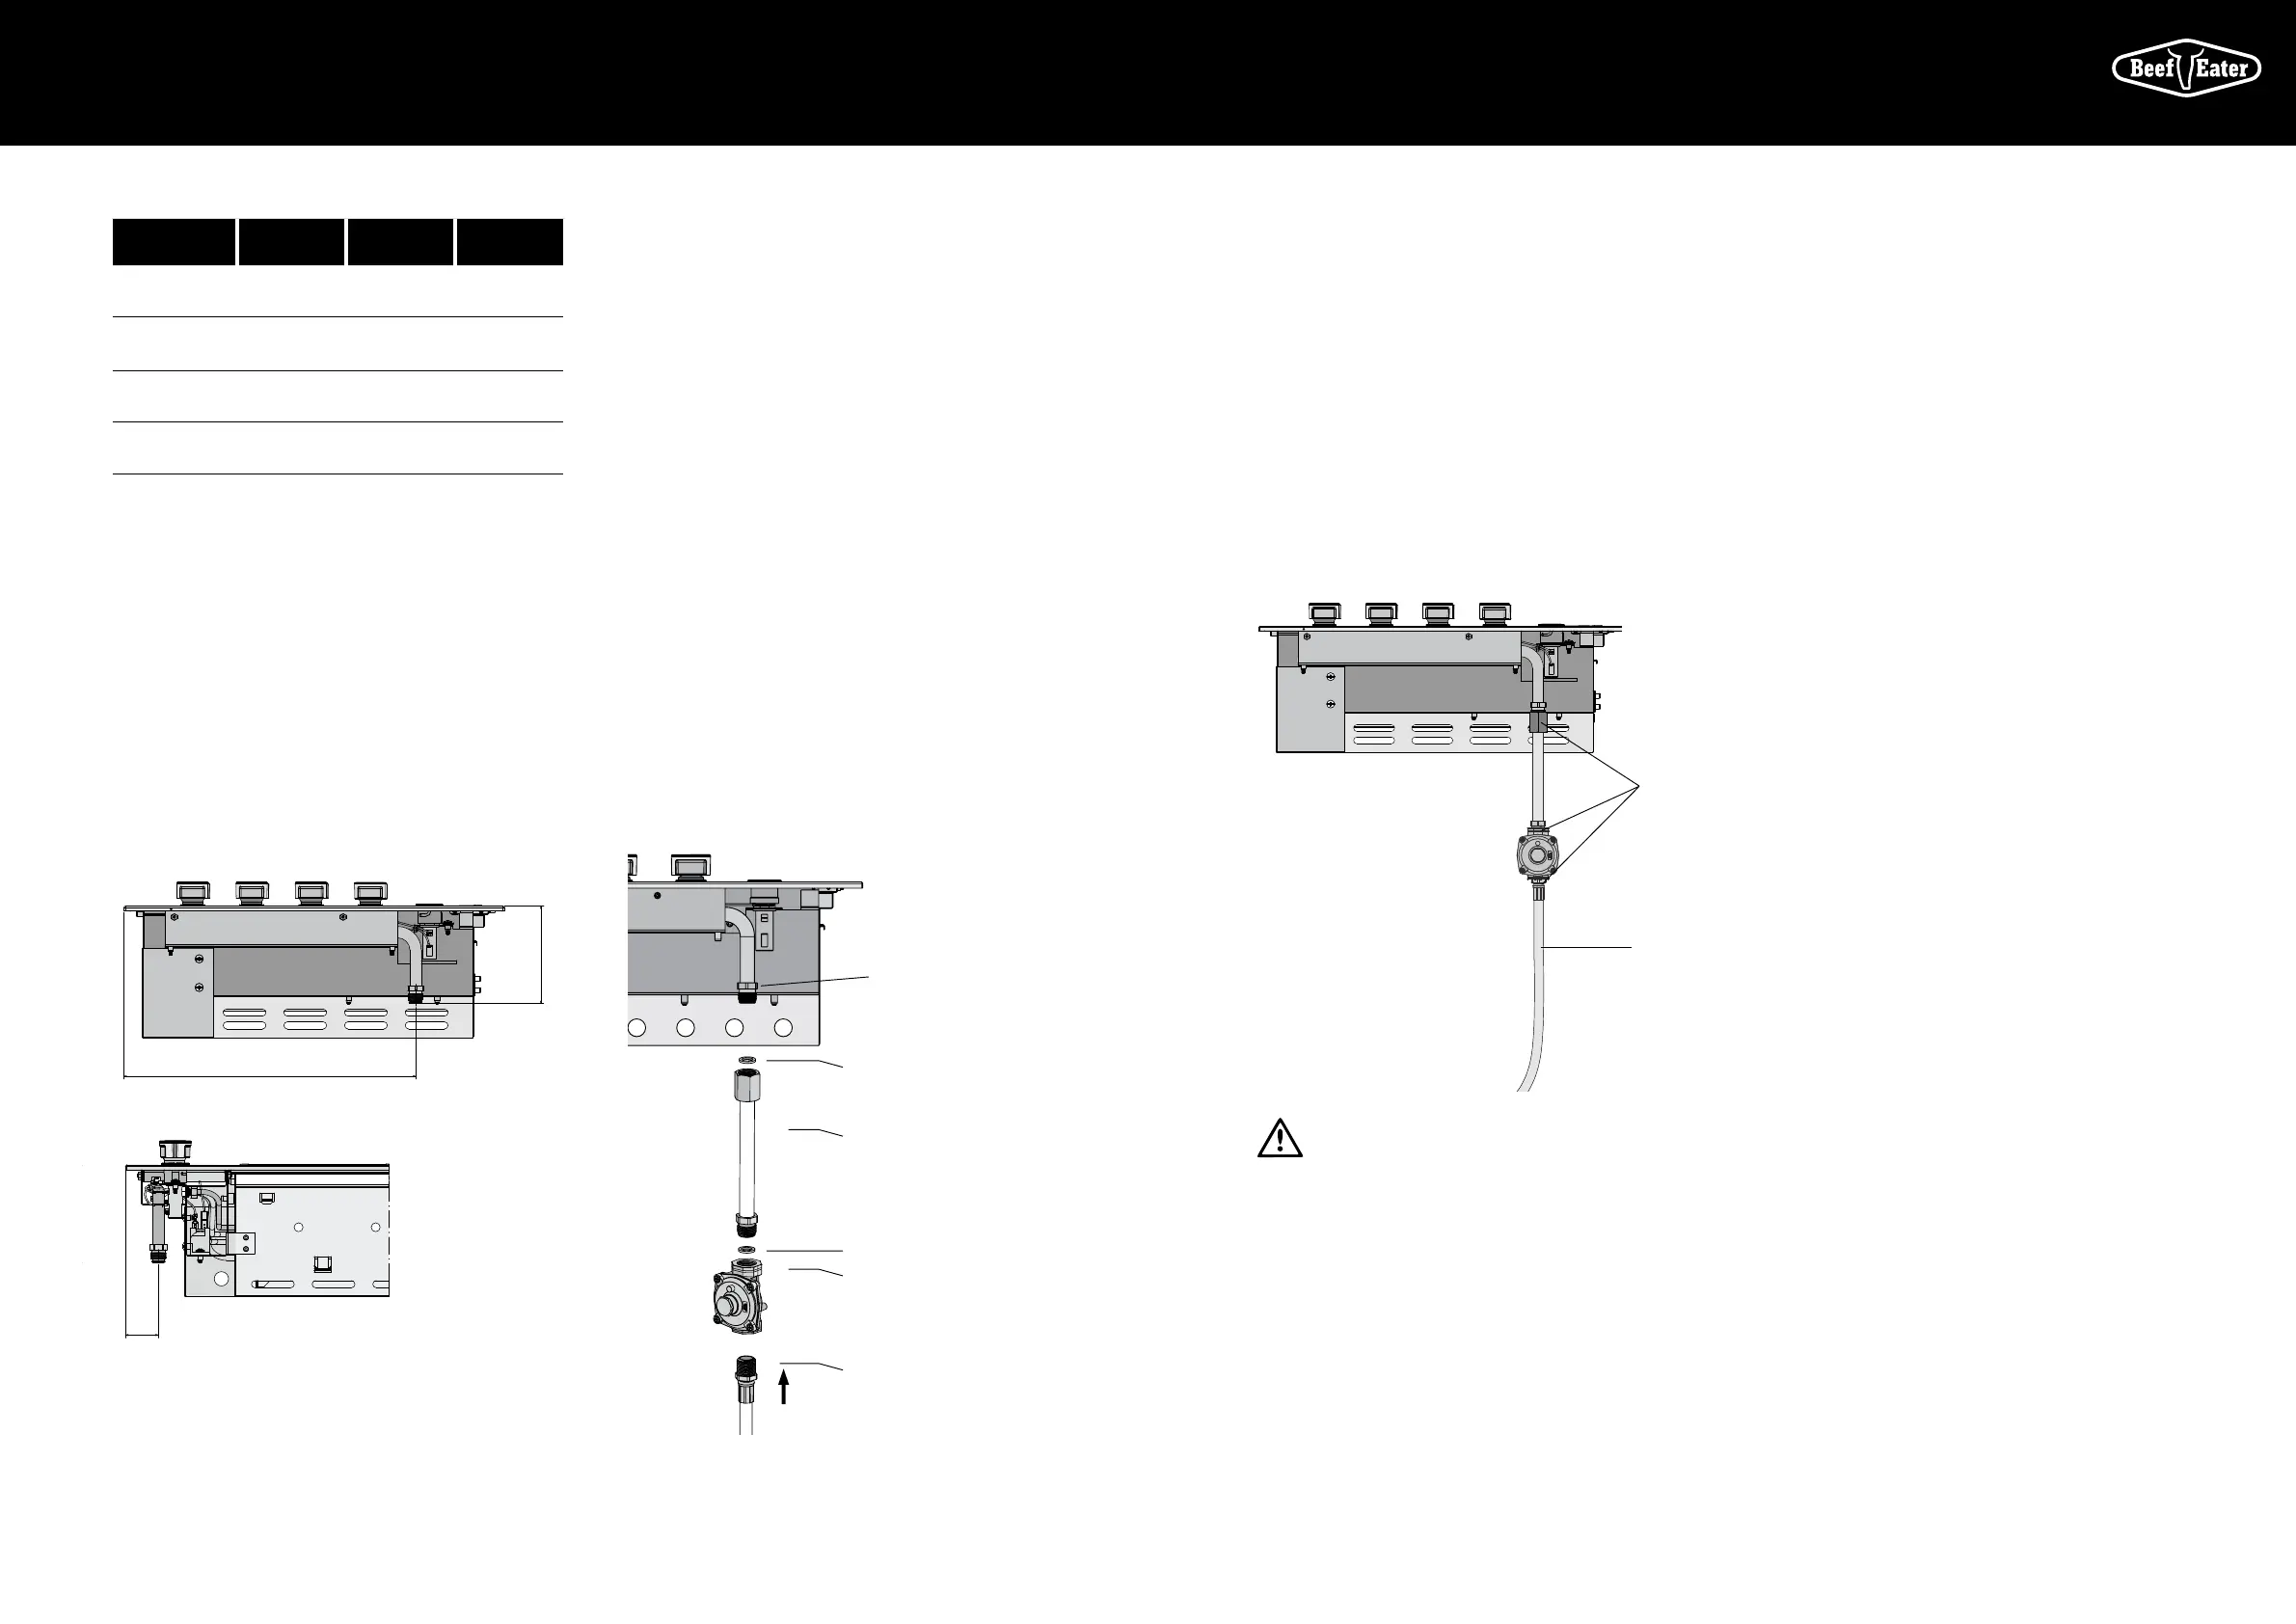
1. Fitting the Natural Gas installation
• Fit the pipe ensuring the blue sealing washer is in
place. Do not over-tighten.
2. Fitting the regulator
• Fit the regulator ensuring the blue sealing washer
is in place and the arrow indicating gas flow is
correct. Do not over-tighten.
3. Fit the hose
• Connect to consumer piping
- The NG regulator inlet has a 1/2” parallel pipe thread.
- The inlet of the NG regulator may be connected to
consumer piping using a suitable hose assembly if
required.
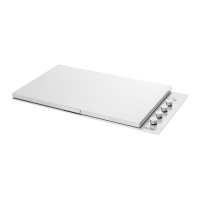
408mm
46mm
137mm
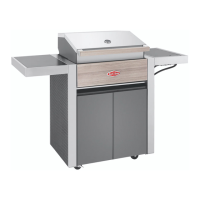
Preparing the unit for Natural Gas connection to mains
Natural gas connection to be made by a licenced gas fitter.
Regulator – ensure
arrow is pointing in the
right direction
Consumer piping
Sealing washer
Natural Gas
installation pipe
Barbecue gas inlet
Sealing washer
• Ensure all gas valves are in the ‘OFF’ position.
• In a small container, mix a solution of water and
detergent or soap.
• After connection of the hose, turn on the gas supply at
the gas bottle or mains as appropriate.
• Using a brush apply the solution to the gas connection
points and look for bubbles forming.
• Bubbling will indicate a leak.
• Turn off the gas supply and re-tighten the joint. Repeat
the leak test.
• If the leak persists, turn off the gas at the isolation
valves and contact a licensed gas fitter to correct.
WARNING
Failure to ensure gas tight connections and complete the gas
leak test procedure before use and after every reconnection
to a gas cylinder may result in a fire or explosion.
Leak test procedure
Leak test
points
Check hose
for signs of
abrasions, cracks
or leaks