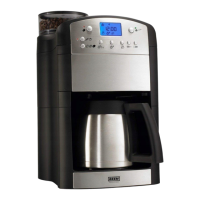
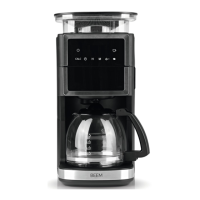
EN 28
Deactivating the Preset Time
To deactivate the preset time, touch the fi eld (23) for approx. 5 – 7 seconds. The indicator
(22) goes out and the programming is deactivated. However, the preset time is retained and
can be reactivated at any time until a new preset time is programmed in or the device has been
disconnected from the power supply.
Cleaning and Care
PLEASE NOTE!
• Do not use any toxic, corrosive or abrasive cleaning agents or scouring sponges to
clean the device. These may damage the surface.
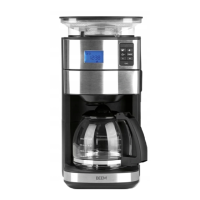
1. Clean the permanent fi lter, the fi lter insert and the coffee jug after every use with mild
detergent and warm water, or in the dishwasher.
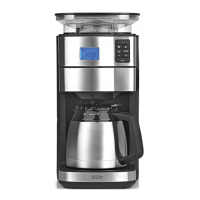
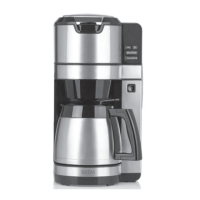
Please Note! Clean the thermal jug after every use with a mild detergent and warm water. It
must not be placed in the dishwasher.
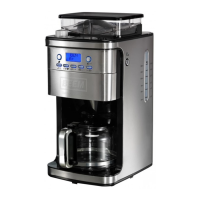
2. If necessary, wipe the coffee bean compartment (2) and the lid (1) with a damp cloth.
3. Wipe the housing with a damp cloth. If necessary, use a little detergent to remove more
intense soiling.
4. Thoroughly dry the device and all accessories before assembling it again.
5. Check the connecting cable regularly for any damage.
Cleaning the Grinder Shaft
1. Take the coffee beans out of the coffee bean compartment (2) (Apart from the few beans
that you cannot reach by hand.)
2. Insert the permanent fi lter into the fi lter insert and close the fi lter compartment (5).
3. Touch the fi eld
(26) to switch on the device. The grinding process will start.
4. Once the rest of the coffee beans have been ground – you can tell this from the change in the
grinding noise – stop the grinding process by touching the fi eld
again.
5. Remove the coffee bean compartment: To do this, turn it a little anticlockwise until it
disengages (Picture H). Lift it off.
6. Move the grinding fi neness dial (7) to the Release position.
7. Pull out the top part of the grinder (3) by the small handle (Picture I).
8. Clean the grinder shaft and the grinder with the cleaning brush that is supplied.
9. Reinsert the top part of the grinder and press it down. Make sure it is in the correct position
(arrow marking). Fold the handle down again.
10. Adjust the grinding fi neness dial back to a grinding fi neness. The grinder is locked again.
11. Place on the coffee bean compartment at an angle and turn it clockwise a little until it engages.
02576_04233_04260_Inlay_DE-EN-FR-ES-IT_A5_V1.indb 2802576_04233_04260_Inlay_DE-EN-FR-ES-IT_A5_V1.indb 28 23.06.2021 08:25:1223.06.2021 08:25:12