EN 36
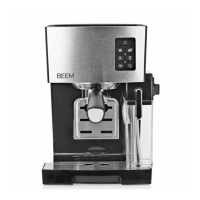
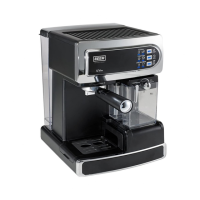
3. Fold out the milk nozzle (8) using the lever (7) (Picture E).
4. Select the setting you want using the dial for the milk froth (5) (see the “Handling and
Operation” chapter | “Setting the Milk Froth Quantity”).
5. Press the button
(16) to switch on the device and preheat the water. The control
panel fl ashes during the heating process.
6. Place a suitable cup below the milk nozzle.
7. As soon as the device has heated up, the control panel stops fl ashing. Press the
button
(21). A beep sounds, the brewing process starts and the chosen button
fl ashes. Milk is heated with steam and frothed up.
At the end of the brewing process, a beep sounds, the control panel is fully lit up again
a
nd the device automatically switches to stand-by mode.
Cleaning and Care
NOTES
• Before commencing the cleaning, note the safety instructions in the
“Safety Instructions” chapter!
• Do not use any toxic, corrosive or abrasive cleaning agents or scouring
sponges to clean the device. These can damage the surface.
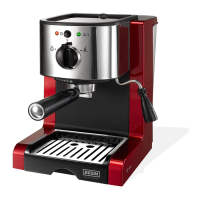
1. Clean the milk container (9) a
nd the fi lters after every use with mild detergent and
warm water or in the dishwasher.
2. Rinse through the tube in the milk tank with clear hot water to remove milk residues
after every use.
3. If necessary, clean the water tank (2) and the drip tray (10) and the cover (11) with
mild detergent and warm water or in the dishwasher.
4. Regularly run the cleaning programme (see “Self-Cleaning”) to clean the milk tank
system as well as the coffee outlet (14) on the portafi lter (12).
5. Wipe down the housing with a damp cloth. If necessary, use a little mild detergent to
remove more intense soiling.
6. Thoroughly dry the device and all accessories before assembling it again.
7. Check the mains cable regularly for any damage.
03428_DE-EN-FR-NL_A5_V3.indb 3603428_DE-EN-FR-NL_A5_V3.indb 36 12.01.2018 11:24:4512.01.2018 11:24:45