STORE button enables the JOG WHEEL
to scroll through the 10 available preset slots. Press the STORE button again to confirm and save to the selected slot.
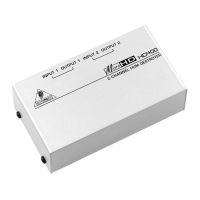
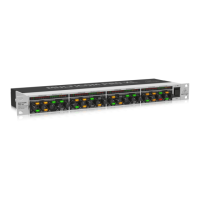
FEEDBACK DESTROYER FBQ1000 Getting started
Step 3: Getting started
1. Make all appropriate audio and power connections to the FBQ1000. Leave the power for all devices off!
2. Select the proper levels with the OPERATING LEVEL buttons to suit your application.
3. Press the POWER BUTTON to turn the unit on.
4. Use the JOG WHEEL to select preset 3. This sets all filters to Auto mode, which is a good starting point for eliminating feedback.
5. Press the ENGINE L or ENGINE R button to edit a specific channel. Press both ENGINE buttons simultaneously to enter Couple mode
which allows both channels to be edited at the same time.
6. Press the FILTER SELECT button and turn the JOG WHEEL to select a specific filter.
7. Press the FILTER MODE button and turn the JOG WHEEL to edit the type of filter.
8. To save the preset, press the STORE button and turn the JOG WHEEL to select the preset location. The digit in the DISPLAY will flash.
9. Press the STORE button to confirm and save.
10. Log on to behringer.com to download the full manual for more details on the FBQ1000’s functionality.
FEEDBACK DESTROYER FBQ1000 Preset chart