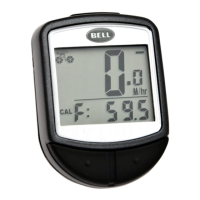
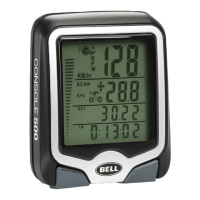
Programming the ComPuter
STEP 4: Set Distance for Maintenance Reminder– After setting age and weight, the preset number of
600 km (or miles) will ash. This is the default distance in KM or Miles for the Maintenance Reminder function.
Press the RIGHT button to select 200, 400, 600 or 800 km (or mile) maintenance interval, then press the LEFT
button to conrm. When your odometer (ODO) reaches the selected distance interval, the wrench icon
( ) will ash, reminding you to service your bicycle (check tires and other parts for wear, lubricate chain,
etc…). Press the LEFT button to stop the wrench icon ( ) from ashing.
STEP 5: Set the Clock– Press and hold the LEFT button for two seconds. You will see a 12 or 24-hour digital
clock with a ashing colon at the bottom of computer display. To switch between the 12 and 24 hour format
press the RIGHT button. Press the LEFT button to conrm. Next, the hour digits will start to ash. Use the RIGHT
buttons to select the hour and press the LEFT button to conrm. Repeat for minutes digits. Press the RIGHT
button to enter Odometer (ODO) mode.
STEP 6: Test to Ensure Proper Installation– Now that the computer is programmed, insert it into the
bracket. Spin the front wheel. The speed tendency icon in the upper left corner of the screen should be turning
as the computer starts recording data (Refer to Troubleshooting in case of problems).