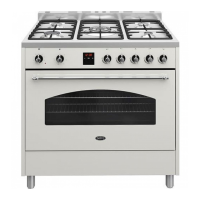
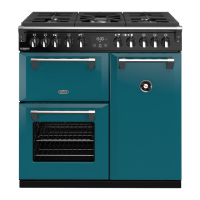
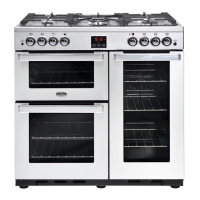
INSTALLATION INSTRUCTIONS RANGE ELECTRIC
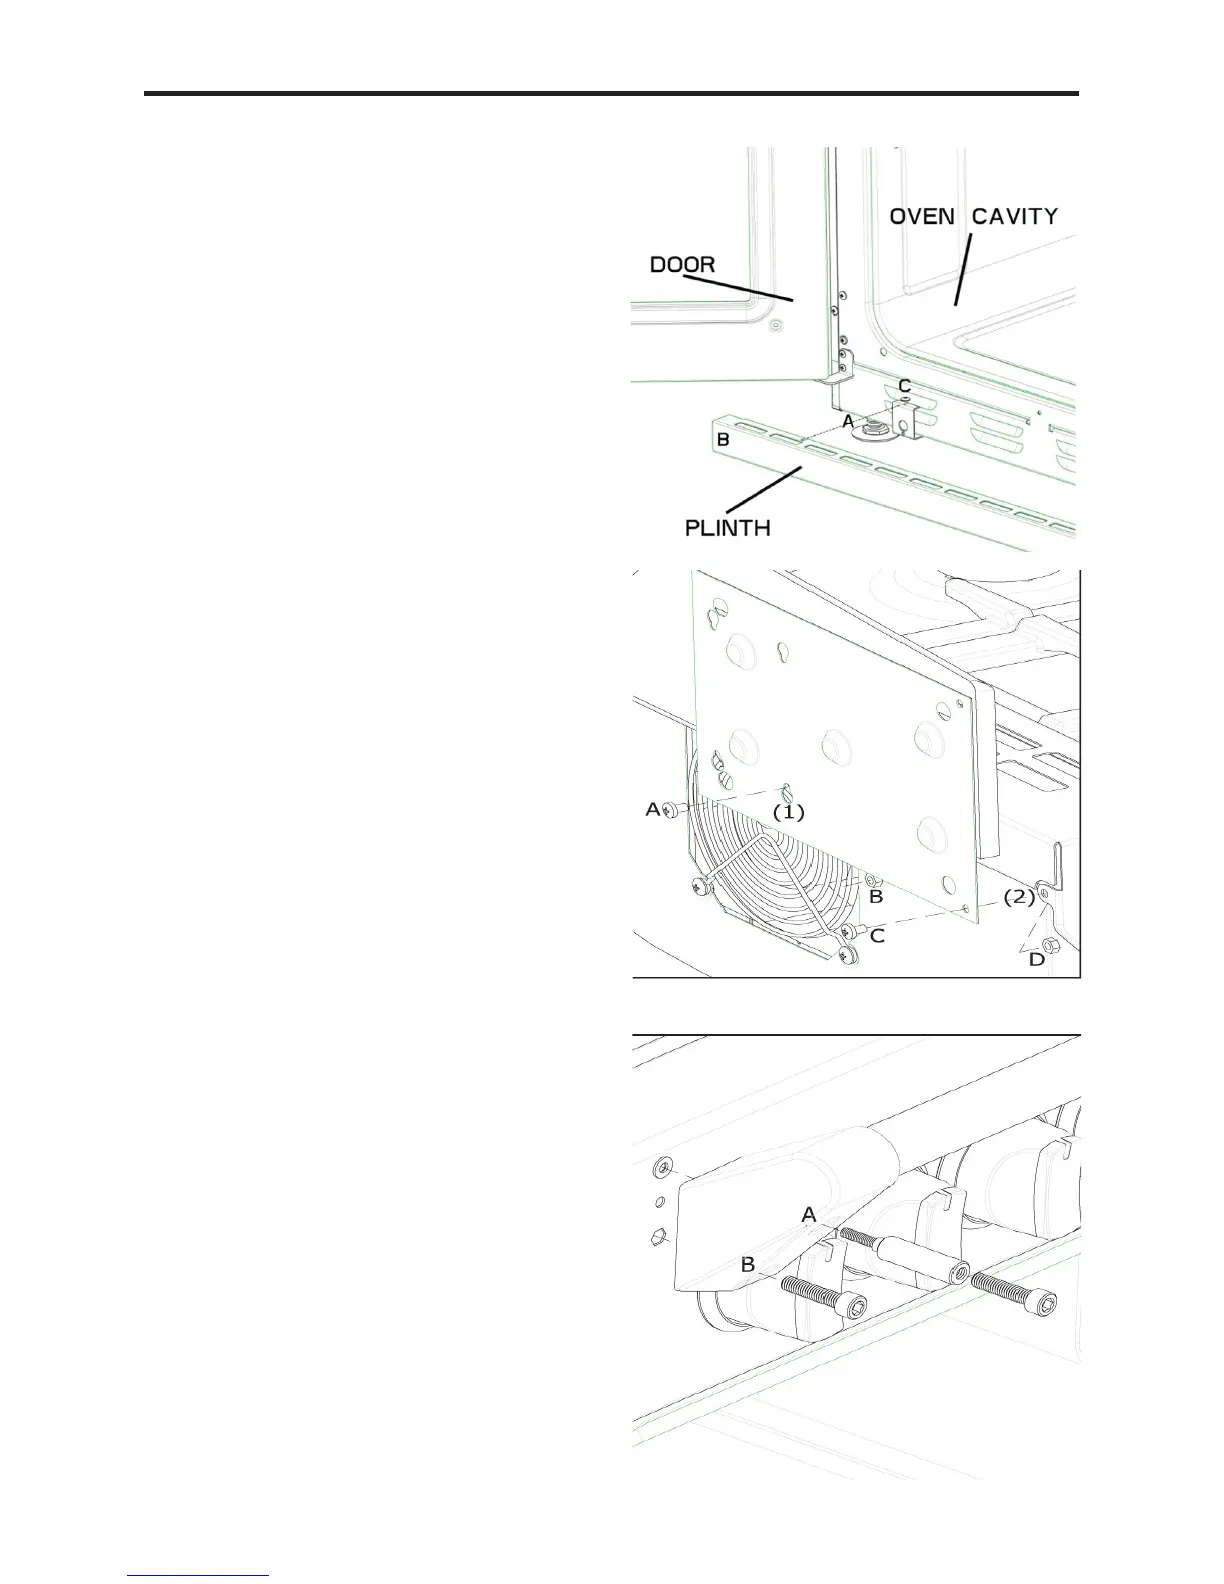
Fitting the plinth (if applicable)
• Ensure the appliance is raised to a
height of 915mm or above using
adjustingfeet(A)beforebeginning.
• Open the appliance doors and loosen
screw(C),donotremovethescrew
entirely. If your appliance has a stor-
age drawer at the bottom, you access
thescrews through holes located at
the base of the drawer after lifting
the mat.
• Fitplinth(B)andsecureusingscrew
(C).
Fitting the splashback (if applicable)
• LooselytscrewAandnutBinto
hole 1 at both ends of the rear sur-
face of the appliance.
• LocatettedscrewAthroughthe
slots in both of the metal splashback
plates.
• Tighten screw A and nut B.
• Now locate and tighten screw C and
nutDthroughhole(2)atbothends
of the rear surface of the appliance.
Make sure that the splashback is
securely attached, but avoid over
tightening.
Fitting the towel rail (if applicable)
• On the towel rail there are two hole,
top(A)andbottom(B),theseholes
have corresponding holes on the
fascia at each end.
• Thescrewforthetophole(A),must
be screwed into the supplied adaptor,
where as the remaining screw just
goesthroughthebottomhole(B).
Both screws are M6 screws. Using
the allen key provided, tighten the
screws making sure that the towel
railisushtothefascia,butnot
over tightened.