8
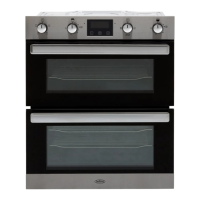
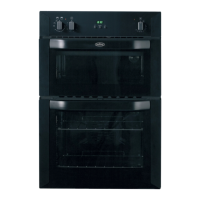
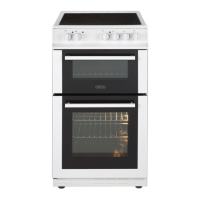
Installation Instructions
Connecting to Electrical For your own safety, we recommend that your cooker is installed by a
Supply competent person. The cooker should be installed in accordance with
AS/NZS 3000:2000
WARNING: THIS APPLIANCE MUST BE EARTHED!
The cooker must be connected to the correct electrical supply as stated on the
rating plate, through a suitable cooker control unit incorporating a double pole
switch having a contact separation of at least 3mm in all poles, adjacent to (but not
above) the cooker. We recommend that the cooker circuit is rated to 30 Amps.
We also recommend that 4mm² P.V.C. (minimum 2.5mm² - maximum 6.0mm²)
Insulated twin and earth cable is used to connect the cooker control unit.
IMPORTANT:
For access to the mains terminal block and for supply cable connection, it is
necessary to remove the access cover situated at the bottom of the back panel.
No part of the appliance will operate unless the main control unit is switched ON.
The live and neutral positions are marked with the letters L and N respectively,
marked in front of the terminal block. The earth terminal is marked by the earth
symbol.
Allow sufficient cable length for the cooker to be pulled out for cleaning, but do not
let it hang closer than 25mm (1”) to the floor. The cable can be looped if
necessary, but make sure that it is not kinked or trapped when the cooker is in
position. Secure the mains cable using the cable clamp.
Connect the mains cable as follows:-
Live to terminal L.
Neutral to terminal N
Earth to the earth stud.
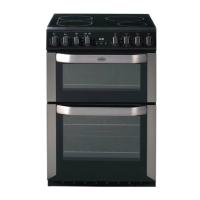
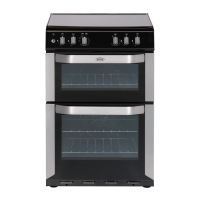
Before Cooking
Before you cook for the first time, we recommend that you switch on each element
in turn to burn off any odours remaining from manufacture.
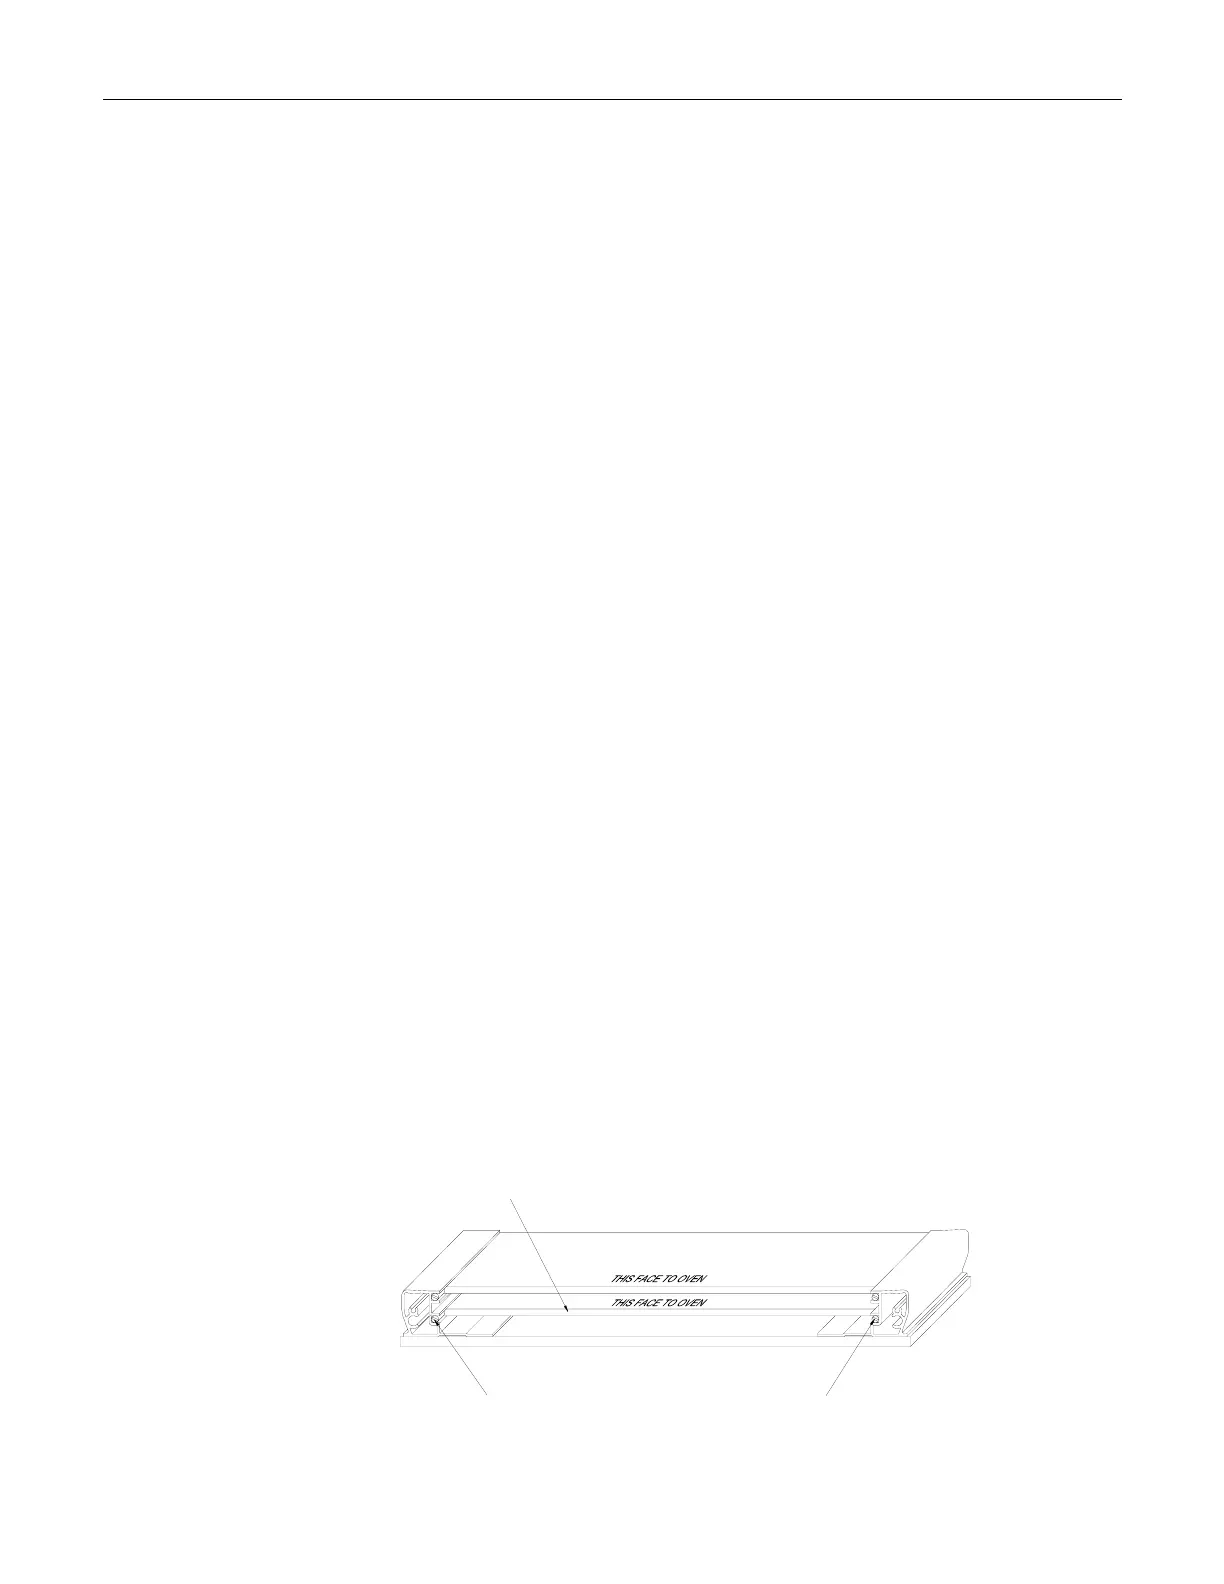
Additional Protective An additional protective means to avoid contact with high temperatures on the
Means oven doors is available. An extra inner door glass is provided to make the door
assembly triple glazed, thus reducing temperatures on the door front. This part
should be fitted when young children are likely to be present.
The kit is available as an optional extra from the Belling Agent as listed at the
rear of the instructions.
Quote Reference: DK0001
Screw (2) Grubscrews into the base of the extrusions
into the channels as shown
Inner door glass slides into position