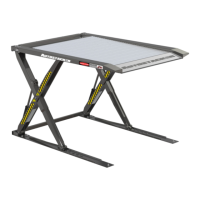
Autostacker™ Parking Lift 37 P/N 5900002 — Rev. D — August 2019
Add the Tire Trough and Tire Stops
The Tire Trough is a lowered section of the Platform that holds the tires of the Vehicle. The Tire Stops
attach to the top of the Tire Trough and add a bit of extra height for holding Vehicles with larger tires.
Important: The Tire Trough functions as a tire chock; the forward wheels of the Vehicle on the
Platform should
always
be sitting fully in the Tire Trough.
The Tire Trough is installed at the front of the Autostacker; it attaches to the Top Connector Tube.
The Tire Stops are optional but recommended. They attach to the Top Connector Tube using the
same Nuts, Bolts, and Washers as the Tire Trough.
⚠ WARNING The Tire Trough is heavy. Move it into position using a lifting device such as a
Forklift or Shop Crane. If this is not an option, have at least two people to move it.
Do not allow just one person to move the Tire Trough
; they could be
injured.
To install the Tire Trough and Tire Stops:
1. Move the Tire Trough into position next to the Top Connector Tube.
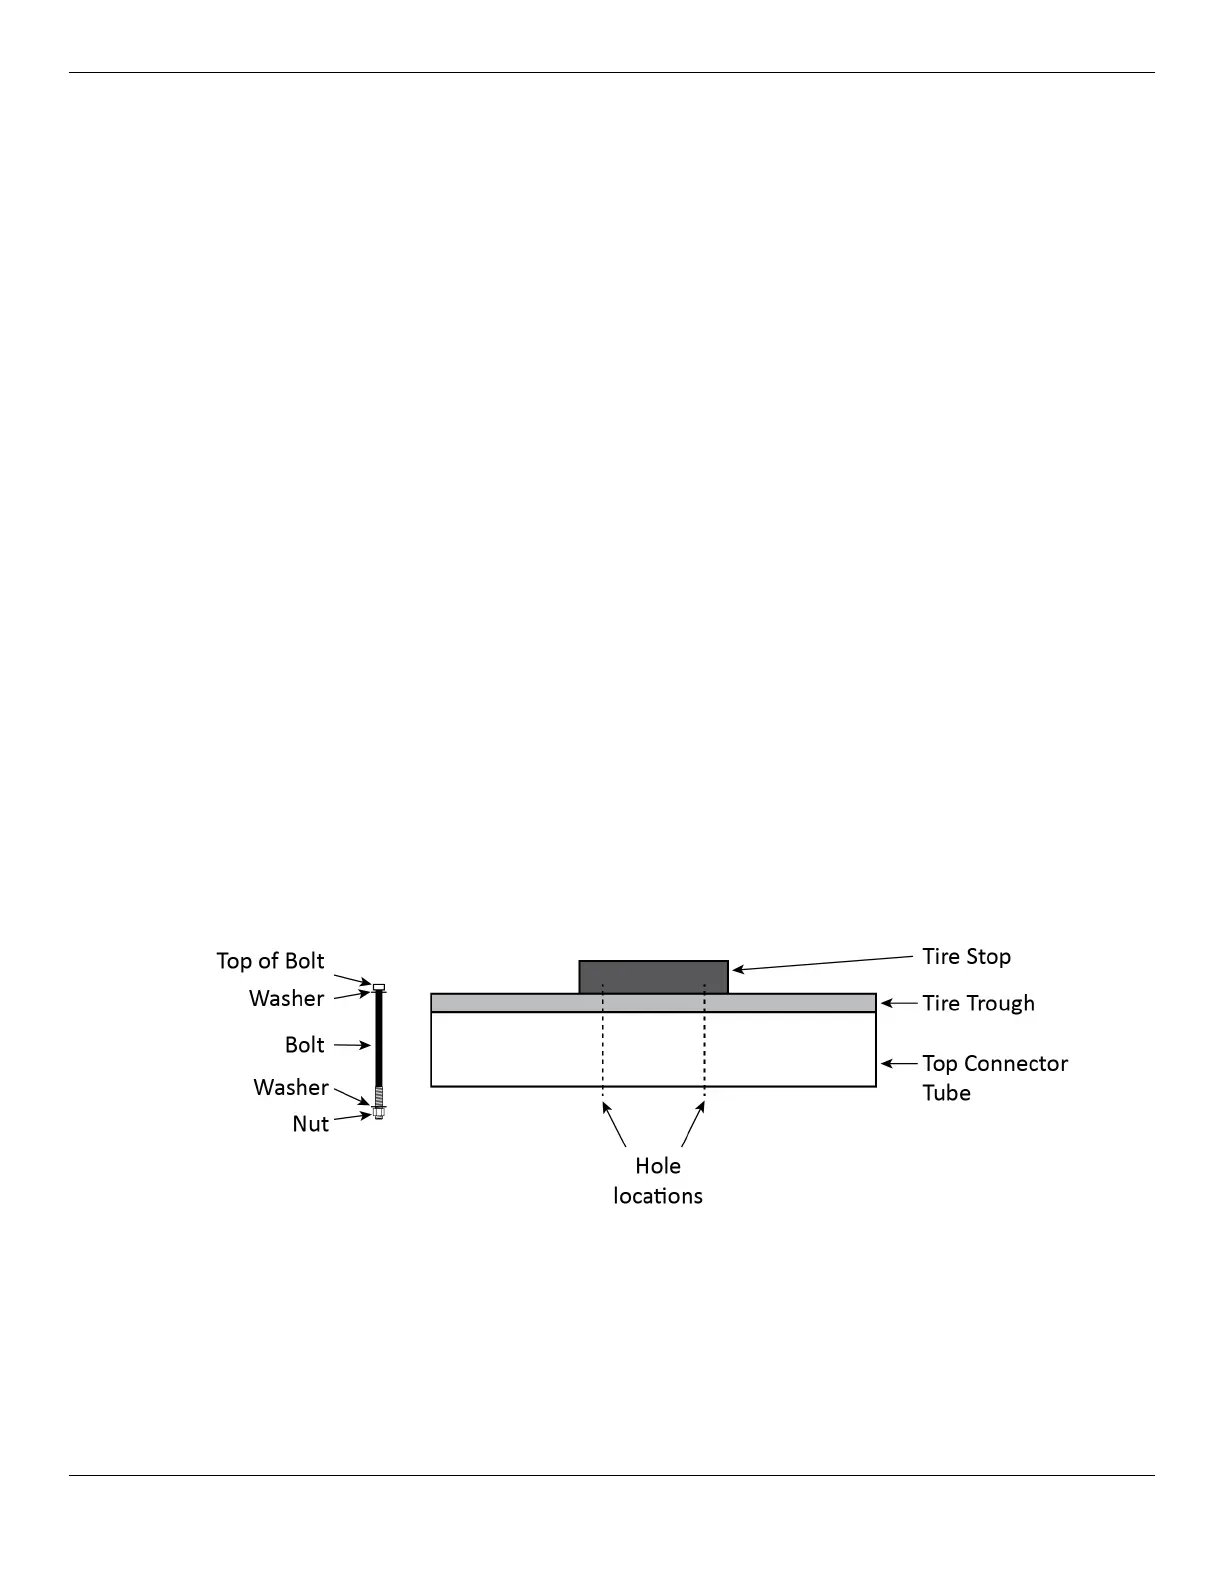
A section of the Tire Trough rests on the Top Connector Tube. This is where the Tire Stops go and
where you attach the Tire Trough to the Top Connector Tube.
2. Get the necessary Bolts (4), Nuts (4), and Washers (8) from the Parts Bag.
3. Put the Tire Stops on top of the Tire Trough; align the holes in the bottom of the Tire Stops with
the holes in the Tire Trough and the Top Connector Tube.
Orient the Tire Stops so that the vertical portion is on the Tire Trough side.
4. Push a Washer into place on the Bolt, then slide the Bolt through the Tire Stop, the Tire Trough,
and the Top Connector Tube.
5. Put the second Washer on the Bolt, at the bottom, then add and tighten the Nut.
The following drawing is a side view of how these components go together.
6. Repeat steps 4 and 5 for each of the other holes.