17
4 Level 1 Cosmetic / Appearance / Alignment Service
4.1 Software / Firmware Upgrade Process
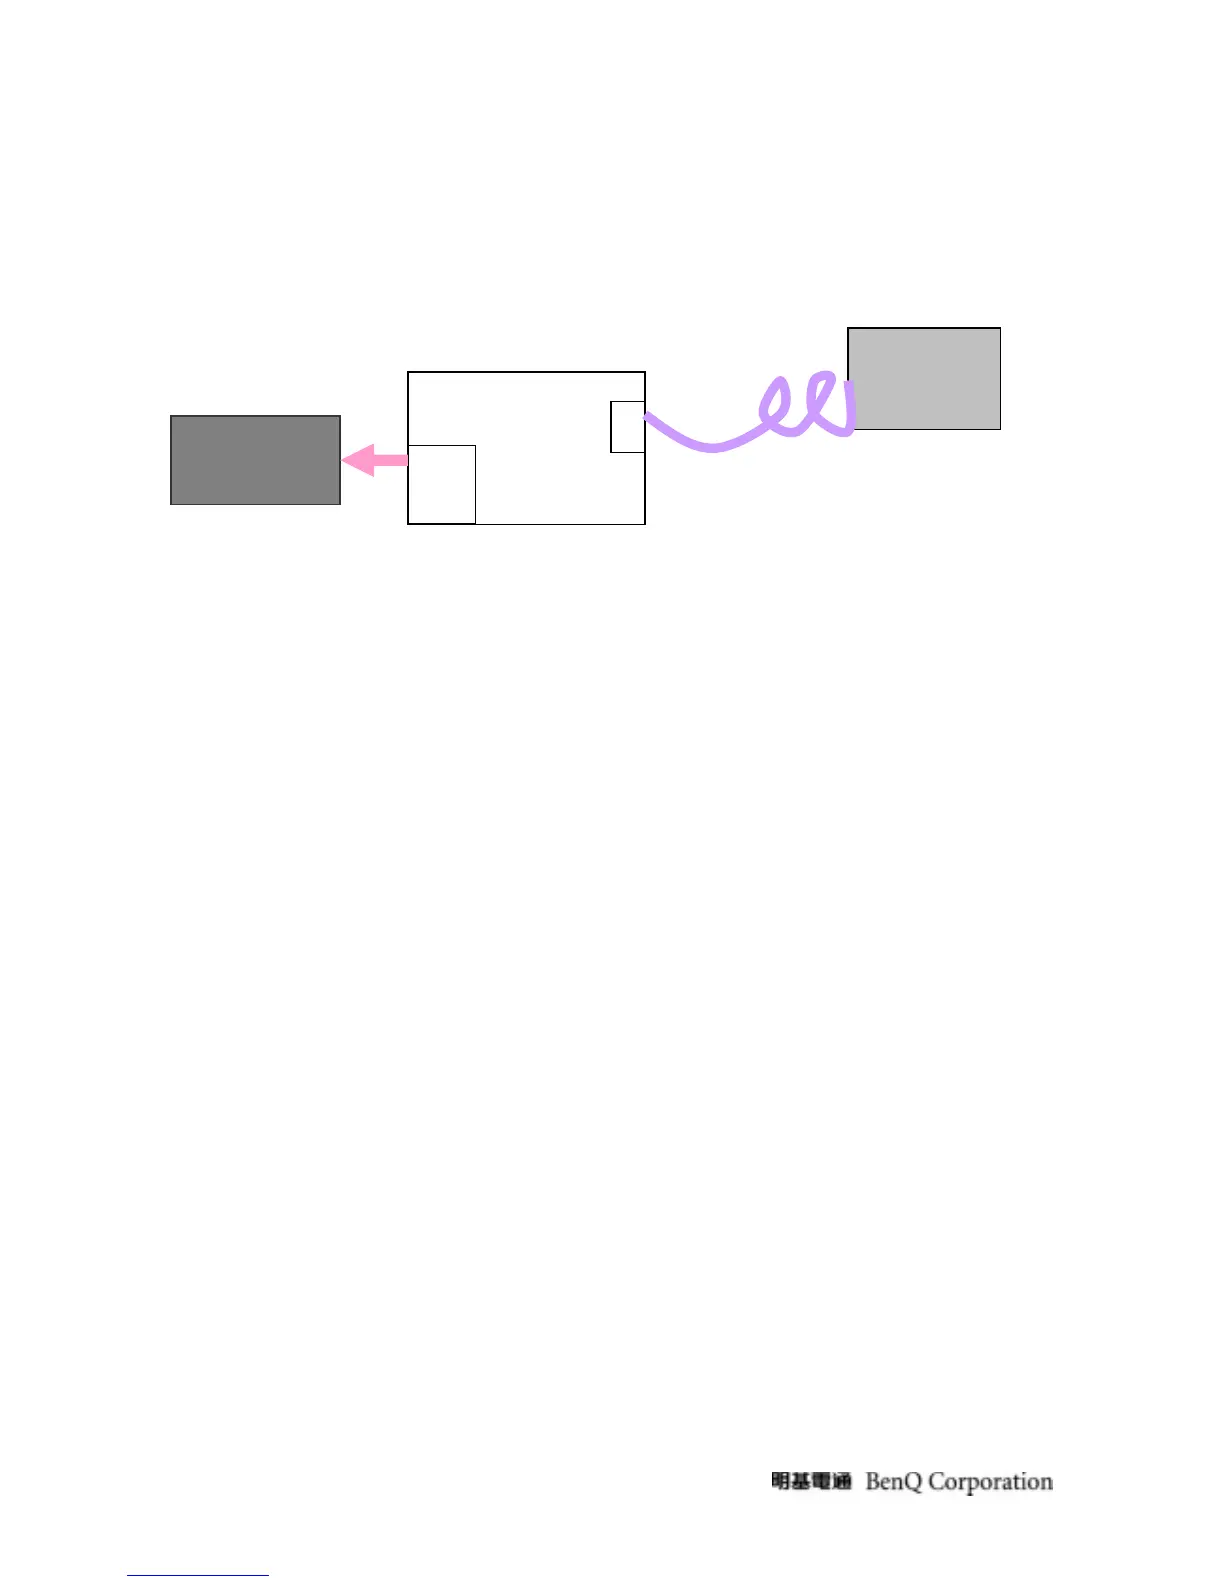
Upload firmware to MCU via VGA Cable
1. Connect ISP board between monitor and PC as below configuration.
2. Press the “connect” button in ISP.exe, and select the device type, which is used in this monitor. Choose the
corresponding firmware version, and load to MCU.
3. After finish, please plug out power cable and re-start monitor again.
4.2 Alignment Procedure (for function adjustment)
4.2.1 Preparation:
1. Setup input timing VESA to 1680*1050@60Hz,32-Grays pattern.
2. Setup units and keep it warm up for at least 30 minutes.
4.2.2 Timing adjustment
1. Enter to factory mode setting area (by pressing “ENTER”+ “MENU” + “POWER” at the same time during power off).
2. Check the settings to following values:
Contrast =50;
Brightness=90;
Color enhancement=general;
3. Then turn off the monitor power.
4.2.3 Function key Definitions
4.2.3.1 Control buttons on the Back bezel
• “MENU”
When OSD displays, press [MENU] to return to previous level menuView the next
function in the OSD Main menu
When OSD isn’t shown on screen, press [MENU] to enter OSD interface
Press [MENU] to enter Service Page When OSD isn’t shown on screen in Service Page
Mode
• “ENTER”
Insert to Parallel
Port on PC
ISP Board
LCD Monitor
D-Sub
Parallel
Port
D-SUB
 Loading...