Do you have a question about the Bernard Controls ST6 and is the answer not in the manual?
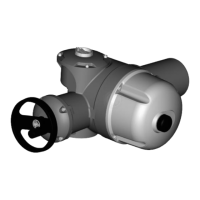
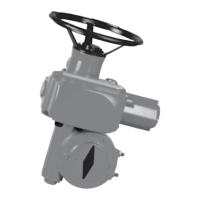
Secure actuator to valve using proper bolts or interface. Avoid upward cable glands.
Refer to section 11 for details on storage precaution prior to start-up.
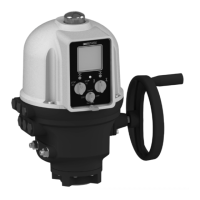
Operate manually by turning clutch button. Motor drive has priority.
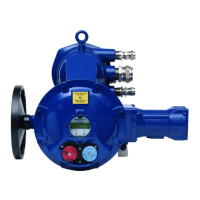
All components wired to common terminal strip. Pass cables through glands.
Integrate torque and travel limit switches into control system to prevent damage.
Cams set independently. White/black for open/close, others for optional switches.
Use screwdriver to disengage and rotate cams to trip limit switches.
Check valve stem, jamming, or stuffing box tightness if torque limiter activates.
Turn setting screw to adjust torque limit value on graduated scale.
Torque limiter provides a maintained contact.
Rotate disc until symbol appears in window for closed and open positions.
Driven by camblock system, provides 0-1000 ohms signal proportional to valve position.
Clip potentiometer without indicator onto camblock and screw to support column.
Adjust zero screw to set resistance value close to 0 Ohm at closed position.
Drive to open position and note resistance value for 100% position.
Delivers a 0/4 to 20 mA signal proportional to valve position.
Refer to wiring diagram. Use filtered/stabilised 12-32 VDC power supply.
Invert signal variation by moving jumpers on the board.
Adjust 0/4mA and 20mA points using adjustment screws and milliammeter.
Close cover immediately after start-up. Ensure seals are clean and undamaged.
Dry thoroughly and check insulation if water enters. Replace covers if needed.
Actuators are lubricated for life; require no specific maintenance. Check valve stem.
Store in clean, dry, sheltered place, protected from temperature changes.
For actuators with heating resistance, connect and power supply if area is humid.
| Brand | Bernard Controls |
|---|---|
| Model | ST6 |
| Category | Controller |
| Language | English |