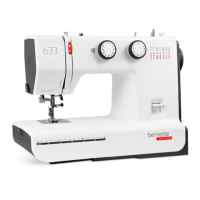
45
sew&go1/3/5
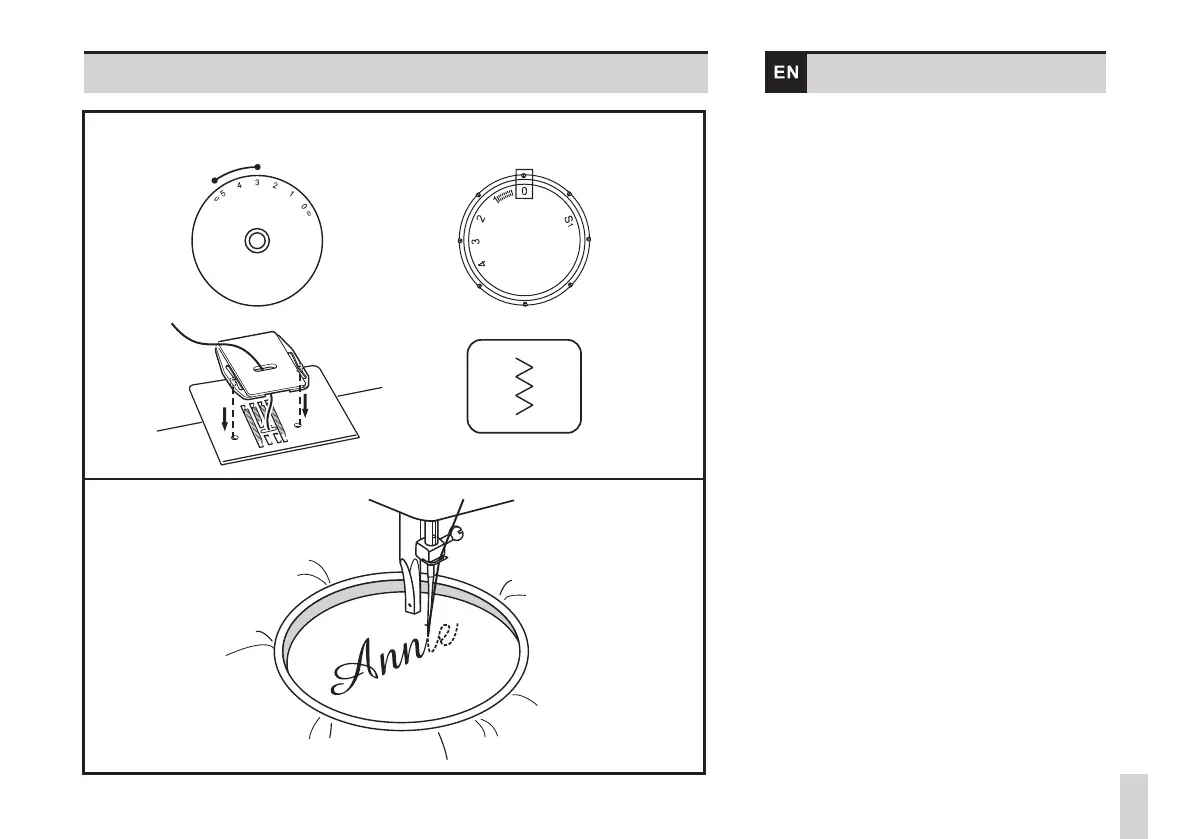
- Set the machine as illustrated.
- Remove the presser foot and the presser foot
holder.
- Attach the darning plate.
- Lower presser foot lever before starting to sew.
- Adjust the stitch width according to the size of
lettering or design (only possible for model
sew&go 5).
- Draw the desired lettering or design on the
right side of the fabric.
- Stretch the fabric between embroidery hoop
as firmly as possible.
- Place the fabric under the needle. Make sure
the presser foot bar is down in its lowest
position.
- Turn the towards you to bring up
the lower thread through the fabric. Sew a few
securing stitches at the starting point.
- Hold the hoop with thumb and forefingers of
both hands
* Embroidery hoop not included with machine.
Preparation for Monogramming and
Embroidering*
handwheel
and guide the embroidery hoop.
Please Note:
No "S1" marking is shown on the stitch length
dial by model sew&go 1.
Stitch width dial Stitch length dial
Monogramming and
embroidery