3
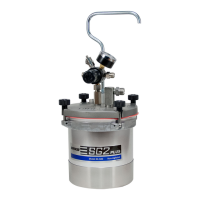
Set up the SG-2 Plus
TM
Rotary with the CONVENTIONAL or
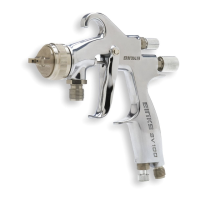
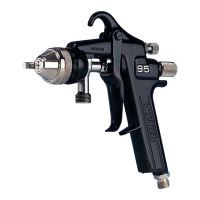
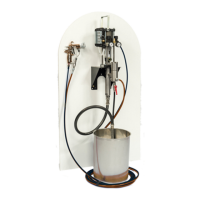
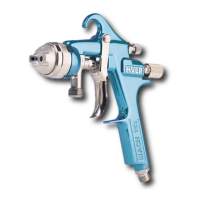
HVLPgunalongwithatleast5ft.ofairandfluidhose.
Attach air hose from extractor to air inlet on handle of steadi-
grip assembly. Pour paint into canister with liner. Re-attach
lid to canister and firmly tighten four knobs over canister lid.
Set air pressure from air regulator mounted on extractor and
fluid pressure by adjusting fluid pressure adjustment knob on
cup handle. Open air valve on top of handle to start agitator.
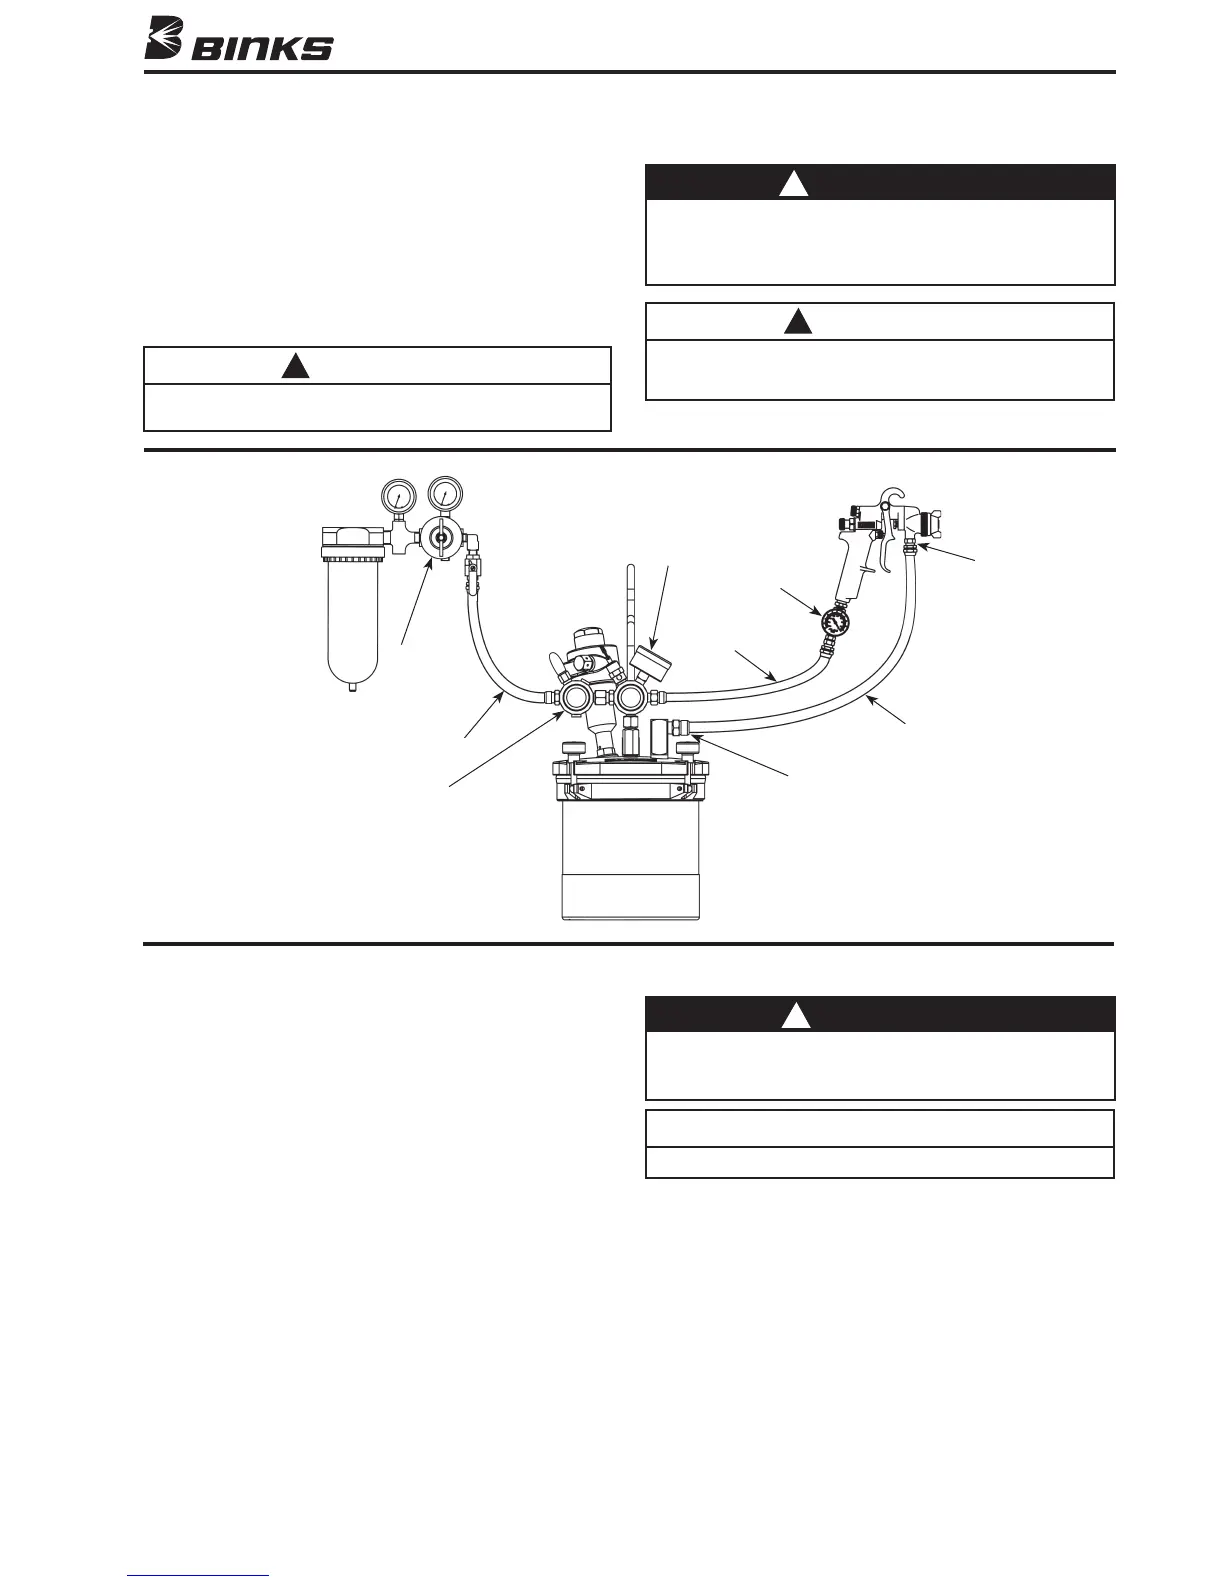
SETUP AND OPERATION
Refer to “TYPICAL INSTALLATION” drawing below
TYPICAL INSTALLATION
WARNING
Chlorinated solvents and aluminum are incompatible and
will cause an adverse chemical reaction, possibly resulting in
bodily injury. With the SG2 pressure cup, use chlorinated
solvents only when using plastic liner (80-355).
!
CAUTION
Do not exceed 100 PSIG input air pressure into the cup.
Excessive pressure could damage components.
!
Agitator
Control
CAUTION
Before refilling canister with paint, shut off air supply to
the cup and release pressure from canister by rotating
pressure relief knob counterclockwise.
!
DAILY: Add a couple drops of air motor oil to air motor inlet to
ensure smooth operation. DO NOT ADD OIL TO MAIN AIR
INLET ON HANDLE.
AS NEEDED: Clean and lubricate regulator, check valve and
pop valve.
MAINTAINING YOUR 80-651 ROTARY PRESSURE CUP
WARNING
Disconnect air source from cup and bleed off all pressure
before servicing the cup or its components. Failure to do so
could result in injury.
NOTE
Items 49 and 52 have left hand threads.
!
Air Hose
Air
Regulator
Fluid Pressure
Control
Air Hose
Air Controller
3/8 NPS (m)
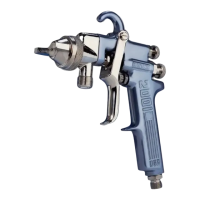
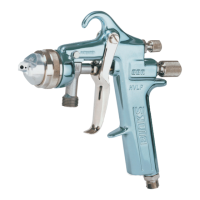
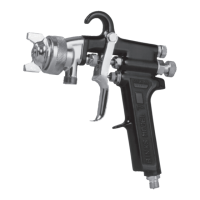
Spray Gun
Fluid Inlet
Fluid Hose
3/8 NPS (m)
Fluid Outlet
Oil and
Water
Extractor