5
5. Cut the tape around the box lid and lift to remove the lid.
6. On the bottom box lip, cut the tape and completely unfold the bottom lip on all four sides.
7. Cut the outer layer of cardboard down the middle to remove.
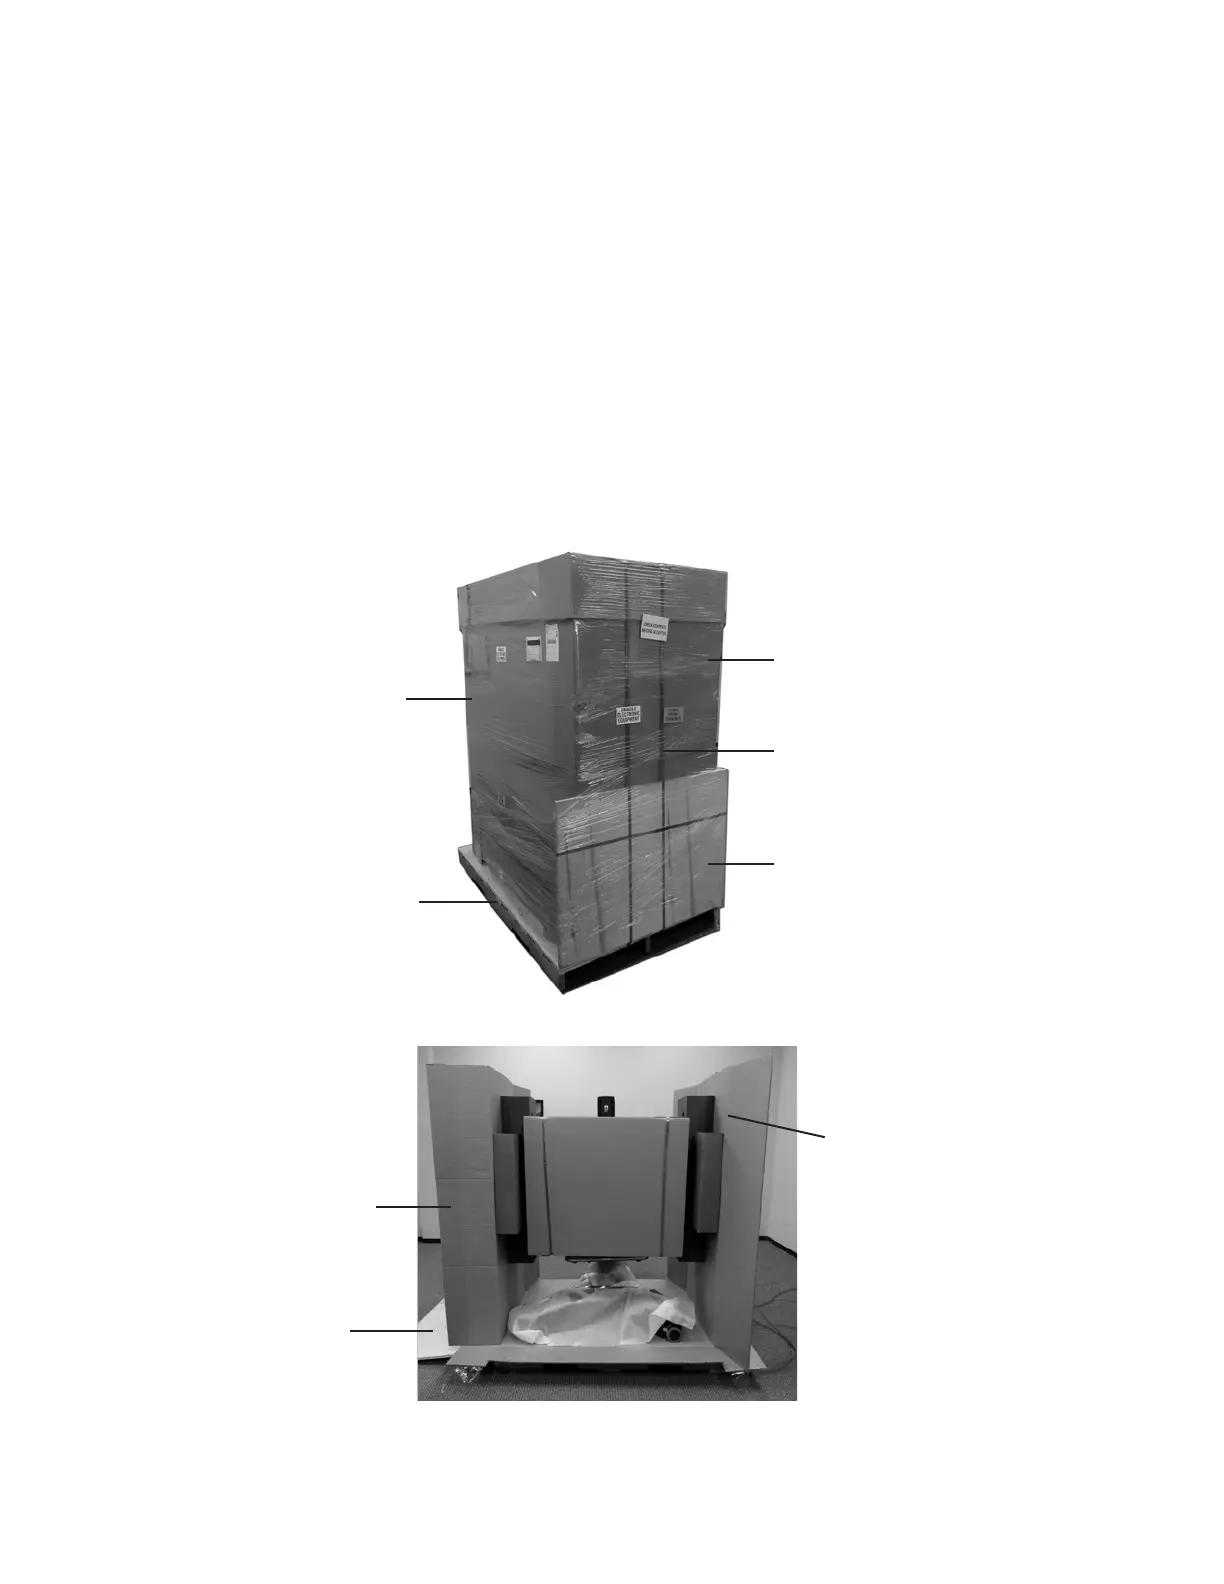
8. Open the side cardboard flaps and remove the front and back cardboard panels. See Figure 2.
9. Carefully remove the side cardboard panels with attached foam inserts that are supporting the Touchscreen Display
Monitor. See Figure 2.
10. Cut the green shipping straps that are attached to the anchors on the bottom of the box.
11. Remove the foam wrap and the foam blocks that are located under the BITS display stand.
12. Carefully roll the BITS System down the wooden ramp.
13. Cut the green shipping straps from the cardboard in front of the Touchscreen Display Monitor. Remove the cardboard,
foam blocks, and foam cover from the Touchscreen Display Monitor.
14. The box attached to the back of the system will contain the display screen remote control, stylus, Touchscreen
Cleaning Kit, display screen literature, and a small bag of screws. Remove the contents and set aside.
15. The Touchscreen Display Monitor was intentionally left loose to allow for rotation. Position the monitor so that it is
level, and hand tighten the knob found in the back of the mounting bracket by turning it clockwise. See Figure 3.
Figure 1: Hardware Kit Packaging
Side Cardboard Flap
Side Cardboard
Panel with Foam Inserts
Wooden Ramp
Card Board Box
Plastic Shipping Wrap
Wooden Palette
Wooden Ramp
Shipping Straps
Figure 2: Side Cardboard Flaps and Front Panel