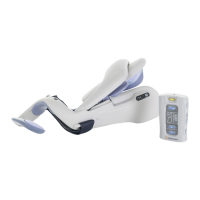
7
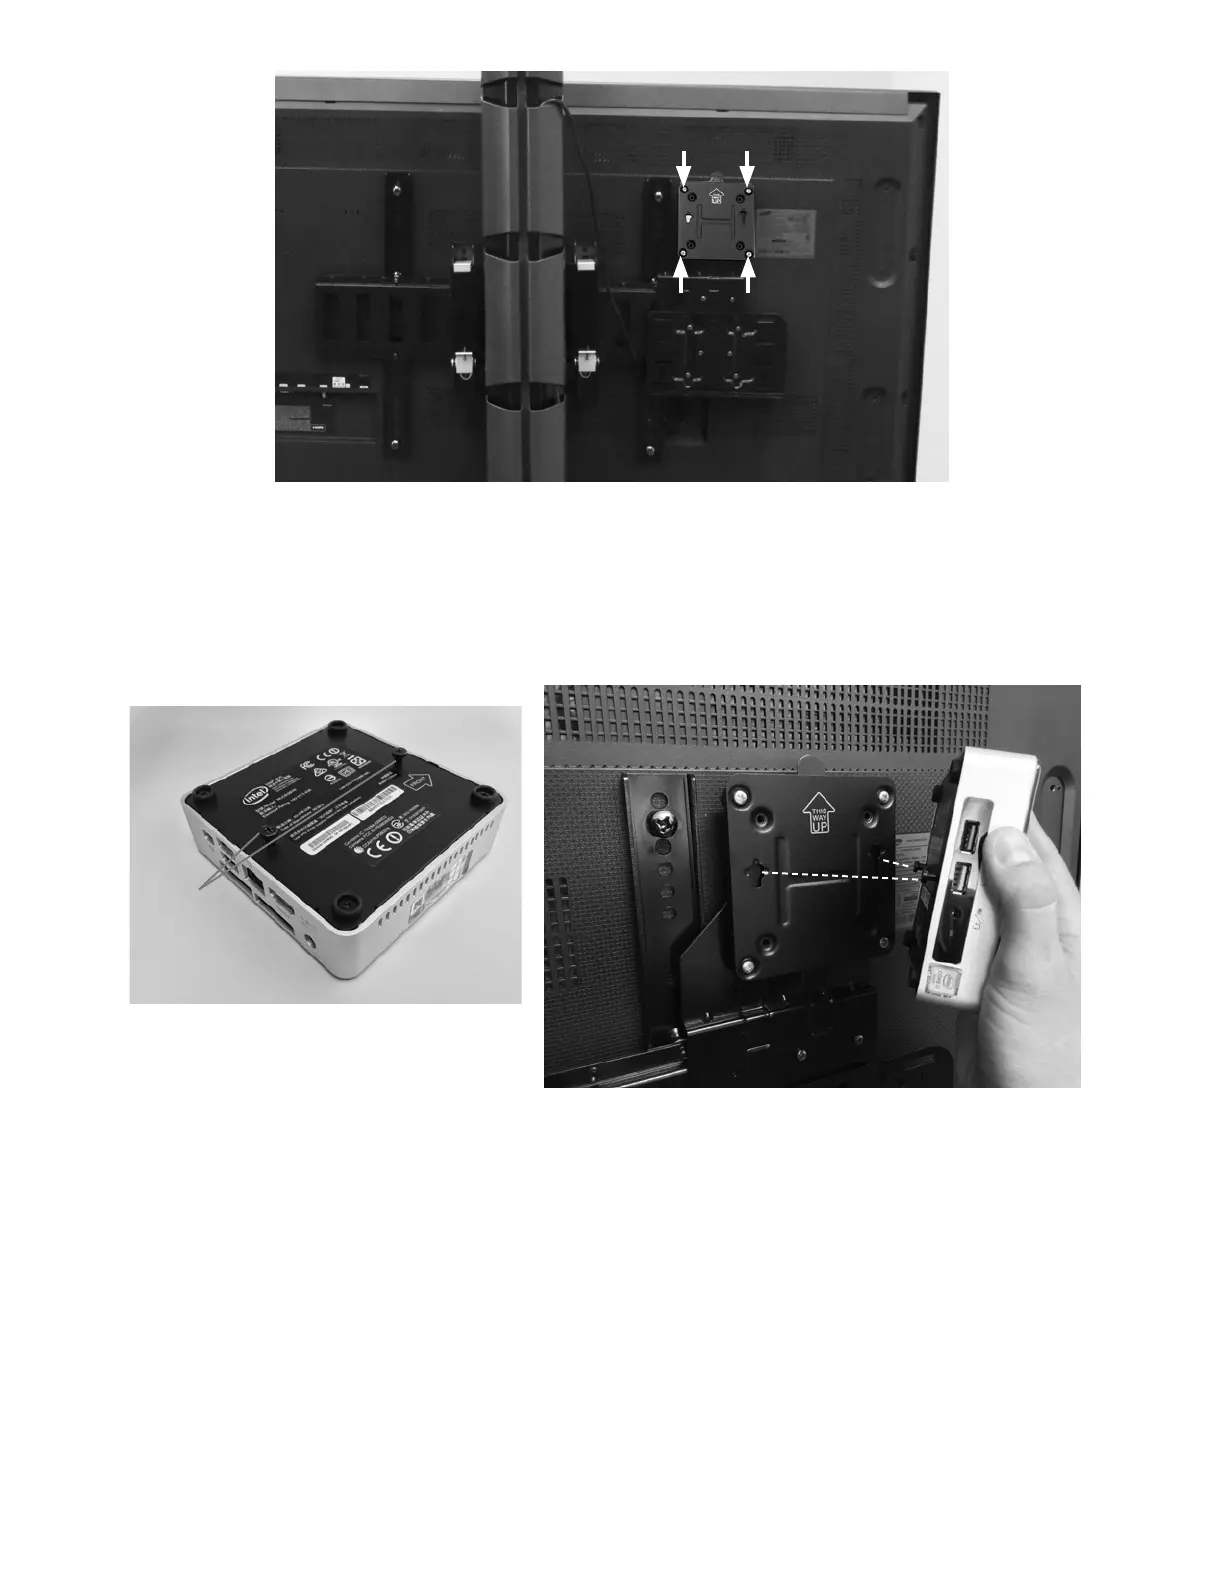
Figure 5: Attaching Computer Mounting Bracket
3. Remove the computer from the plastic bag and attach 2 screws (provided with the computer) to the back of the
computer. See Figure 6. Do not over tighten the screws. The screws will be used to slide the computer into the
computer mounting bracket.
4. Slide the computer, with attached screws, into the computer mounting bracket. See Figure 6. The computer should fit
snuggly into place and should be able to be easily removed.
Figure 6: Attaching Screws to Back of the Computer (Left)
Attaching Computer to the Computer Mounting Bracket (Right)
Note: When attached, the connection ports on the computer will be on the right hand side.
USB Hub
1. Remove the USB Hub from its packaging.
2. Connect 2 strips of fastener together. Remove the protective cover from one side and affix it to the bottom of the USB Hub.
3. Plug the USB Hub into the yellow USB port on the left side of the computer.
4. Remove the protective cover from the fastener and affix the USB Hub directly to the back of the Touchscreen Display
positioned to the left of the mounting bracket. See Figure 7.
Screws