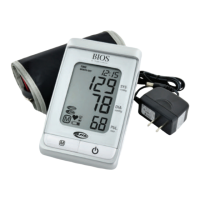
5SINGTHE!#$#0OWER!DAPTER
You may also operate this monitor using the included AC/DC
adapter. Use only the included adapter to avoid damaging
the unit.
1. Ensure that the AC/DC adapter and cable are not damaged.
2. Plug the adapter cable into the AC/DC adapter port on the
top of the blood pressure monitor.
3. Plug the adapter into your electrical outlet. When the
adapter is connected, no battery current is consumed.
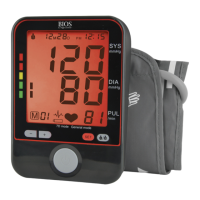
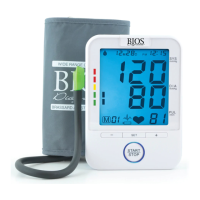
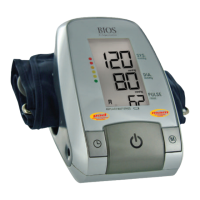
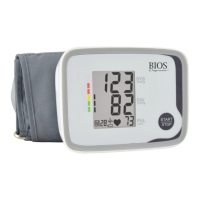
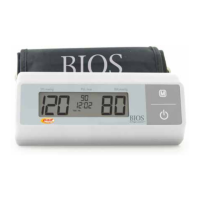
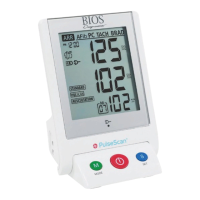
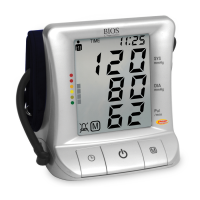
3. Using the Device
This section describes how to get the maximum benefit from your blood pressure monitor. Follow the
instructions carefully to get an accurate measurement of your blood pressure and pulse rate.
./4%3ETTINGTHEUSERYEARMONTHDATEANDTIMEISONESEQUENTIALPROCESS
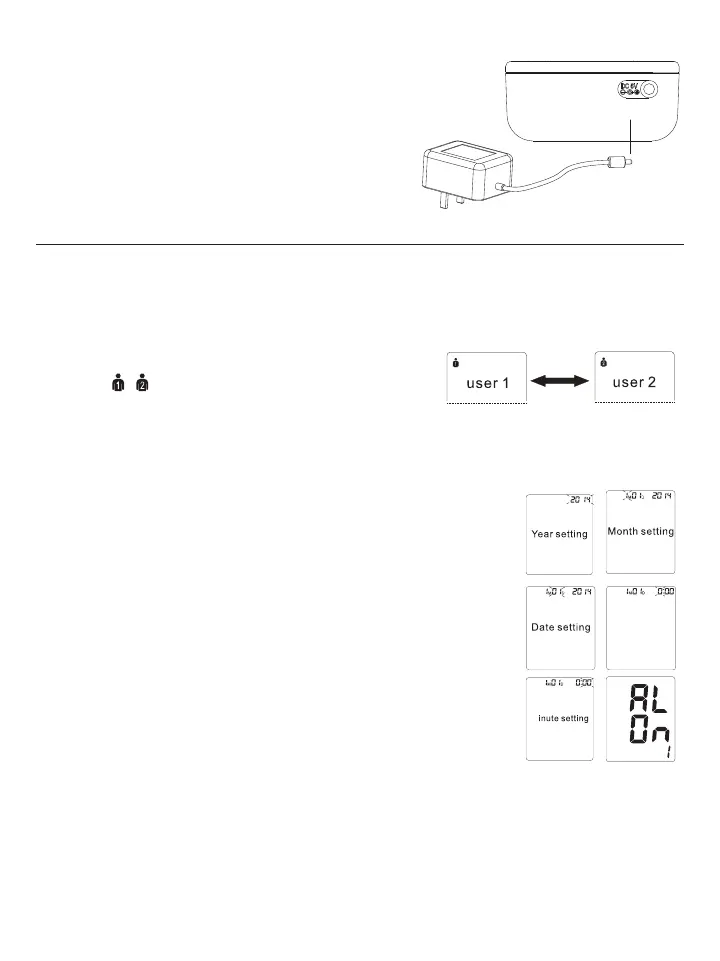
3.1 Select the User
1. Start with the monitor OFF, but with batteries or adapter inserted.
2. Press the / button to switch between User 1 and User 2.
3. Press 34!2434/0 button to confirm. The monitor will power off.
./4%0RESSTHE34!2434/0BUTTONTOTURNTHEMONITOR
ON or OFF
3ETTINGTHE4IME$ATEAND9EAR
1. When the monitor is powered OFF, press the SETBUTTONTIMESTHE9%!2WILLmASH
Use the “+” or “-” button to choose the year and press SET to store in the memory.
2. Repeat the same process to set the MONTH by using the “+” or “-” button.
Press the SET button to store it in the memory.
4HESAMEPROCESSISREPEATEDTOSETTHE$!4%4HEDATEWILLmASHANDCANBE
changed with the “+” or “-vBUTTON!FTERWARDS(/523WILLBEGINTOmASH
4. TIME; hours, and then minutes can be set following the same procedure by using
the “+” or “-” buttons.
5. Next “AL OFF 1vWILLmASHPRESSTHEh+” or “-” buttons to switch between the
alarm being OFF or ON. To set the alarm, select “AL ON 1” and press the SET
BUTTON4HE(/523WILLBEGINTOmASHPRESSh+” or “-” buttons to change the
HOUR digits. Press the SET button to confirm.
.EXTTHE-).54%DIGITSWILLmASHFOLLOWTHESTEPSABOVETOSETTHEDIGITS/NCE
Alarm 1 is set you can also set Alarm 2 following the same steps. (See section
3.11)
7. After the minutes have been set, “CL” will appear on the display. Press the SET button to disregard. See
section 3.9 to clear the memory.
./4%)NORDERTOCHANGEANYSETTINGYOUMUSTREPEATTHEPROCESSANDCONlRMEACHSETTINGBY
pushing the SET button.
/BTAINING!CCURATE2ELIABLE-EASUREMENTS
Your blood pressure can vary based on numerous factors, physiological conditions, and your surroundings.
Follow these guidelines to obtain accurate and error-free measurements of your blood pressure and pulse rate.
Hour setting