24 | Chapter 3: UEFI BIOS & Soware
BIOSTAR BIO-Flasher
Note
»
»
This ulity only allows storage device with FAT32/16 format and single paron.
»
»
Shung down or reseng the system while updang the BIOS will lead to system boot failure.
Updang BIOS with BIOSTAR BIOS Flasher
1. Go to the website to download the latest BIOS le for the motherboard.
2. Then, copy and save the BIOS le into a USB ash (pen) drive.(Only supported FAT/FAT32
format)
3. Insert the USB pen drive that contains the BIOS le to the USB port.
4. Power on or reset the computer and then press <F12> during the POST process.
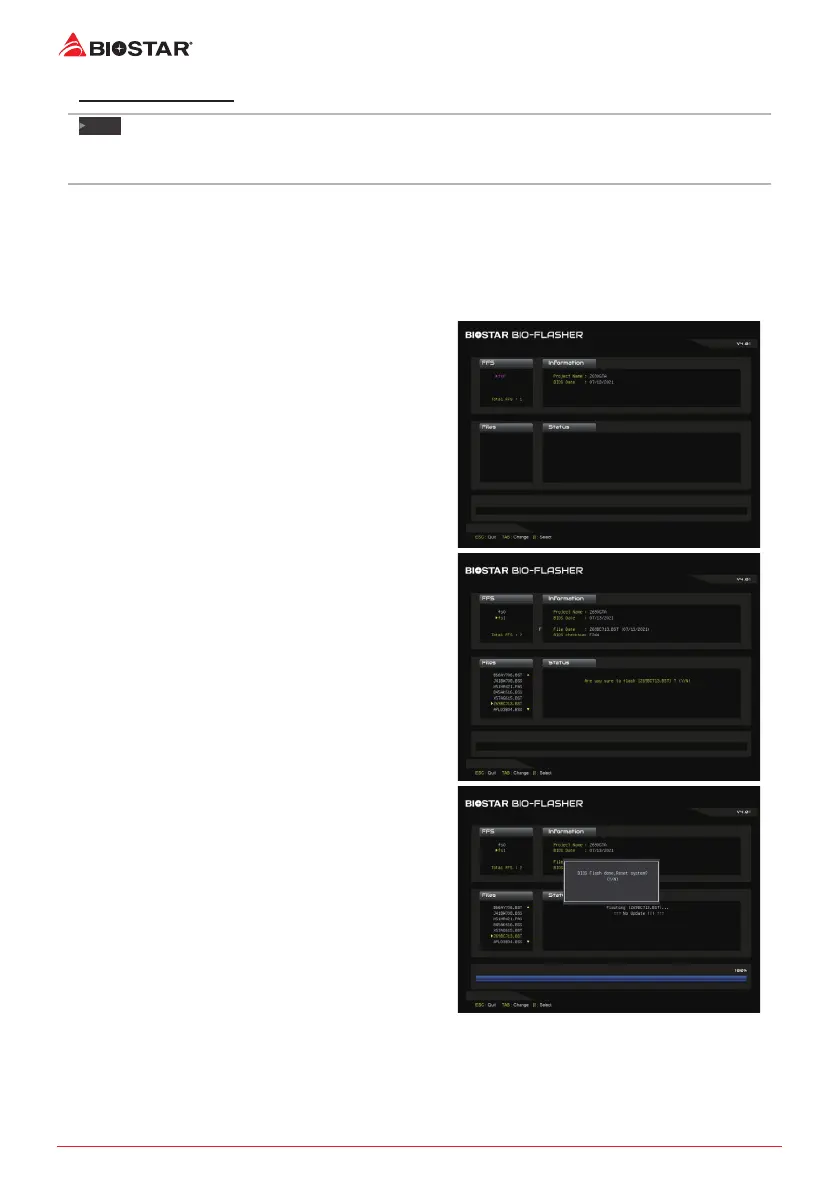
5. Aer entering the POST screen, the BIOS-
FLASHER ulity pops out. Choose <fs0> to search
for the BIOS le.
6. Select the proper BIOS le, and a message asking
if you are sure to ash the BIOS le. Click “Yes” to
start updang BIOS.
7. A dialog pops out aer BIOS ash is completed,
asking you to restart the system. Press the <Y>
key to restart system.
8. While the system boots up and the full screen logo shows up, press <DEL> key to enter BIOS
setup.
Aer entering the BIOS setup, please go to the <Save & Exit>, using the <Restore Defaults>
funcon to load Opmized Defaults, and select <Save Changes and Reset> to restart the
computer. Then the BIOS Update is completed.
 Loading...