Rev. 3.02
- 9 -
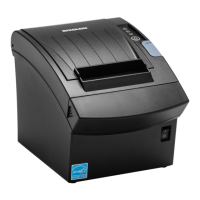
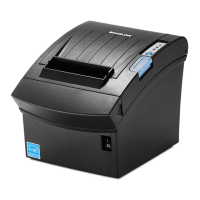
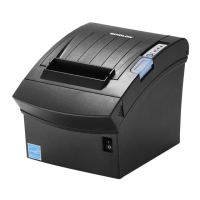
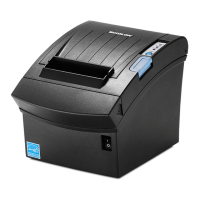
SRP-350
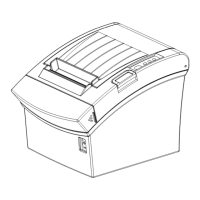
2-1-5 Wall Mount Installation
1. Press the Push Button. After opening the cover,
insert the Wall-Guide L , R to the Upper-Left Hole
and the Upper-Right Hole inside of the printer.
2. Remove the three screws from the bottom of the
Case-Lower. Separate the Case-Lower from the
Main Body.
3. Attach the Plate-Spring to the right side of Frame-Body
and tighten a screw.
4. Check whether it works properly by pressing the Push
Button after tightening the screw.
5. After assembling the Plate Spring, the height will be 7~10[mm] when pressing the Push Button. If no problem
Re-assemble in the reverse order.
 Loading...
