ENERGIZED CIRCUITS ONLY. COMPLETELY DE-ENERGIZE THE CIRCUIT
OR DEVICE WHICH IS TO BE MEASURED. POWER TO THE CIRCUIT UNDER
TEST MUST BE OFF AND ANY CAPACITORS SHOULD BE DISCHARGED. IF
AN EXTERNAL VOLTAGE IS PRESENT ACROSS A COMPONENT, IT WILL
CAUSE ERRONEOUS RESISTANCE READING.
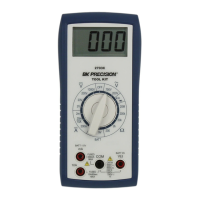
(1) Plug the red and black test leads into the VΩ input and the COM input terminals
respectively.
(2) Select the function(OHM) and set the range switch to the desired resistance
range.
(3) Connect the probe tips in parallel with the resistance to be measured.
(4) Read resistance value on the Display.
3-4 Diode Measurement
A good diode allows current in one direction. To test a single diode, turn the power
off and remove the diode from circuit.
(1) Connect the red probe to the plus(+) side of diode and the black probe to the
minus(-) side.
(2) If diode is good, the voltage drop will be displayed. (ex : 300.0 ~ 800.0 )
(3) Reveres the probes and measure the voltage across the diode again.
l If diode is good, the display shows “000.0” and is flickering.
l If diode is shorted, the display shows 000.0 with beep sound in both direction.
l If display shows “000.0” and is flickering in both directions, the diode is open.
3-5 Continuity test
Continuity test verifies by beeper if the circuit is closed or open.
Meter detects opens and shorts.
(1) Set the push switch to continuity function & diode range.
(2) Connect the probes to the circuit and listen for beeper. Continuity tone confirms
that the circuit is continued, closed and connected.
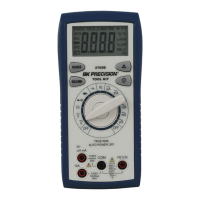
3-6 Frequency Measurement
(1) Plug the red and black test leads into the VΩ input and the COM input terminals
respectively.
(2) Select the function to FRQ. and set the range switch to the desired frequency
range. For unknown frequency, always start from highest range and move down to
lower range to select scale for best reading.
(3) Connect the probe tips in parallel with the circuit to be measured.
(4) Read frequency value on the Display.