12 13
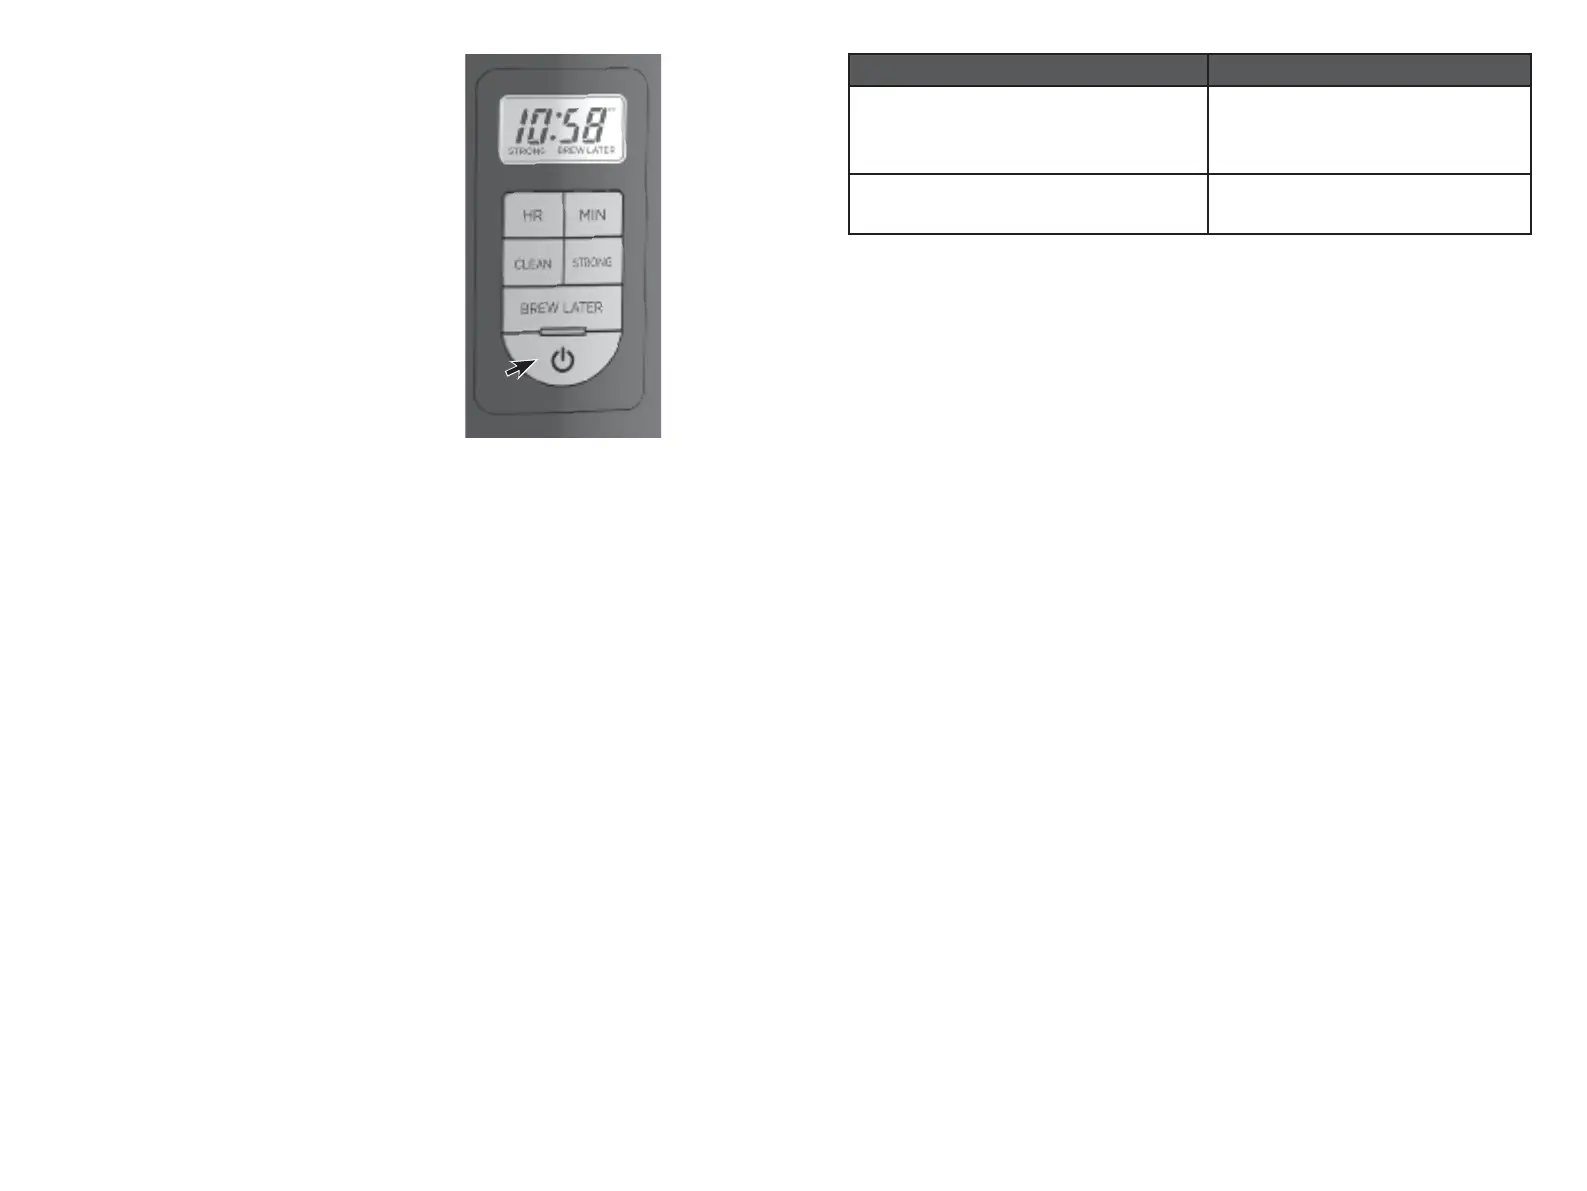
5. To set the Brew Later delay start,
brew strength selector, follow the
instructions in the “Programming”
section.
6. Press power button once to
begin brewing. (E)
7. The Sneak-A-Cup™ feature allows
you to pour a cup of coffee before
the brewing cycle is complete.
The carafe must be placed
back into the coffeemaker within
20 seconds to prevent overflow.
Replacing the carafe will restart the
brewing process.
8. Brew timer count down from 120
minutes will begin when
brewing cycle is complete.
9. Press button on handle to pour coffee.
10. To turn off the coffeemaker at any time press the power button. (E)
11. When coffee grounds are cool, carefully remove and throw away used grounds
and filter.
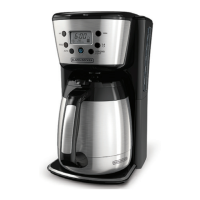
12. Clean the thermal carafe and washable brew basket according to the
instructions in the CARE AND CLEANING section.
CARE AND CLEANING
Cleaning your coffee maker, following the directions below is recommended
after every use. This product contains no user serviceable parts.
Cleaning
1. Make sure your coffeemaker is unplugged and cool.
2. Open the coffeemaker cover. Remove the brew basket and permanent filter.
Throw away the coffee grounds.
3. Wash the permanent filter, brew basket and carafe in a dishwasher or by hand
in warm water with dish soap.
4. Wipe the outside of the coffeemaker, carafe plate, and power cord with a soft,
damp cloth.
5. To clean the inside of the cover, open the cover and leave in the open position;
wipe surfaces with a damp cloth.
Note: Do not use abrasive cleansers or scouring pads, and never immerse the
coffeemaker in water.
COFFEE MAKER PART CLEANING INSTRUCTIONS
Housing
Carafe plate
Power Cord
Wipe with a soft, damp cloth.
Carafe and carafe lid
Washable Brew Basket
Wash by hand in warm soapy
water
DESCALING WITH THE AUTO CLEAN
™
FUNCTION
With regular use, minerals and hard water can clog your coffee maker. A full
cleaning with vinegar is recommended once a month. To notify you that it
is time to descale with vinegar, after 60 brew cycles or when calcification is
sensed, “CLEAN” should scroll across the display three times. The “CLEAN”
word will continue to blink before each brew until the descaling process
is completed. If the machine is extremely calcified it may require multiple
cleaning cycles to clear the “CLEAN” warning.
1. Pour white vinegar into the water reservoir up to the 5-cup mark on the water
window. Add cold water up to the 12-cup mark.
2. Put a basket-shaped paper filter in the brew basket and close the cover. Set the
empty carafe on the carafe plate.
3. Press the CLEAN button to start the Auto Clean™ function. The entire cleaning
process will take 45-60 minutes to complete.
4. During the Auto Clean™ process, the coffee maker will:
- Brew 5 cups of the vinegar/water mixture first
- Pause for about 30 minutes
- After the pause, it will brew the remainder of the vinegar/water mixture
5. Once the process is complete, empty the carafe and discard the paper filter.
6. Fill the water reservoir with cold water to the 12-cup line: replace the empty
carafe on the carafe plate and then turn ON the coffeemaker for a complete
brewing cycle to flush out the remaining vinegar/water mixture. You may want
to repeat this step to completely remove the vinegar smell and taste
7. Wash the brew basket and carafe as shown in CARE AND CLEANING.
8. If your machine is heavily calcified, the “CLEAN” warning may remain activated
after cleaning. In this case, repeat cleaning.
E

 Loading...