1717
Getting Started with Videohub Controllers
Installing the Videohub Control Utility Software
The Blackmagic Videohub Control Utility software is used to configure settings in Videohub Master Control,
Videohub Smart Control and the GPI and Tally Interface. Videohub Control Utility runs on the latest Lion and
Mountain Lion versions of Mac OS X, 32 and 64-bit versions of Windows 7 and Windows 8. The Blackmagic
Videohub Control Utility software only needs to be installed on a single computer.
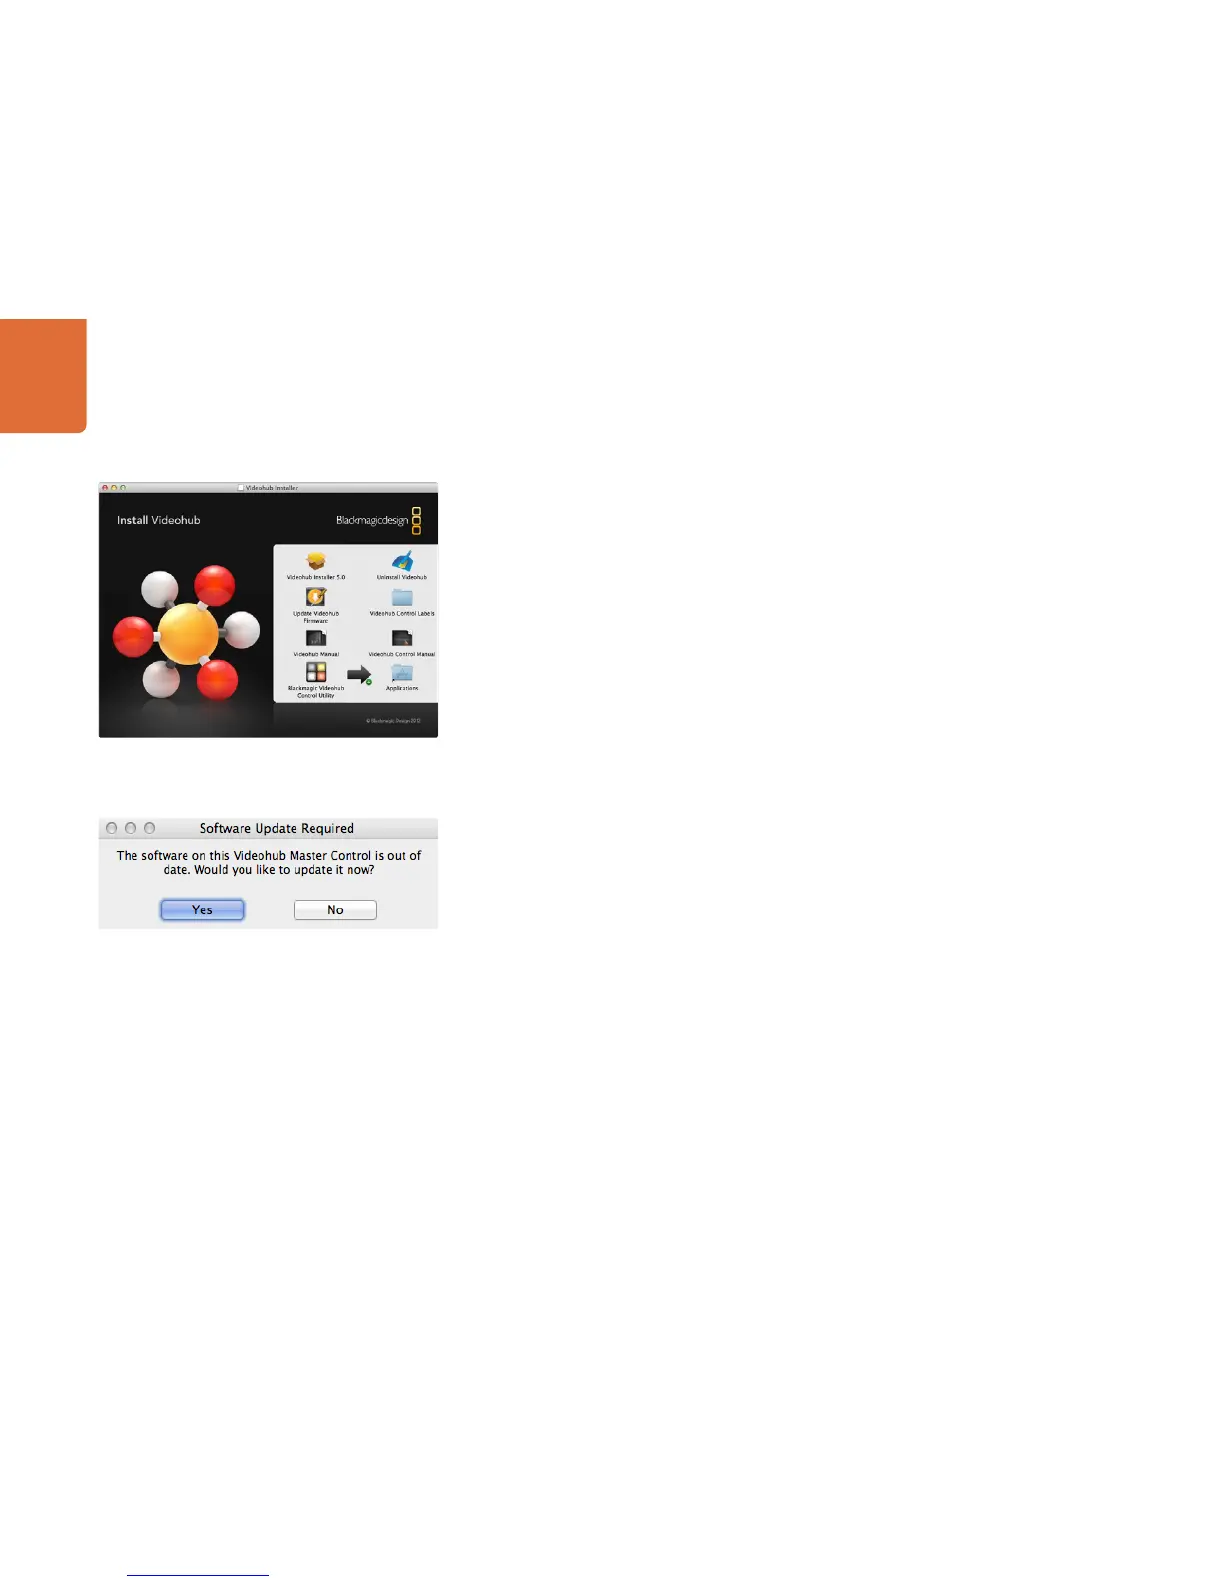
On Mac OS X, open the supplied CD, or downloaded disk image, and drag the Blackmagic Videohub
Control Utility to your Applications folder.
The Videohub software installer for Windows also installs the Blackmagic Videohub Control Utility and there
is nothing more you need to install.
Updating the Software in your Videohub Controller
Once the software installation has been completed and your Videohub control panel is powered on, it is a
good idea to check that the internal software is up to date.
Step 1. Connect your Videohub control panel to the computer via USB 2.0.
Step 2. Launch the Blackmagic Videohub Control Utility.
Step 3. If a software update is required, the following message will appear: "Software Update Required.
The software on this Videohub Control is out of date. Would you like to update it now?" Click Yes.
The update will take about 2 minutes to complete.
Step 4. The message "Software Update Complete" should appear at completion of the update. Click OK
to dismiss the message. Settings can be changed now if desired and this is a good opportunity to
give each Videohub control panel a unique name.
Step 5. You can now unplug the USB cable from your Videohub control panel.
Congratulations! You are now ready to configure your Videohub control panel with the Videohub Control
Utility software.
Mac OS X installation: Drag the Blackmagic Videohub Control
Utility to the Applications folder
This message will appear if a internal software update is required.