4747
Using Videohub Routers
Using Smart Videohub 12x12 Control Panel and LCD
Smart Videohub 12x12 features a built in control panel and LCD. Routing changes can be made without
needing a computer by simply using the numbered pushbuttons. Remote router control can also be used.
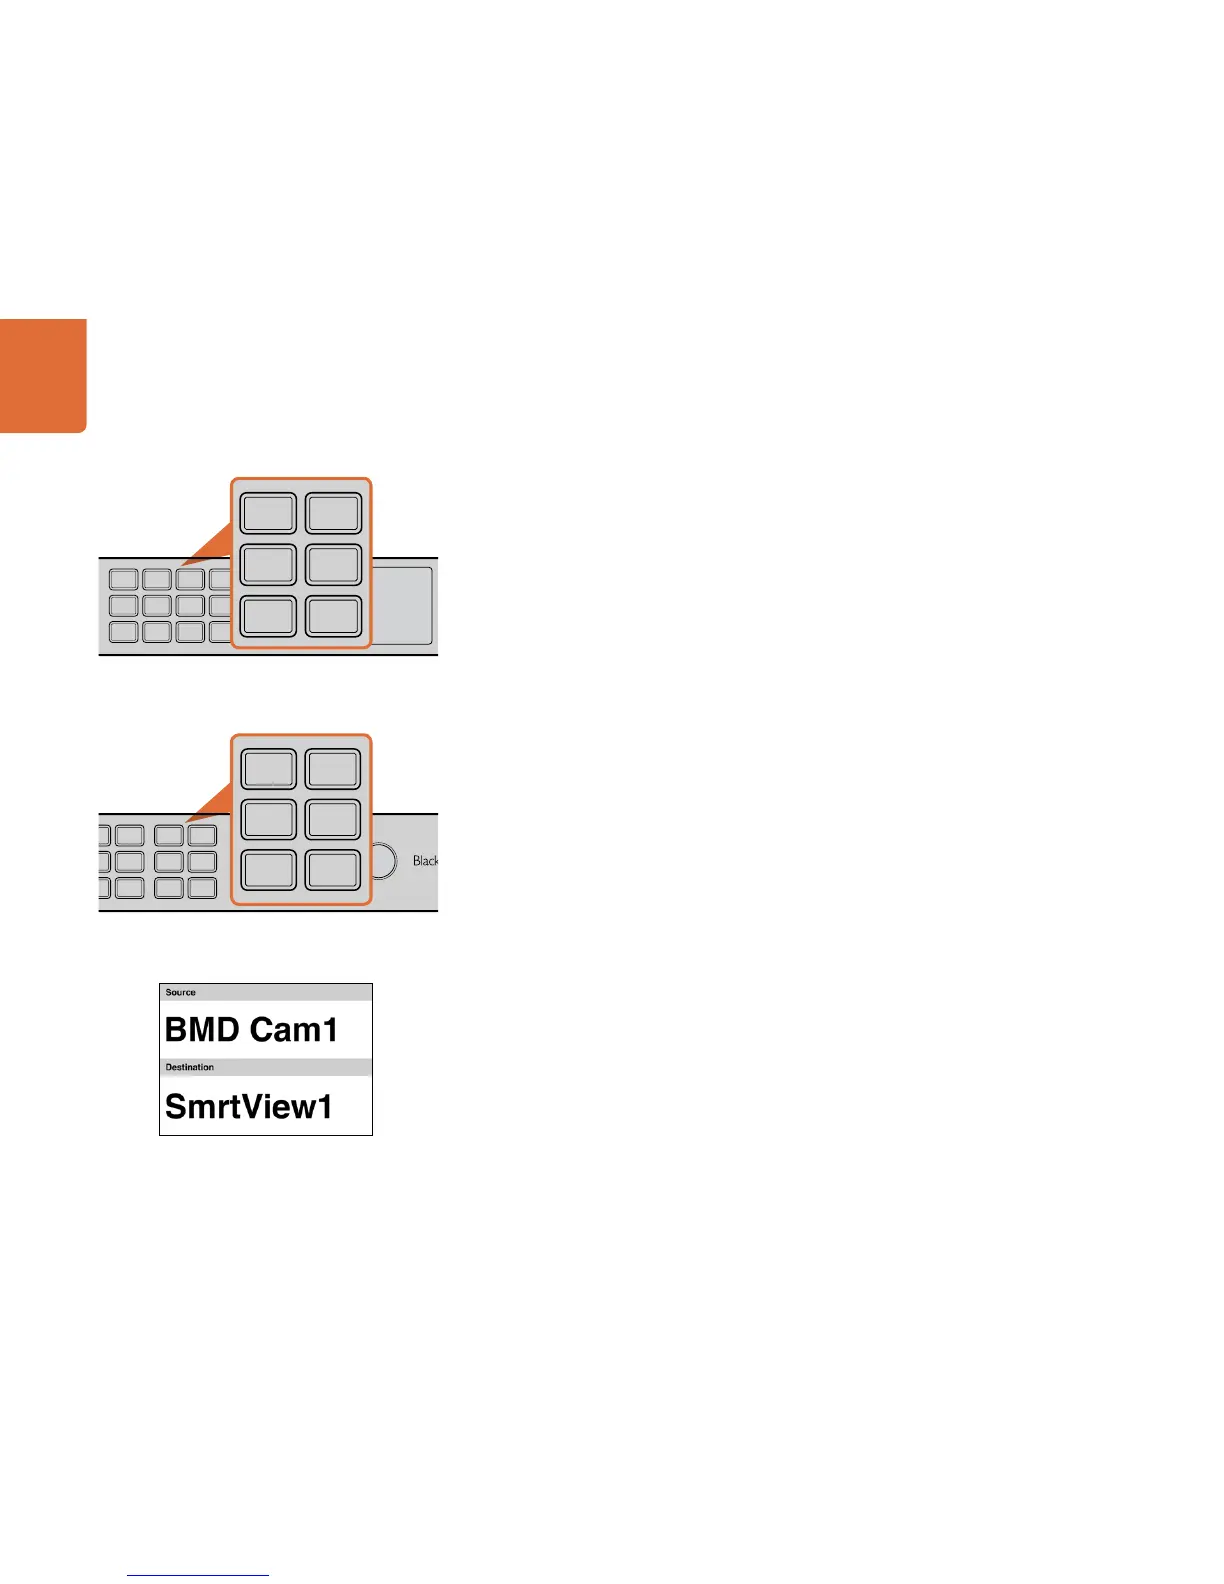
Menu Buttons Explained
SRC
Press the SRC button and then a numbered pushbutton to select your Source.
DEST
Press the DEST button and then a numbered pushbutton to select your Destination.
CLEAR
Press the CLEAR button to discard a route change.
MENU
Press the MENU button to toggle between the routing display and the network configuration page.
VIDEO
Press the VIDEO button and then either the SRC or DEST buttons to display the video on the LCD.
TAKE
Press this button to confirm a route change.
Switching Routes
Step 1. Select the DEST button and then a numbered pushbutton. Alternatively, you can use the rotary
knob to scroll through the Destination numbers. The lower half of the LCD displays the Destination
and will change accordingly. If you have already customised your labels, the device name eg:
"SmartView1" will be displayed.
Step 2. Select the SRC button and then a numbered pushbutton. Alternatively, you can use the rotary
knob to scroll through the Source numbers. The numbers will scroll in alphabetical order and not
the numerical order. The top half of the LCD displays the Sources and will change accordingly. If
you have already customised your labels, the device name will be displayed. The CLEAR button
will flash white and the TAKE button will flash red. Press the TAKE button to confirm the route
change. Or, you can press the CLEAR button to discard the route change.
The pushbuttons override any existing routes, including destinations locked with Videohub software.
1 4 7 10 SRC MENU
2 5 8 11 DEST VIDEO
3 6 9 12 CLEAR TAKE