4
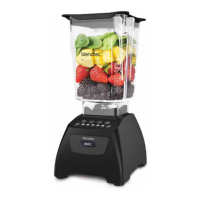
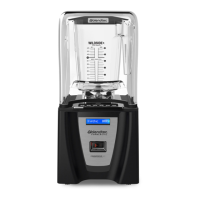
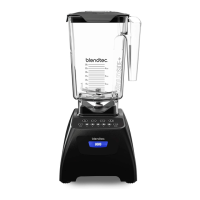
3.2 BLENDER JAR ASSEMBLY
The blender jar assembly consists of the blender jar, blade assembly, and lid�
• Jar: Durable, BPA-free jar; easy to clean�
• Blade Assembly: Uniquely designed stainless steel blade provides fast,
consistent blending�
• Lid: Vented gripper lid seals liquids within the jar during blending�
NOTE: Filling the blender jar beyond the marked capacity is not recommended.
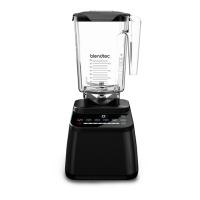
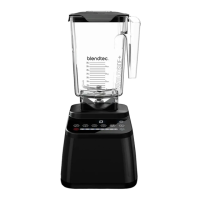
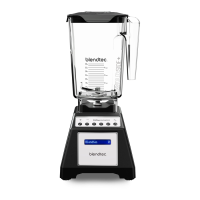
SECTION 4: INSTALLATION
1� Place the blender on a flat, clean, and dry surface� Blender vents should be
unobstructed to allow proper cooling during use�
2� Make sure an outlet is available within two feet (61cm) of the blender motor�
3� Ensure the Power Switch located on the back of the motor base is turned off before
plugging it in�
4� Turn unit on by toggling the Power Switch to the ON position�
5� Place appropriately filled blender jar, with lid in place, onto blender base�
6� We recommend that surge protection be placed between the receptacle and
the blender motor�