6
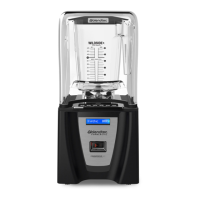
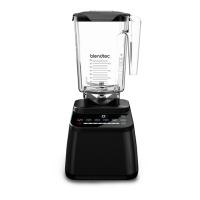
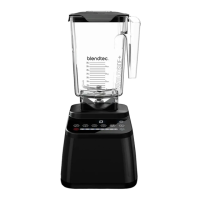
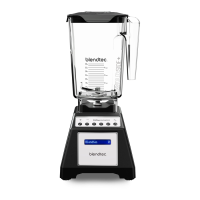
SECTION 5: OPERATIONAL OVERVIEW
5.1 QUICK RECIPE INSTRUCTIONS –
Use these steps to get started right away.
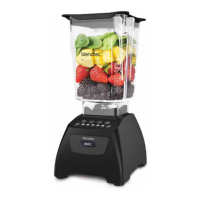
1� Choose a recipe from the included Blendtec Blending 101 booklet�
2� Gather all of the ingredients�
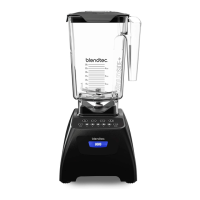
3� Load the blender jar as indicated in the recipe�
4� Plug in the blender�
5� Attach the blender lid to the jar; ensure that it sits on the jar completely�
6� Turn on the main power switch located on the back of the blender motor base�
7� Place the blender jar onto the base, making sure the jar is secure and fully seated on
the motor base�
8� Attach the blender lid to the jar; ensure that it sits on the jar completely�
9� Press the indicated touch pad button from the recipe once
(or as indicated in the recipe)�
10� When cycle is complete, remove the blender jar from the blender base�
11� Remove the jar lid and serve as indicated in the recipe�
12� For best cleaning results, clean immediately after blending�
(See CARE AND CLEANING, 6�1)
5.2 ALL ABOUT BLEND CYCLES
Blend cycles are timed cycles designed for specific types of blends� These
one-touch cycles speed up, slow down, and shut off automatically, so results
are perfect every time�
Each blender in the Classic series features a number of pre programmed cycles
and settings that provide a wide range of recipes and functions*:
Smoothie — Fruit smoothies, green smoothies, milkshakes
One-Touch Timed — Used to blend ingredients for a 60-second or
90-second timed cycle
Clean — Automatic cleaning cycle
Incremental Speed —
50-second cycles that blend at Lo, Medium-Lo,
Medium, Medium-Hi, and Hi speeds
Stop — Stops the blender at any point during blending
Hot Soup — soups, hot chocolate, syrups, fondues
Pulse — used to quickly stir, chop, or mince at a high speed
*Interfaces and cycles will vary depending on model number