Page 7
Pixellicious™ User Manual Rev. A © 2015 Blizzard Lighting, LLC
3. SETUP
Fuse Replacement
CAUTION! This xture utilizes a high-output switch-mode power supply with
an internal fuse. Under normal operating conditions, the fuse should not require
replacement. Should your Pixellicious™ fuse require replacement, please con-
tact Blizzard Lighting for instructions, or to return your unit for service.
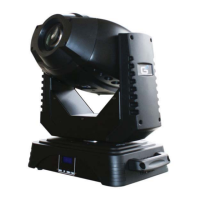
Clear/Frost Filter Installation:
The Pixellicious™ includes a frost lter already installed. Follow the procedure below to
install the clear lter.
1. Locate the end cap of the product that does not have the connecting hardware.
2. Remove the 4 screws from the end cap of the product.
3. Remove/install lter (frost lter with the shiny side facing toward the LEDs).
4. Re-install the end cap.
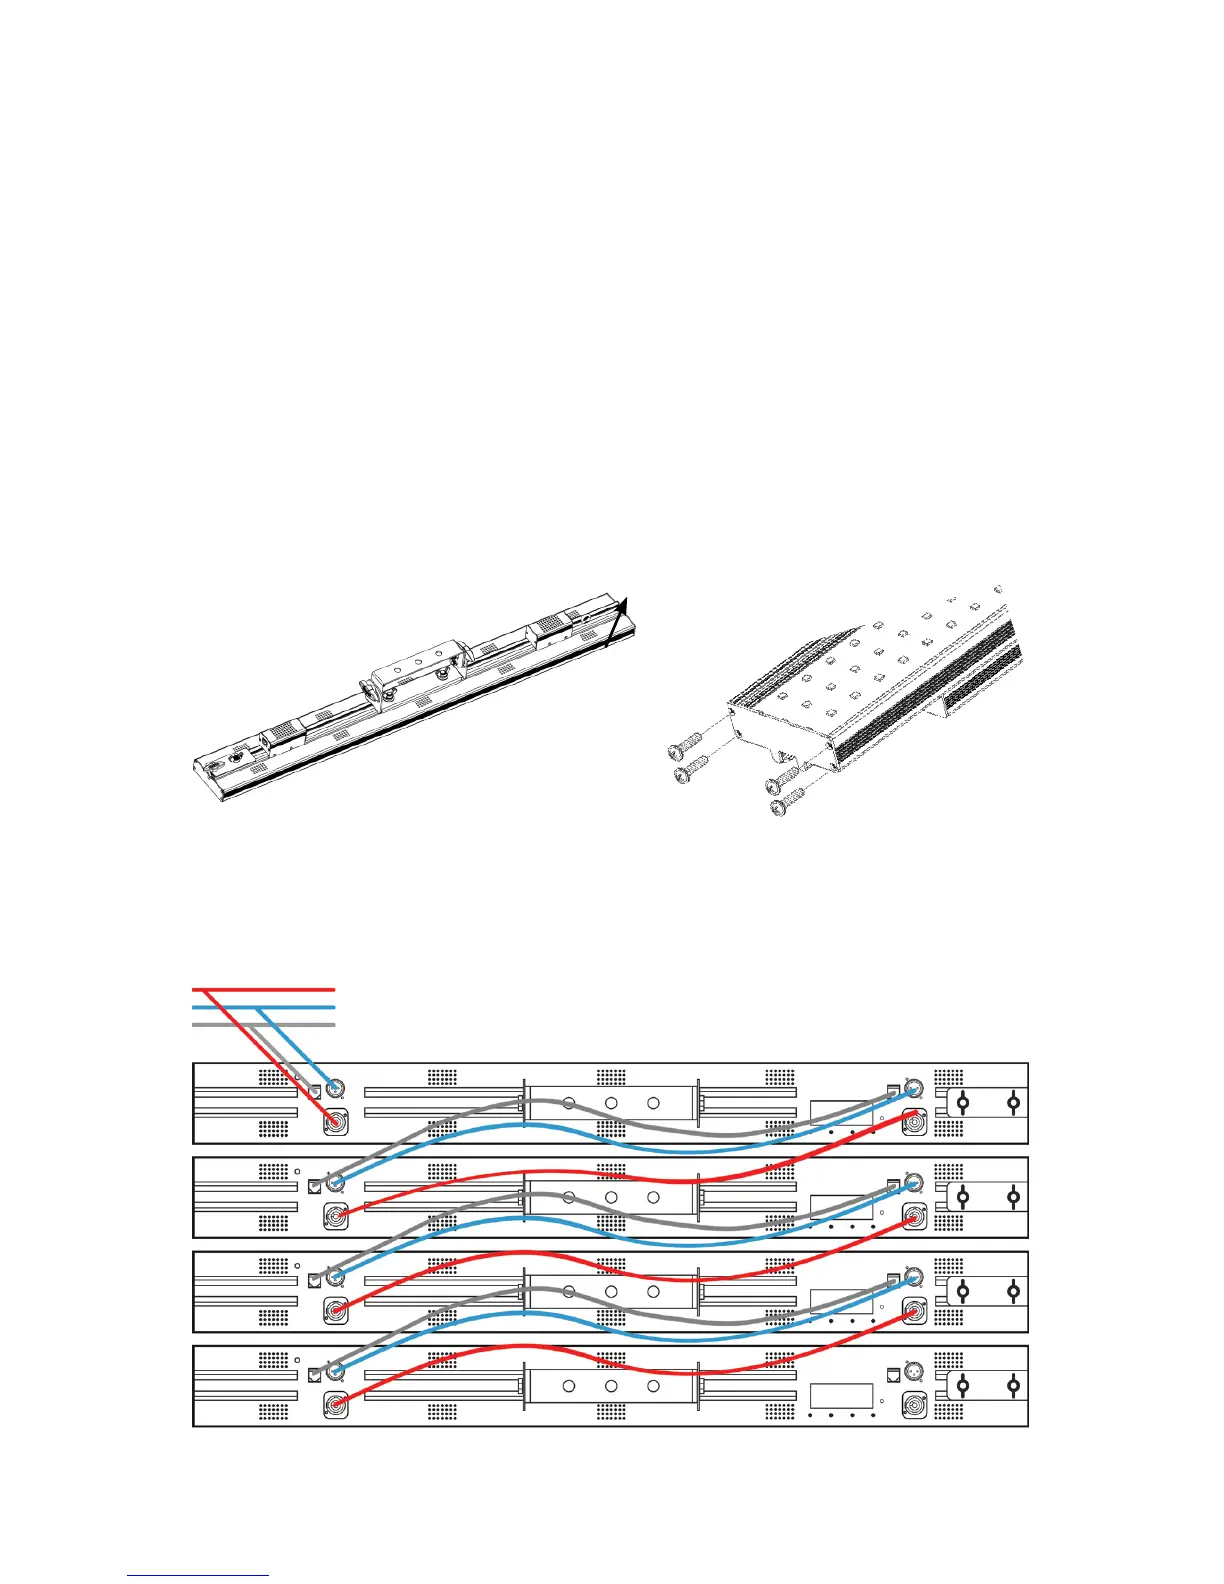
Data/DMX Cabling
To link xtures together you’ll need data cables. You should use data-grade cables that can
carry a high quality signal and are less prone to electromagnetic interference.
End Cap
AC Power Out
DMX Out
Art-Net/PC Out
Signal/Power Inputs
 Loading...