N
M
K
H
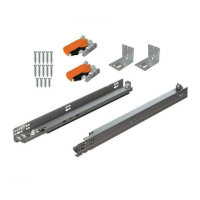
Blum
assembly
devices make
marking and drilling simple.
Drill Ø3/8"x 1/2"
deep for brackets
with dowels
Pre-drill holes
in back if using
system screws
3
1
2
1.
2.
3.
4.
5.
6.
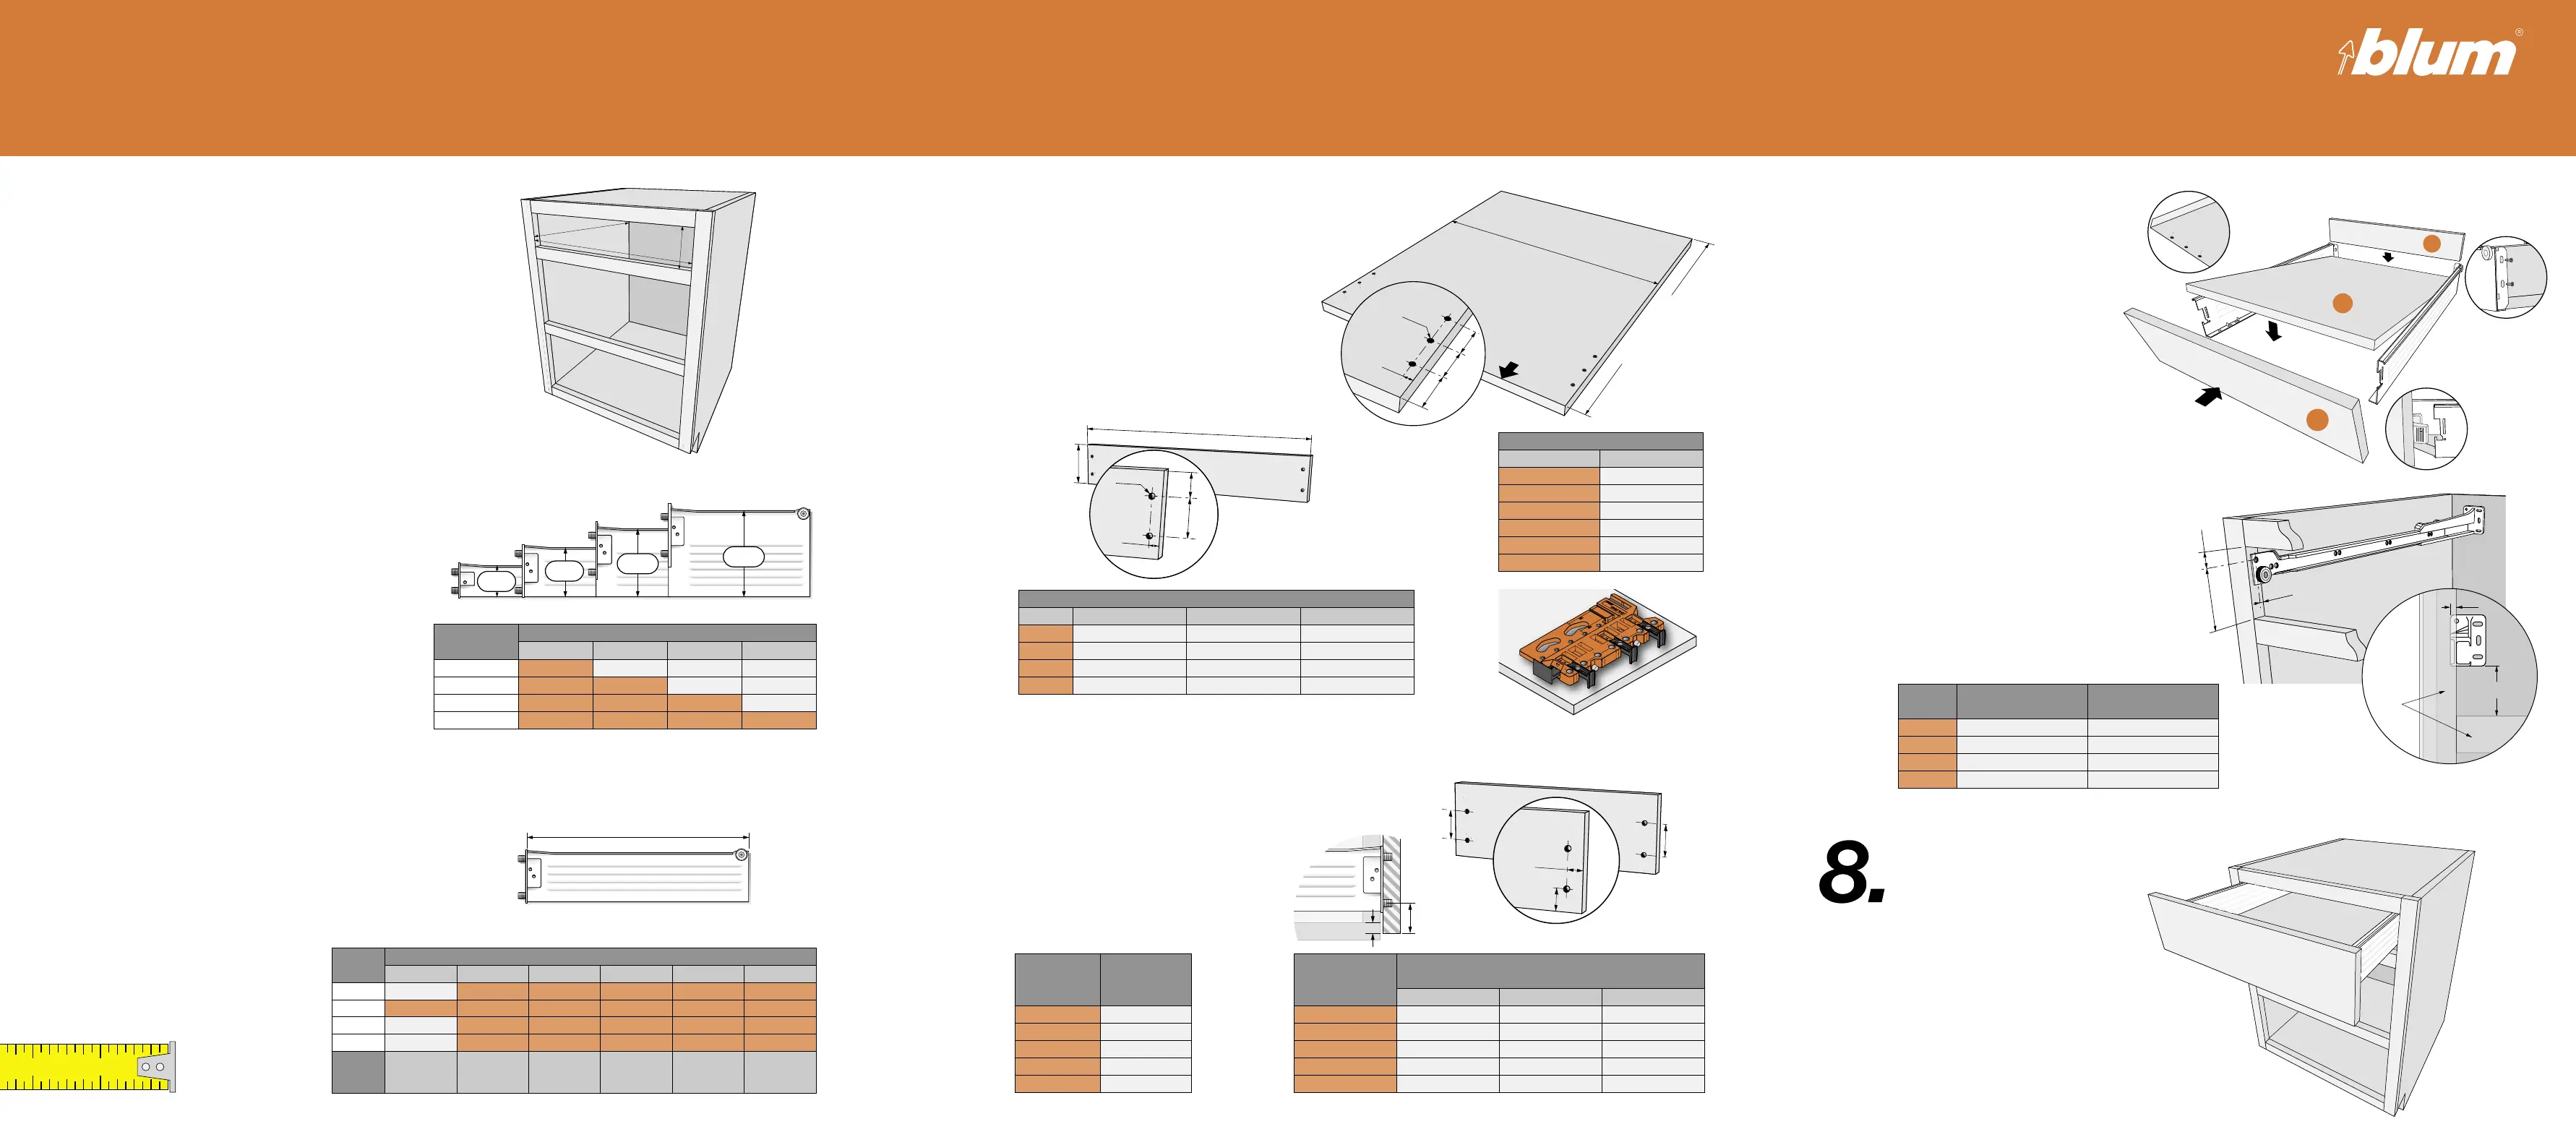
METABOX: Steps for frame cabinets
7.
Measure the opening
This will help you in determining
which METABOX drawer will work best for
the cabinet opening
Determine which METABOX
drawer height to use
Choose between the four heights that are
offered within the METABOX system
Min. opening
height
Available heights
N M K H
3-1/16"
Yes No No No
4-5/16"
Yes Yes No No
5-9/16"
Yes Yes Yes No
6-7/8"
Yes Yes Yes Yes
Determine which METABOX
drawer length ts the opening
Choose the correct runner
length to best t the inside
depth of the cabinet
Heights
Available lengths
11" 14" 16" 18" 20" 22"
N
No Yes Yes Yes Yes Yes
M
Yes Yes Yes Yes Yes Yes
K
No Yes Yes Yes Yes Yes
H
No Yes Yes Yes Yes Yes
Inside
depth
range
11-5/8"
to
13-3/8"
14-1/16"
to
16-1/2"
16"
to
18-7/16"
18-13/16"
to
20-1/4"
19-15/16"
to
22-3/8"
21-15/16"
to
24-3/8"
Cut the bottom and back
components
No matter what the material or the size of
the cabinets, components can be cut and
drilled quickly for easy assembly
(minimum 13mm material)
Drawer bottom length
Runner length Bottom length
22" 21-9/16"
20" 19-5/8"
18" 17-5/8"
16" 15-11/16"
14" 13-11/16
11" 10-9/16"
Drawer back height
Heights 1/2" bottom 5/8" bottom 3/4" bottom
N
1-5/8" 1-9/16" 1-7/16"
M
2-15/16" 2-13/16" 2-11/16"
K
4-3/16" 4-1/16" 3-15/16"
H
5-7/16" 5-5/16" 5-3/16"
Determine front xing bracket
locations
Use the tables below to easily locate
the center of the bottom xing point
Side
overlay
Screw or
drilling
location
1/2" 13/16"
9/16" 7/8"
5/8" 15/16"
11/16" 1"
3/4" 1-1/16"
Bottom
overlay
Screw or drilling location
N and M K H
1/2" 1" 2-5/16" 3-9/16"
9/16" 1-1/16" 2-3/8" 3-5/8"
5/8" 1-3/16" 2-7/16" 3-11/16"
11/16" 1-1/4" 2-1/2" 3-3/4"
3/4" 1-5/16" 2-9/16" 3-13/16"
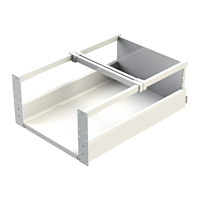
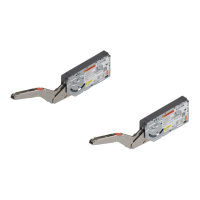
Assemble the drawer
Assembly is made easy with the
METABOX C15 drawer system
1 - Place drawer bottom on pins
2 - Attach drawer back with screws
3 - Install front xing brackets and
attach front to drawer sides
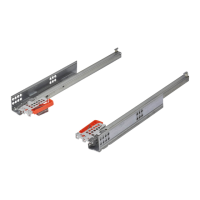
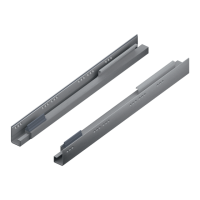
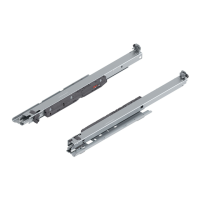
Mount the cabinet proles
Attach the cabinet proles and rear
mount sockets to the cabinet
Heights
Runner
mounting position
Socket
mounting position
N
2-5/8" 1-3/8"
M
3-15/16" 2-11/16"
K
5-3/16" 3-15/16"
H
6-7/16" 5-3/16"
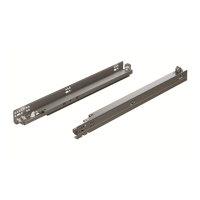
Install the drawer
Now that the drawer is built and the
cabinet proles are in place, the
drawer can be inserted. Final side
and height adjustments can be made
via the front xing brackets.
Dimensions in Inches
These drilling locations are directly related to the prole locations in step 7