ME-GO SERIES SLIDING GATE OPENER USER MANUAL
Important Notice for Racks Installation (Fig.7)
• Avoid putting excessive weight on the gear by distributing the gate's weight evenly along the
entire length of the rack.
• Ensure that the gate rail is perfectly LEVEL to ensure smooth operation of the gate opener.
• DO NOT weld the rack directly onto the gate.
• DO NOT weld the nuts with the rack.
• DO NOT weld the racks together; each rack should be installed individually.
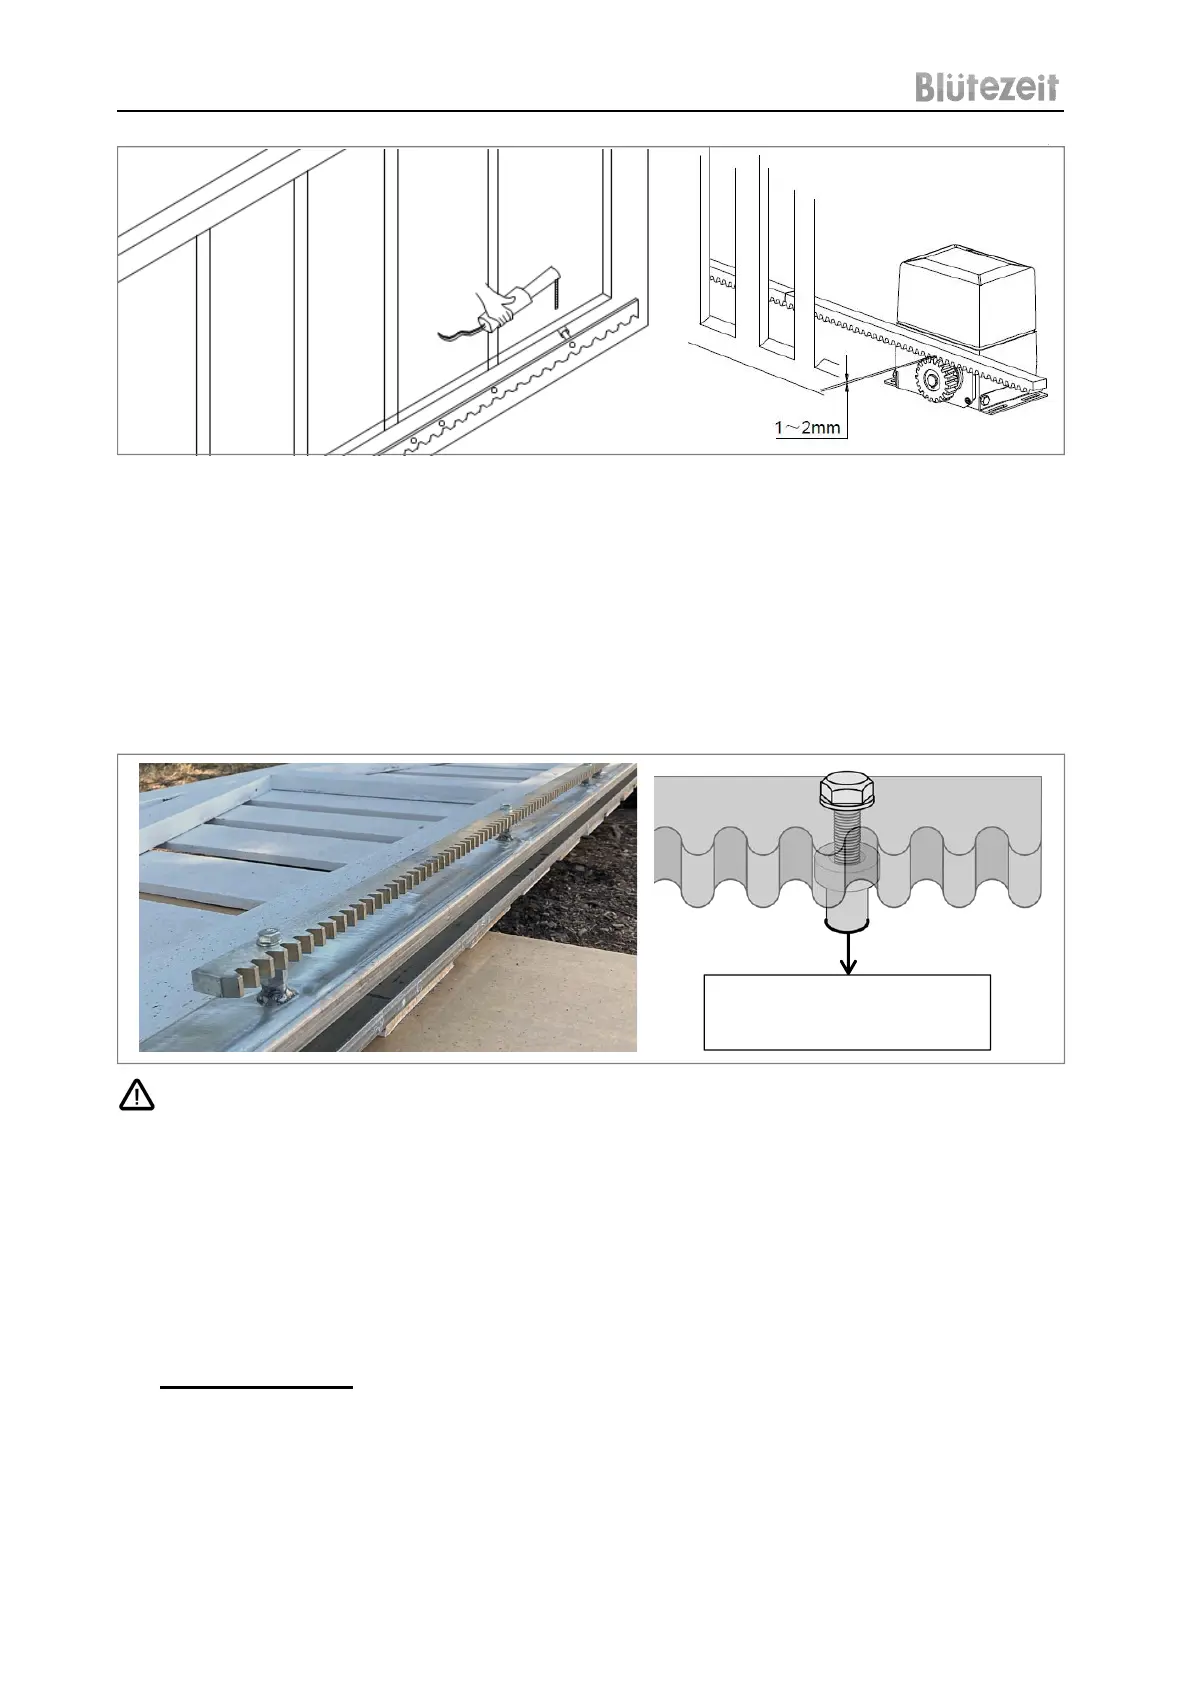
• ONLY weld the nuts onto the gate to secure the racks in place effectively.
• Maintain a 1-2mm distance between the rack and the gear of the gate opener.
WARNING
• To ensure safety, install safety stop blocks on both ends of the rail to prevent the gate from
running out of the rail. Before installing the main engine, ensure that the safety stop blocks
are in place and have the function of preventing the gate from running out of the rail.
• Please make sure that the main engine and its components have good mechanical properties,
and the gate can be operated flexibly when manually moved before installation.
• Please note that for this product, one control can only drive one main engine; using one
control for multiple main engines may damage the control system.
4. Magnet Placement
a. Unscrewing the magnet blocks⑨ and then fix them to the metal brackets⑧. When the gate
is in the CLOSED position, make sure to install the magnet located near the gate
opener at the LOWER position. Conversely, the magnet located on the side of the gate,
positioned farther from the gate opener, should be placed at the HIGHER position.
The sole welding point for the
racks is the nut to the gate.