English–2
M 275 007 003 | (22.10.14) Bosch eBike Systems
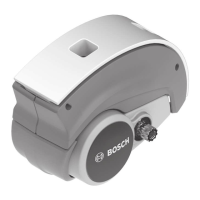
Dismantle stone guard, unplug cables
– Loosen screws (5, Torx T20).
Make sure that the screws of the motor cover are
not loosened by accident.
– Pull off stone guard 6 toward the front.
– Unplug all cables using the needle-nosed pliers.
The connecting plug to the battery has a locking
hook. Lift it using a small screwdriver and then
pull off the plug.
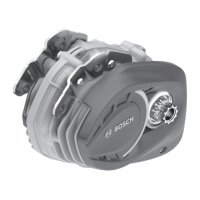
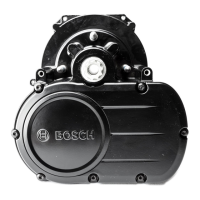
Disassemble drive unit
– Loosen screws (7, Torx T30).
– Loosen expansion sleeves (8, Torx T40).
– Remove mounting plate 9.
– Pull drive unit out of the frame toward the right.
– Dispose of the expansion sleeves 8.
The expansion sleeves must not be reused!
New expansion sleeves are supplied with each
drive unit. Remaining attachment parts must
be kept!
Pack only the drive without attachment parts (mount-
ing plate, spider, chain ring, etc.) for collection.
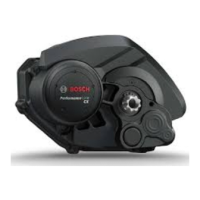
Installing the drive unit
Install drive unit
– Lightly grease attachment points on bike frame.
– The threads of the studs 10 (not visible in the illustration)
must be kept free of grease.
– Insert the drive unit into the frame on the right in the direc-
tion of travel.
– Insert fastening screws:
first the M6 screws (7, T30; 8–10 Nm),
then the new M8 expansion sleeves (8, T40;
25–30 Nm) have to be screwed on free of grease
together with the mounting plate 9 and tightened
one after the other.
Always use new expansion sleeves and mount them with-
out grease!
– Torx spanner T20
– Needle-nosed pliers
– Small screwdriver
5
5
6
5
– Torx spanner T30
– Torx spanner T40
7
9
7
8
– Torx spanner T30
– Torx spanner T40
–Torque spanner
 Loading...