-22-
.@A2;3?<:/.08<332;02
Use minimum 3/4" auxiliary fence and 1/4" round
head wood screws (3/4" long).
1. Drill four pilot holes through auxiliary fence and
run screws from rear of metal fence.
2. Repeat test cut.
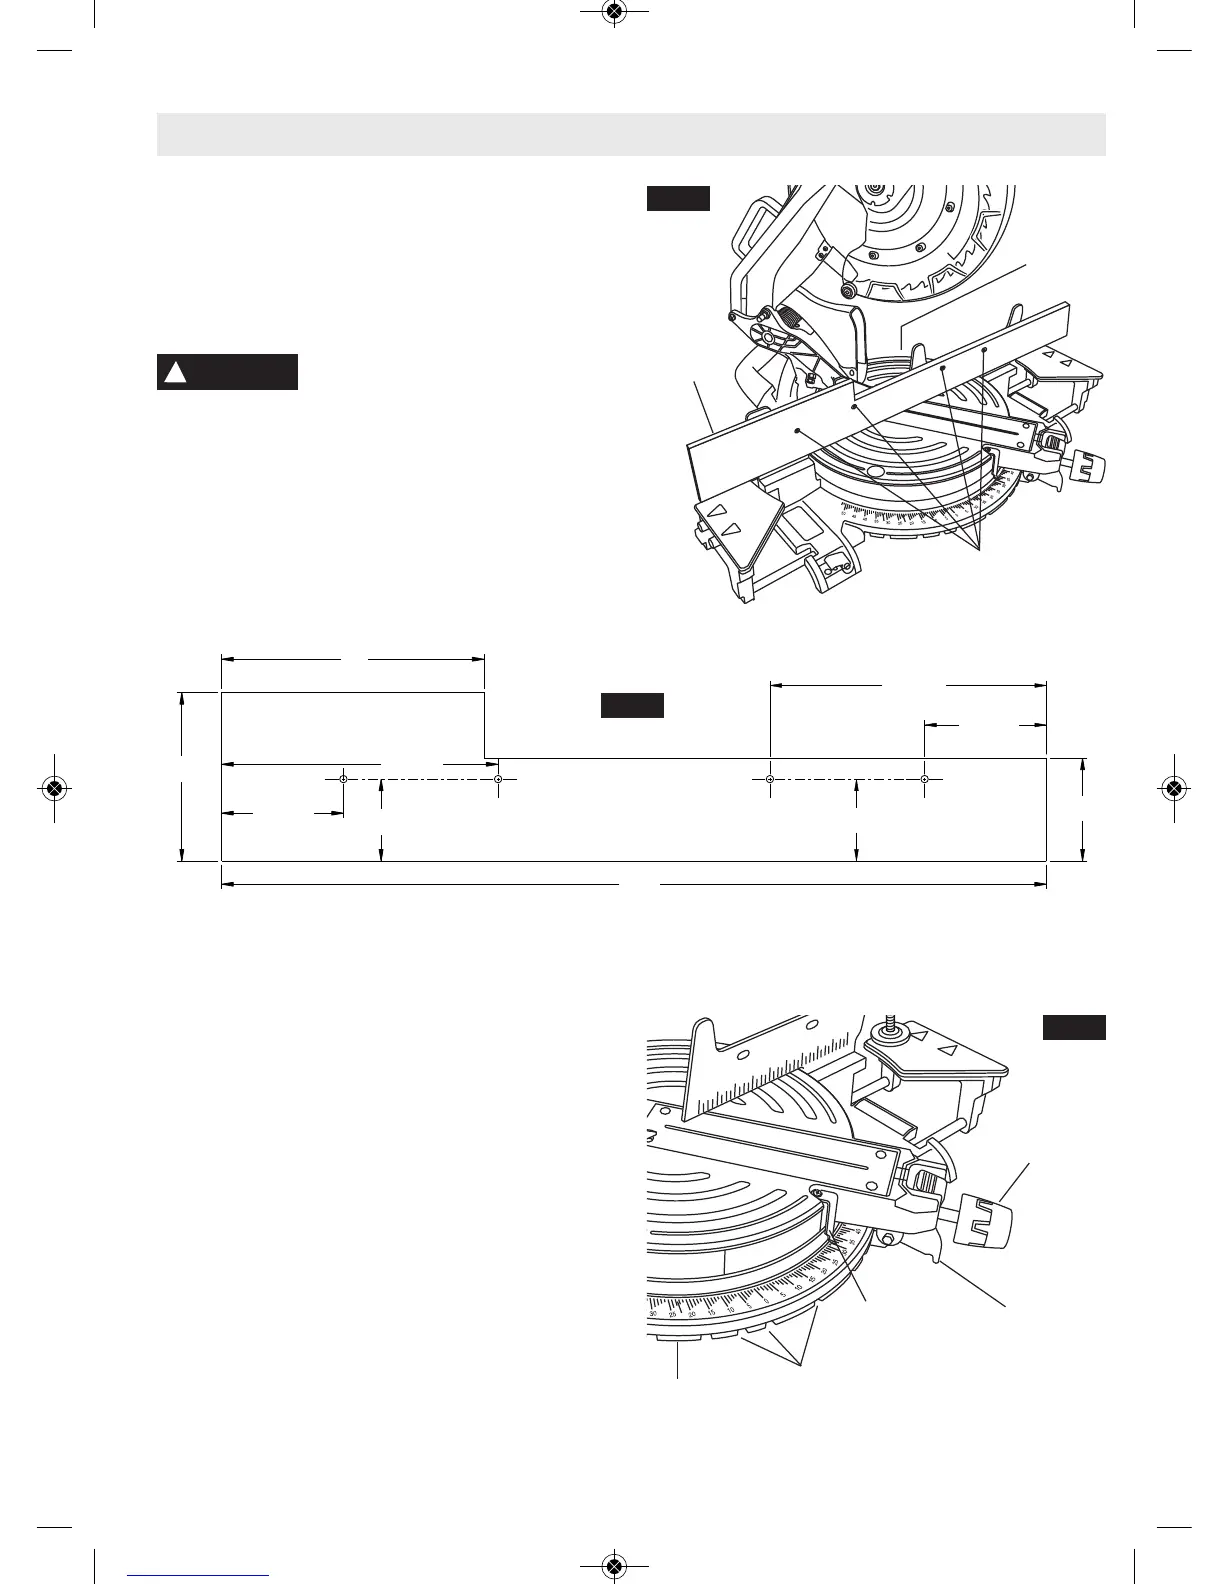
52083<?6;A2?32?2;02/2AD22;
.BE696.?F 32;02 .;1 @.D 52.1
0<:=<;2;2;A@/F=2?3<?:6;4.1?F?B;Fence
interference can prevent proper saw operation and
cause injury and/or tool damage.
1. Loosen the miter lock knob about 1/2 turn. (See
Figure 32)
2. Grip the lock knob, and then reach down with
your index finger to pull up on the miter detent
lever – pull lever until it is out from the detent
plate.
3. While gripping the lock knob and lever, rotate
the saw’s table. Stop table rotation at the de-
sired angle as indicated by the miter scale
pointer.
4. Release the lever into a detent in the detent
plate or at an angle between detents. If close
to a detent, use the detent override feature.
5. Tighten the miter lock knob before cutting.
9.A2.1!.056;2
&0?2D@
BE696.?F
2;02
9.12
&9<A
!
WARNING
.@60&.D#=2?.A6<;@
(@6;4!6A2?2A2;A&F@A2:
FIG. 30
!6A2?
<08;</
2A2;A
$9.A2
2A2;A@
!6A2?&0.92
$<6;A2?
!6A2?
2A2;A 2C2?
FIG. 32
FIG. 31