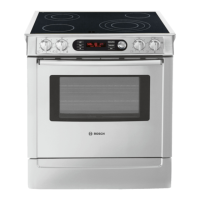
2:22
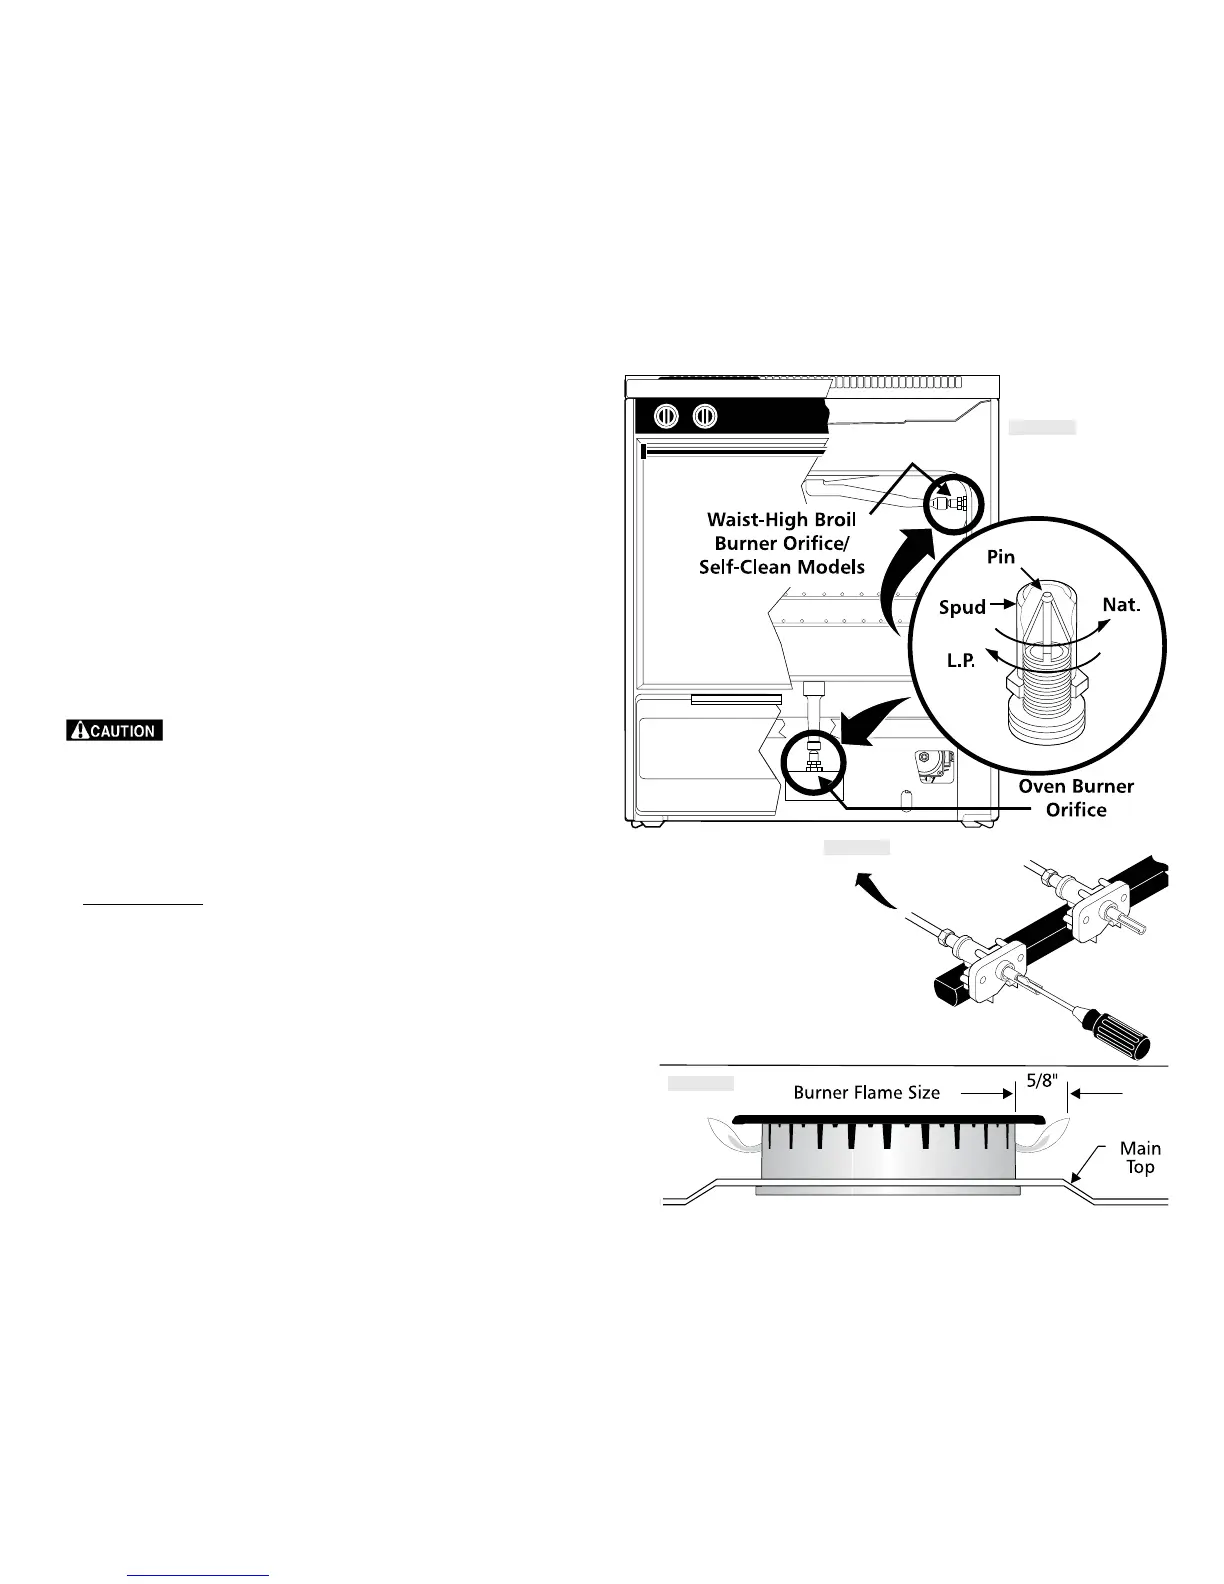
C219(57,1*29(1%$.(%851(525,),&(
. Locate the oven burner spud ( 19).
Using a 1/2" wrench, turn down the adjustable spud which injects gas into
the oven burner, until snug against the LP/Propane metering pin. Do not over
tighten.
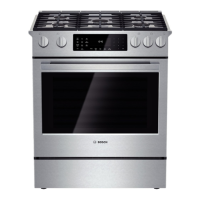
5(&211(&7,1**$6$1'(/(&75,&$/6833/,(6725$1*(
Leak testing of the appliance shall be conducted according to the
,QVWDOODWLRQ ,QVWUXFWLRQV provided with the ange.
FigXUH 19
Do not use a flame to check for gas leaks.
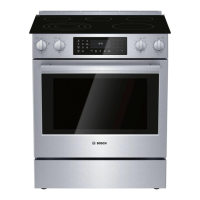
C219(57,1*:$,67-H,*+ B52,/(5B851(5 O5,),&(
Open the oven door.
Locate the broiler burner spud and turn down until snug against the LP/Propane
metering pin. Do not overtighten (ig 19).
1RWH)RURSHUDWLRQDWHOHYDWLRQVDERYHIWDSSOLDQFHUDWLQJVKDOOEH
UHGXFHGDWWKHUDWHRISHUFHQWIRUHDFKIWDERYHVHDOHYHO
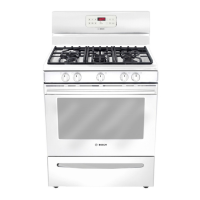
6. T(67,1*685)$&(%851(56 729(5,)<,)LOW” 6(77,1*
0867%($'-867('
Push in and turn control to LITE until burner ignites.
ush in and quickly turn knob to LOWEST POSITION.
f burner goes out, reset control to OFF.
. Remove the surface burner control knob.
. Insert a thin-bladed screwdriver into the hollow valve stem and engage the slotted
screw inside. Flame size can be increased or decreased with the turn of the screw.
Turn counterclockwise to increase flame size. Turn clockwise to decrease flame size.
(See 20 & 21).
Adjust flame until you can quickly turn knob from LITE to ithout
extinguishing the flame. Flame should be as small as possible without going out.
FigXUH 20
FigXUH 21