Installation 41/60
RE 92703-01-B/04.2018, A10VO, A10VSO, A10VNO, A10VSNO Series 52 and 53, Bosch Rexroth AG
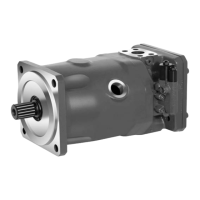
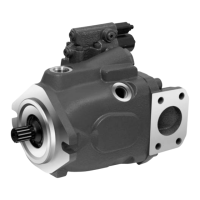
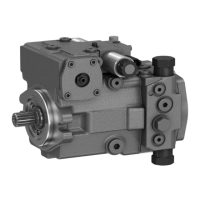
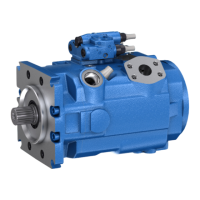
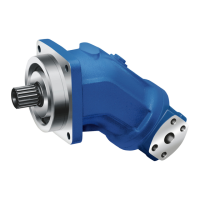
7.4.10 Electrically connecting the axial piston unit
NOTICE
Short circuit due to penetrating hydraulic fluid!
Fluid can penetrate the product and cause a short circuit!
▶ Do not install axial piston units with electric components (e.g. electric controls,
sensors) in a reservoir below the fluid level (inside-reservoir installation).
The machine/system manufacturer is responsible for the layout of the electric
control.
Electrically controlled axial piston units must be connected in accordance with the
electrical circuit diagram for the machine/system.
For axial piston units with electrical control and/or mounted sensors, please comply
with the details given in data sheet 92703, 92735, 92741 and 92709 e.g.:
• Permissible voltage range
• Permissible current
• Correct pin assignment
• Recommended electrical control units
Exact details on the connector, type of protection and matching mating connector
can also be found in data sheet 92703, 92735 and 92741. The mating connector is
not included in the scope of delivery.
1. Switch off the power supply to the relevant system component.
2. Electrically connect the axial piston unit (12 or 24V). Before connecting, check
that the connector, including all seals, is intact.
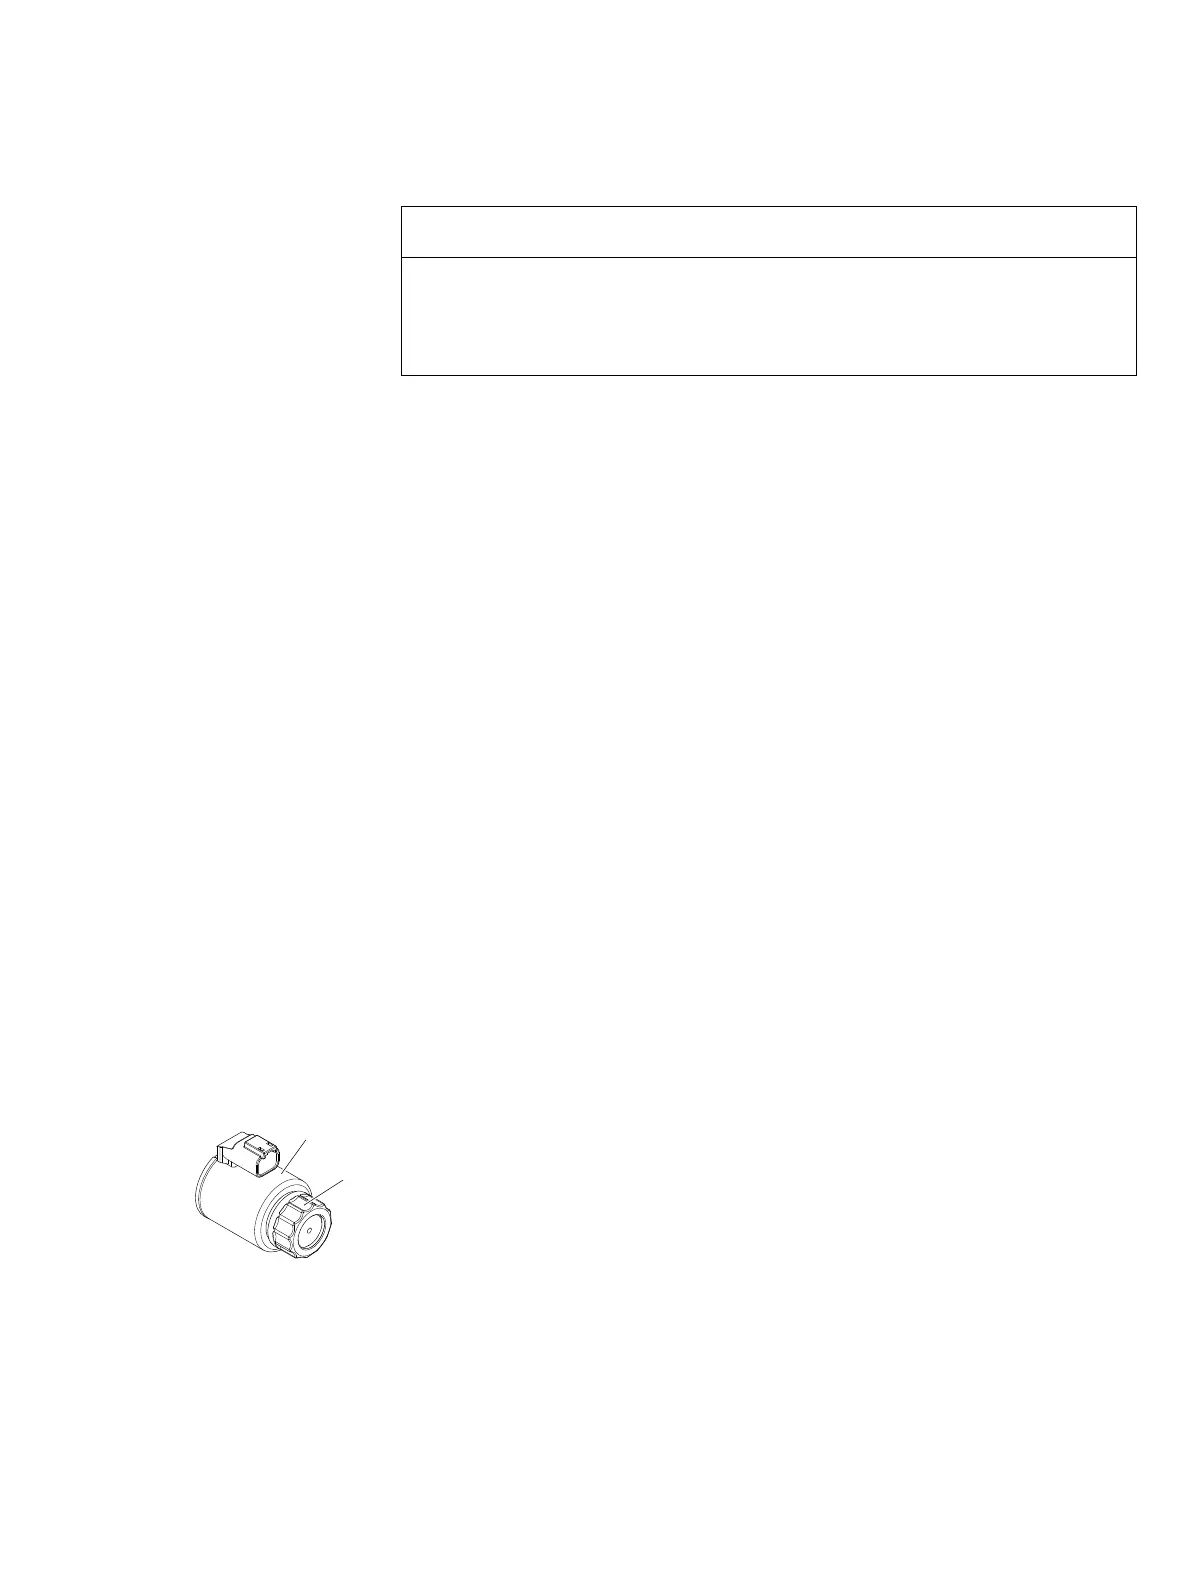
If necessary, you can change the position of the connector by turning the solenoid
body. This is independent of the connector version.
CAUTION! Hot surfaces on the solenoid!
Risk of burns!
▶ Allow the solenoid to cool down sufficiently before touching it.
▶ Wear heat-resistant, protective clothing, e.g. gloves.
To do this, proceed as follows:
1. Loosen the mounting nut(1) of the solenoid. To do this, turn the mounting
nut(1) one turn counter-clockwise.
2. Turn the solenoid body(2) to the desired position.
3. Re-tighten the mounting nut. Tightening torque of the mounting nut: 5 + 1Nm.
Changing connector
position
1
2
 Loading...