deSetting up and connecting
adjacent worktop, which is firmly
connected to the neighboring
cupboards.
1.Follow the safety instructions.
→
page 4
4 Set up and
Connect
To ensure proper operation, connect
the device to electricity and water
properly. Please note the required
criteria and the assembly
instructions.
2.Follow the instructions for electrical
connection.
3.Check the scope of delivery and
the condition of the device.
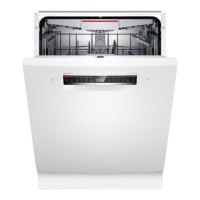
4.1 Scope of delivery
4.The required installation dimensions can be
found in the assembly instructions.
After unpacking, check all parts for
transport damage and that the
delivery is complete.
If you have any complaints, please
contact the retailer where you
purchased the device or our customer
service.
5.Set up the device horizontally using
the adjustable feet.
Make sure you have a secure footing.
6.Install the wastewater connection.
→
page 12
7.Install the drinking water
connection. →
Page 13
A notice:The device was checked at the
factory to ensure that it is working
properly. This may leave water stains
on the device. The water stains
disappear after the first rinse.
8th.Connect the device to power.
4.3 Waste water connection
Connect your device to a wastewater
connection so that water
contaminated by the rinse cycle can
drain away.
The delivery consists of: ¡
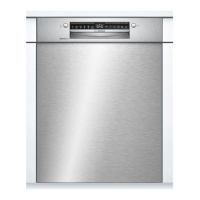
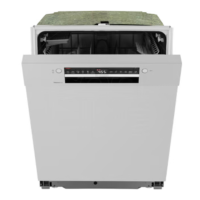
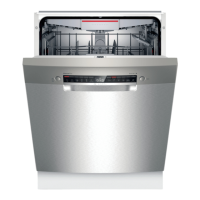
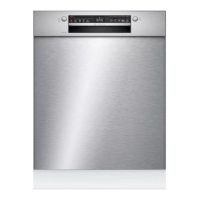
dishwasher
¡Instructions for use
¡assembly Instructions
¡Further information documents ¡
Mounting material
¡Steam protection plate
¡Salt filling aid funnel ¡
Power cord
¡quick start Guide
Install waste water connection
1.Please refer to the assembly
instructions provided for the
necessary steps.
2.Connect the waste water hose to
the drain connection of the siphon
using the included parts.
4.2 Set up and connect the
device
3.Make sure that the drain hose is not
kinked, crushed or twisted.
You can install your under-counter
device or integrated device in the
kitchen unit between wooden walls
and plastic walls. If you subsequently
set up your device as a free-standing
device, you must secure your device
against tipping over, e.g. B. through
screw connections on the wall or
through installation under a
4.Make sure that there is no cover in
the drain that prevents the waste
water from flowing out.
12
 Loading...