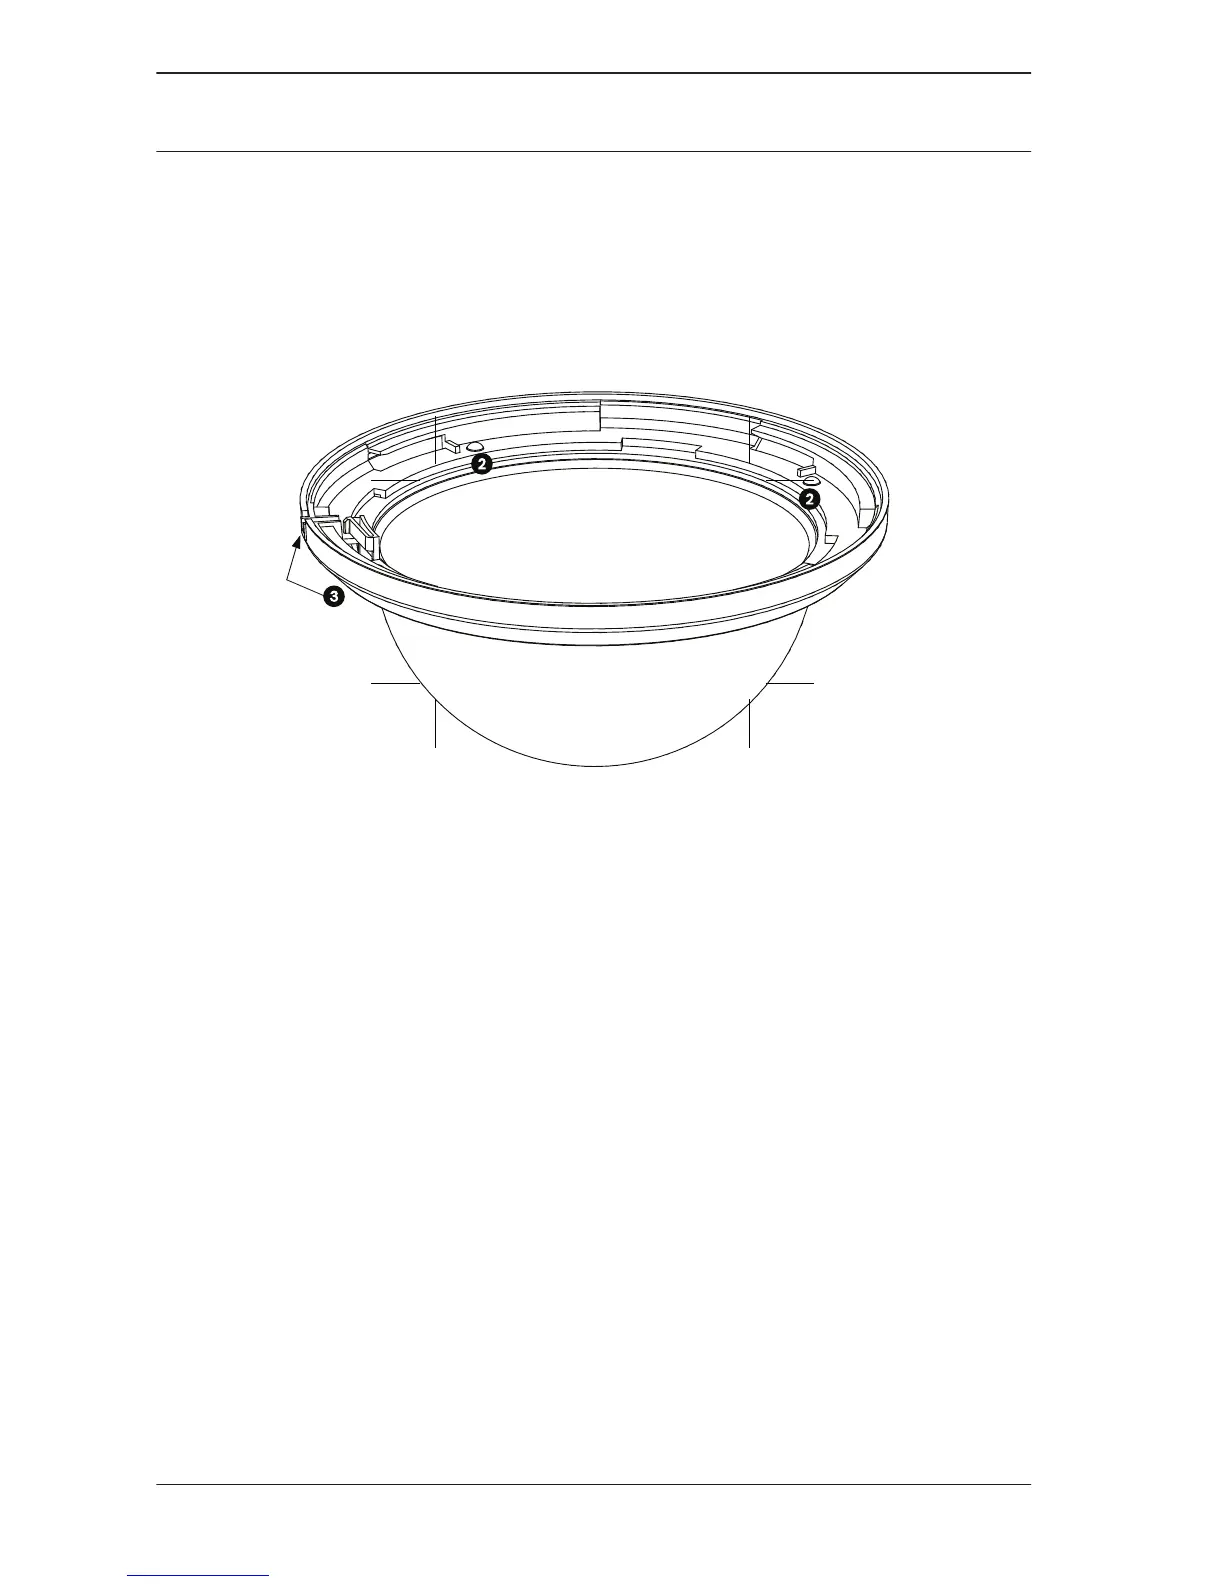
3. Turn the bubble and trim ring assembly over so that you
see the inside of the assembly.
4. Remove the four Phillips screws (item 2 below), using a P1
Phillips screwdriver, that connect the bubble to the trim
ring and set aside for later use.
5. Remove the inner trim ring and remove the old bubble from
the trim ring.
6. Insert the replacement bubble into the outer trim ring and
align the tabs on the bubble with the slots on the outer trim
ring.
7. Place the inner trim ring over the bubble and align the lock
screw slot on the inner ring with the lockscrew slot on the
outer trim ring (item 3, above).
8. Secure the inner ring to the outer ring using the four
screws removed earlier.
9. Clean the bubble according to the instructions in Cleaning,
page 7.
10. Place the replacement bubble and trim ring assembly onto
the in-ceiling housing, and rotate it clockwise approximately
1/4 turn until it stops. Then tighten the lock-screw.
14 en | Replacing an AUTODOME Bubble
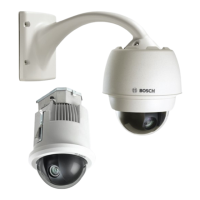
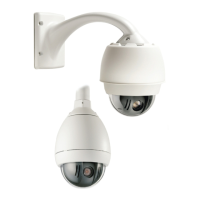
AUTODOME Bubble
Replacement (VG4, VG5,
or 7000 Series)
2013.06 | 2.1 | F.01U.288.194 Bosch Security Systems, Inc.