7. Clean the bubble according to the instructions in Cleaning,
page 7.
8. Place the replacement bubble onto the in-ceiling housing,
and rotate it clockwise approximately 1/4 turn until it
stops. Then tighten the lock-screw.
Replacing an In-ceiling HD Acrylic Bubble
Notice!
The following instructions are for bubbles VGA-BUBHD-CCLA
and VGA-BUBHD-CTIA.
1. Loosen the lockscrew (item 1, below) in the trim ring using
a P1 or smaller Phillips screwdriver until the bubble can
rotate freely.
2. Then rotate the bubble counterclockwise approximately 1/4
turn until it releases from the in-ceiling housing.
3. Clean the bubble according to the instructions in Cleaning,
page 7.
4. Place the replacement bubble onto the in-ceiling housing,
and rotate it clockwise approximately 1/4 turn until it
stops. Then tighten the lock-screw.
3.3
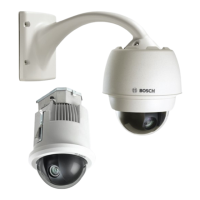
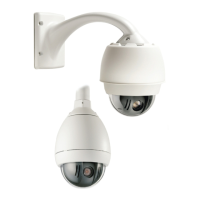
16 en | Replacing an AUTODOME Bubble
AUTODOME Bubble
Replacement (VG4, VG5,
or 7000 Series)
2013.06 | 2.1 | F.01U.288.194 Bosch Security Systems, Inc.