Replacing an In-ceiling Acrylic Bubble
Notice!
The following instructions are for bubbles VGA-BUBBLE-CCLA
and VGA-BUBBLE-CTIA.
These bubbles come assembled with a white trim ring. An
optional black trim ring is supplied. To replace the white trim
ring, follow steps 3 – 6. Otherwise, skip from step 2 to step 7.
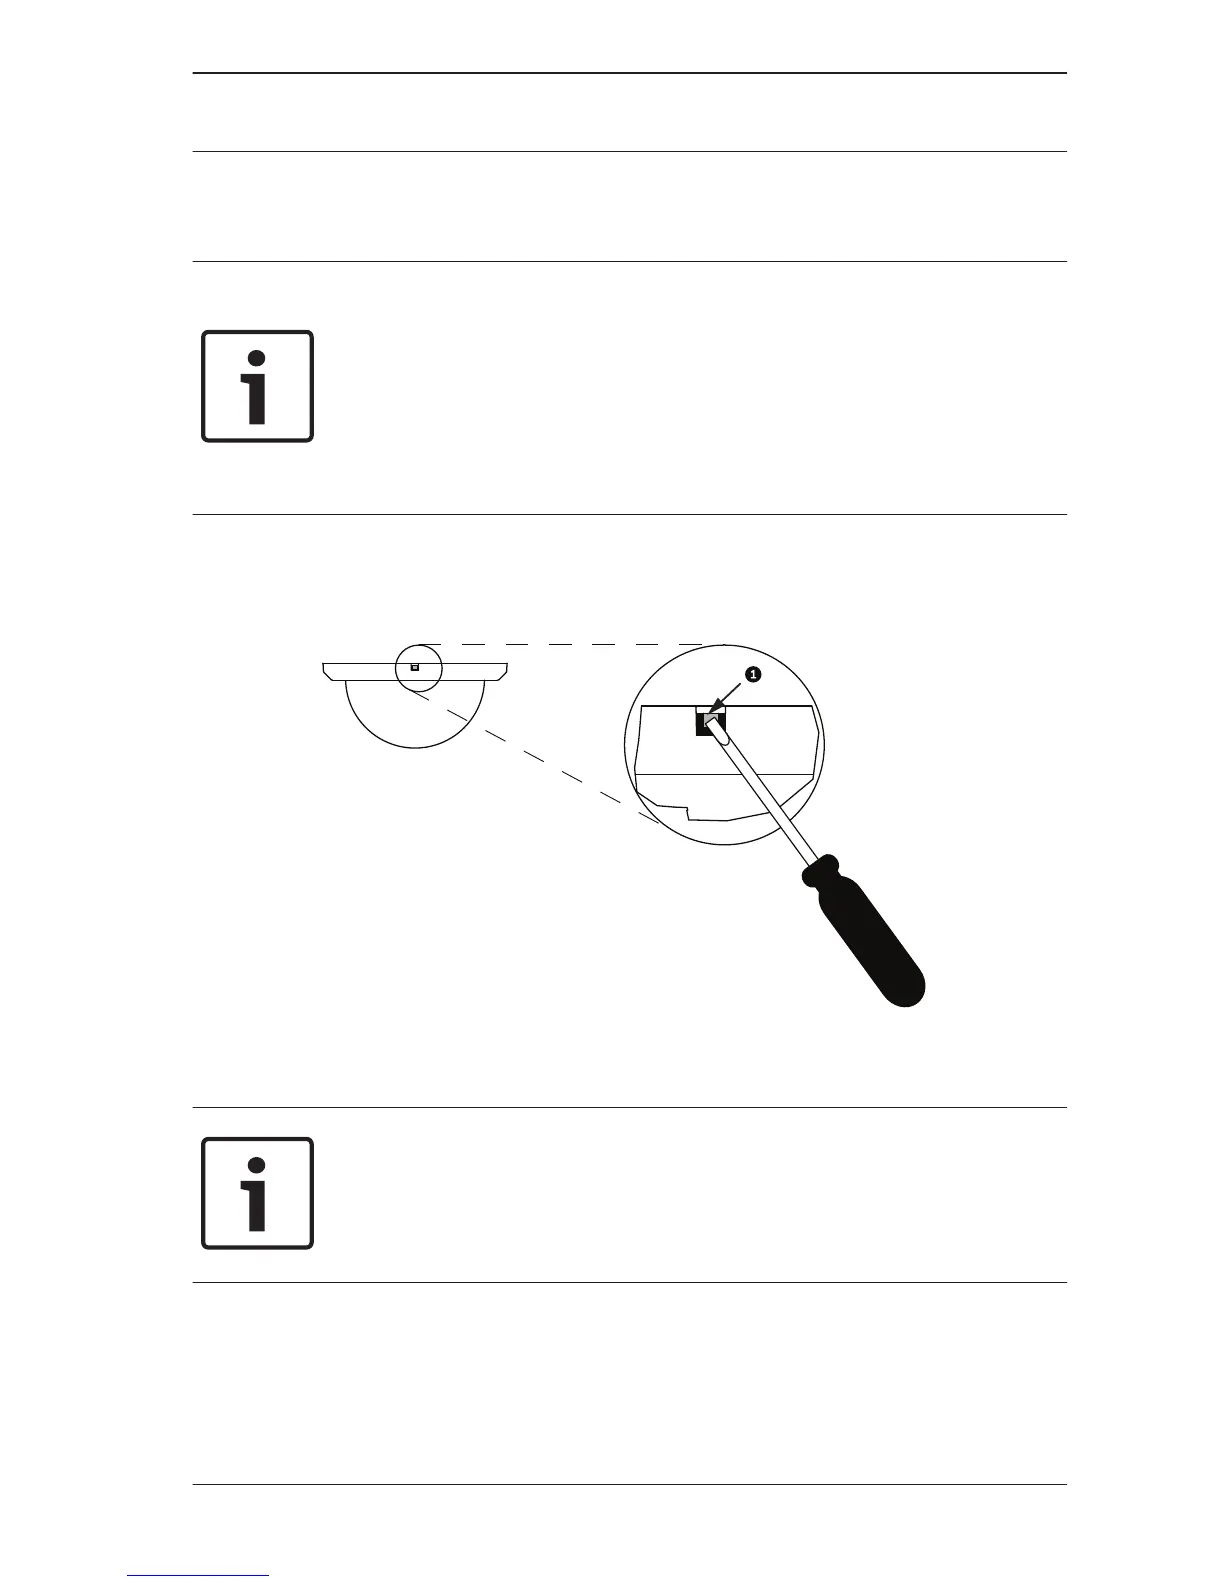
1. Loosen the lockscrew (item 1, below) in the trim ring using
a P1 or smaller Phillips screwdriver until the bubble can
rotate freely.
2. Then rotate the bubble counterclockwise approximately 1/4
turn until it releases from the in-ceiling housing.
Notice!
The following four (4) steps are for replacing the trim ring.
These steps are optional. If you are not replacing the trim ring,
skip to step 7.
3. Remove the five (5) Phillips head screws from the inner
ring.
4. Remove the white trim ring.
5. Place the black trim ring over the inner ring.
6. Replace and tighten the five (5) screws.
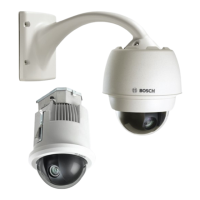
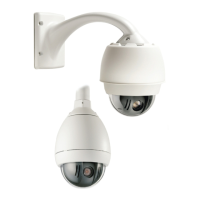
3.2
AUTODOME Bubble
Replacement (VG4, VG5,
or 7000 Series)
Replacing an AUTODOME Bubble | en 15
Bosch Security Systems, Inc. 2013.06 | 2.1 | F.01U.288.194