34
TEST PROCEDURE
2. Line Input / Output Verication Tests
Refer to the Connections and Controls diagram on the previous page for the following tests.
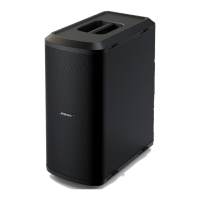
2.1 Connect the G1/G2 bass module to the power stand using the SubMatch cable. Connect the AC
power cord to the power stand and to AC Mains. Press the STANDBY button to turn on the power
stand. The button should illuminate white. Press the Standby button to power on the bass module. It
should illuminate white.
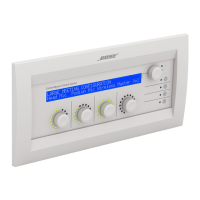
2.2 On the power stand, set the channel 1 volume control (1) to 50%. Set the Channel ToneMatch
button (4) and the Mute button (3) to OFF.
2.3 Apply a balanced, 115mV, 40 Hz audio signal to the Channel 1 1/4” TRS audio input (5). Verify
that the Signal/Clip LED is lit green.
2.4 Sweep the input frequency between 40 Hz and 2 kHz. Sweep the input frequency three times.
Listen for any buzzes, air leaks or other extraneous sounds from the bass module.
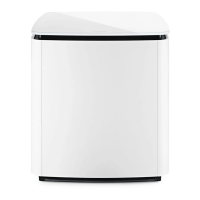
2.5 Turn o the bass module and the power stand by pressing the STANDBY button. Verify that the
button’s LED is not lit. Disconnect the SubMatch cable from the bass module and slide the G1/G2
AC slide door to the left. Connect an AC Mains cable to the IEC connector and press the STANDBY
button to power on G1/G2.
2.6 Apply a balanced, 100mV (Sub1) or 160mV (Sub2), 40 Hz audio signal to the Line In 1 1/4” TRS
audio input (2). Sweep the input frequency between 40 Hz and 250 Hz, turning volume knob between
minimum to mid-position. Sweep for 3 cycles, 3 seconds per cycle. Listen for any buzzes, air leaks or
other extraneous sounds from the bass module. Repeat this test for the Line In 2 input.
3. Line Output Tests
3.1 Apply a balanced 150mV, 100 Hz audio signal to the Line In 1 input. Measure the output level at
the Line Out 1 connector. It should be -16.5dBV +/- 2dB.
3.2 Change the input frequency to 40 Hz. Measure the output level. It should be -16.5dBV +/-3dB.
3.3 Change the input frequency to 250 Hz. Measure the output level. It should be -16.5dBV +/-3dB.
3.4 Repeat steps 3.1 to 3.3 for the Line In 2 input. Measure the output at the Line Out 2 connector.
4. Output Polarity and Cardioid Test
Note: These tests simply verify that the LED’s light correctly when the Phase/Pattern button
is pressed sequentially. You will not be able to hear a dierence in phase/pattern in a repair
environment.
4.2 Press the Phase/Pattern button to change output polarity to minus (-). Verify that the minus (-)
LED lights.
4.3 Press and hold the Phase/Pattern button for 4 seconds to activate Cardioid output mode.
Verify that the Cardioid LED lights.