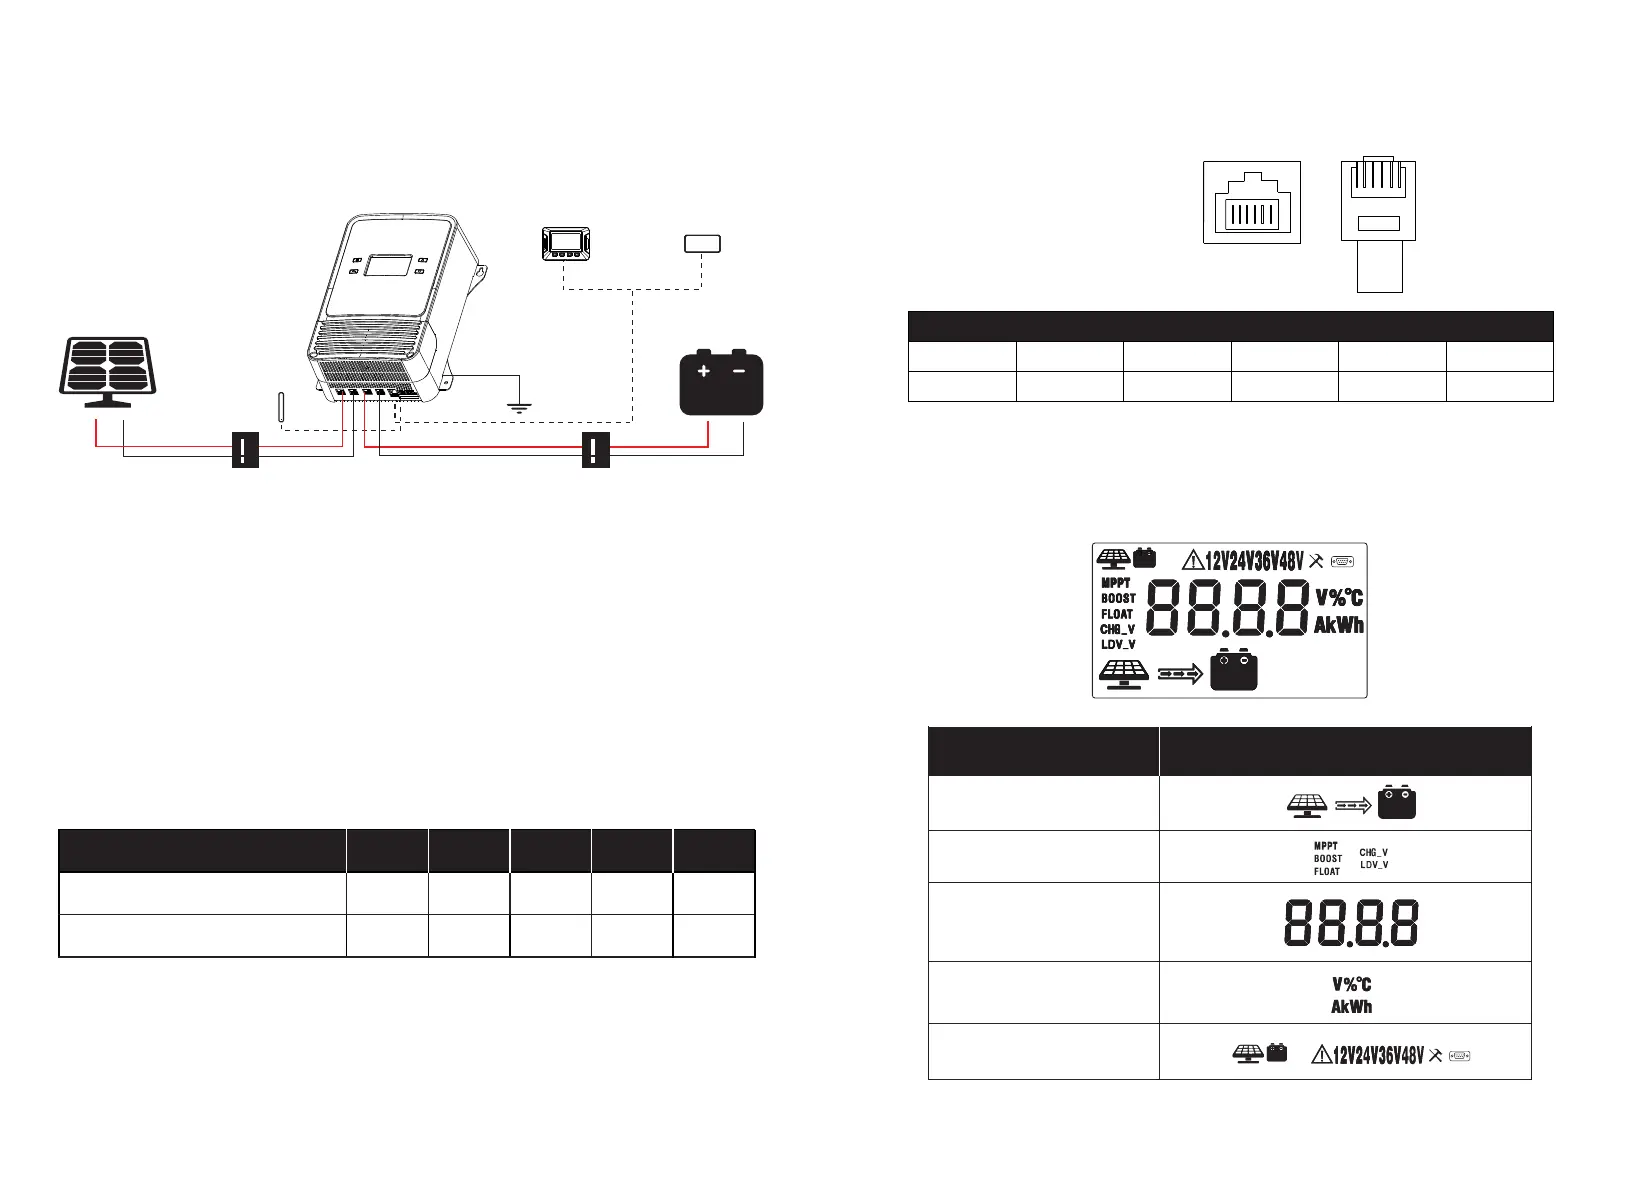
08 09
VDD
PIN-1
VDD
PIN-2 PIN-3 PIN-4 PIN-5 PIN-6
GND GND
D- D+
① ⑥
①
⑥
RS485 PIN (RJ12)
8. RS485(RJ12), the protocol supports
Modbus-RTU16
Data baud rate: 9600 bps
Data bits: 8 bits
Parity check bit: None
Stop bit: 1 bit
*Supports 3.3V power supply with a supply current of 20mA.
For detailed reference, please check the Modbus protocol.
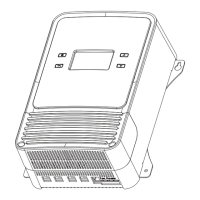
9. LCD Display Interface Overview
Active Functions
Parameter
Display Section Display Layout
Unit
Charge Status
Charge & Set Mode
Step 1: Connect the battery, and it is recommended to choose the suitable wires
according to the actual situation.
Step 2: Connect the solar panel or other DC input sources.
During installation of your MPPT controller, please follow the order of connection
below:
7. Wire Connection Sequences
Note: When connecting the wires, first use a screwdriver to loosen the terminal counterclockwise,
insert the prepared wire, and then tighten it clockwise again.
DC Breaker
Grounded
LCD
Display
Bluetooth
Module
DC Breaker
Solar Input Current 20A
Wire Cross Section Area (mm²) 4
Wire AWG 11
40A
8
8
60A
12
6
80A 100A
16
5
20
4