66
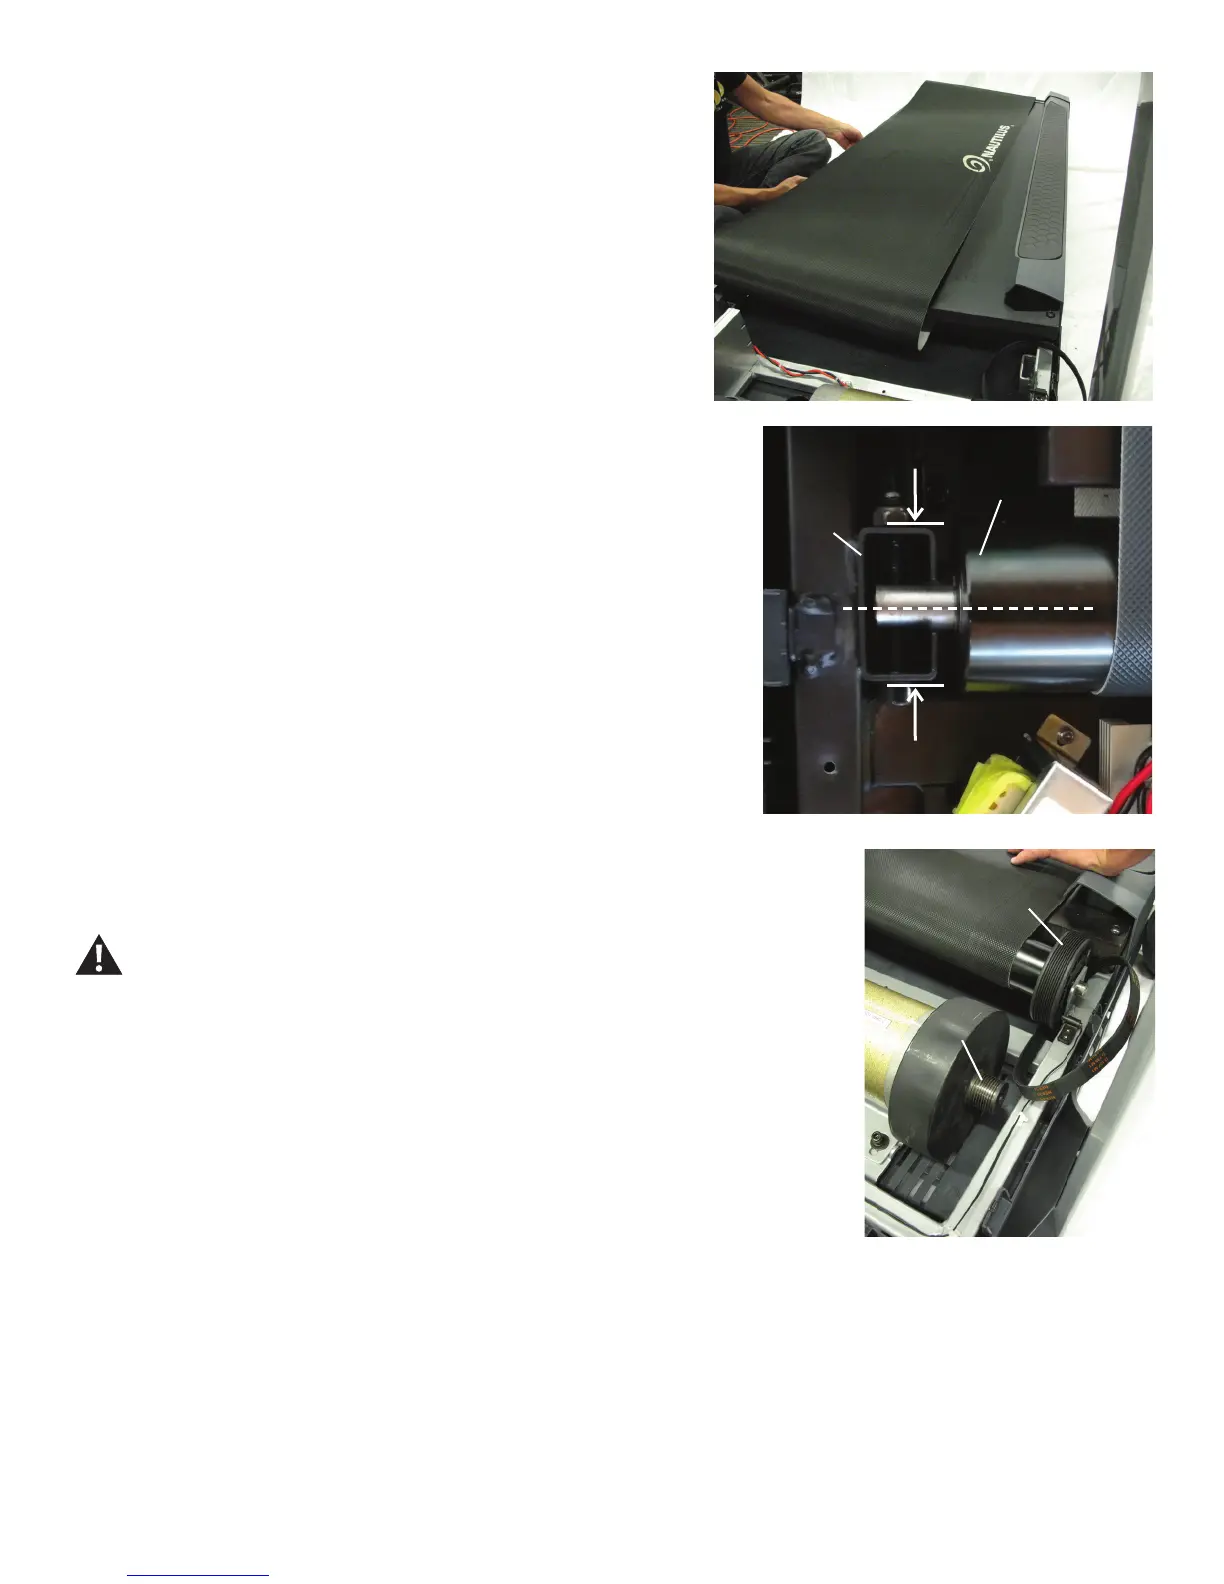
Drive Pulley
Motor Pulley
26. Slide the old Walking Belt off of the Deck, and replace with a new Walking Belt.
27. Slide the Front Roller into the new Walking Belt in the same orientation.
28.Usinga6mmhexwrench,re-attachtheAdjustmentBolttotheRearRoller.
Note: Be sure to only tighten it the number of turns it took to loosen the Walking
Belt.
29.Usinga6mmhexwrench,re-installthe2screwstotheDeck.
30. Loop the Drive Belt around the Front Roller. Insert the end of the Front Roller
with the Drive Pulley into the Frame and pivot the other end into the Bracket.
31.Usinga6mmhexwrench,attachtheFrontRollertotheBracket.
Note: Tighten the hardware until the Front Roller is centered in the Bracket.
32. Loop the new Drive Belt around the Motor Pulley. Start the Drive Belt on the
Drive Pulley and roll it in a clockwise motion. Be sure the Belt does not come off of
the Motor Pulley.
Keep ngers out of any pinch opportunities when turning the Pulleys.
33. Roll the Drive Pulley clockwise until the Drive Belt is fully installed. Continue to
rolltheBeltforwardwhileaddingsidepressurewithngerstoalignasnecessary.
34. With the Motor Assembly loosely attached to the Frame, turn the Belt Tensioner
Screw to the previous level. This will tighten the Drive Belt to the previous tension
level.
35.Usinga6mmhexwrench,fullytightenthescrewsthatattachtheMotorMount
to the Frame.
36. Inspect the Speed Sensor to see if it has been moved during the procedure. If
necessary, adjust it to be the appropriate distance from the Drive Pulley.
37. Re-install all remaining parts that were removed in reverse order.
Note: Make sure the treadmill is located on a surface that is easy to clean.
Bracket
Front Roller