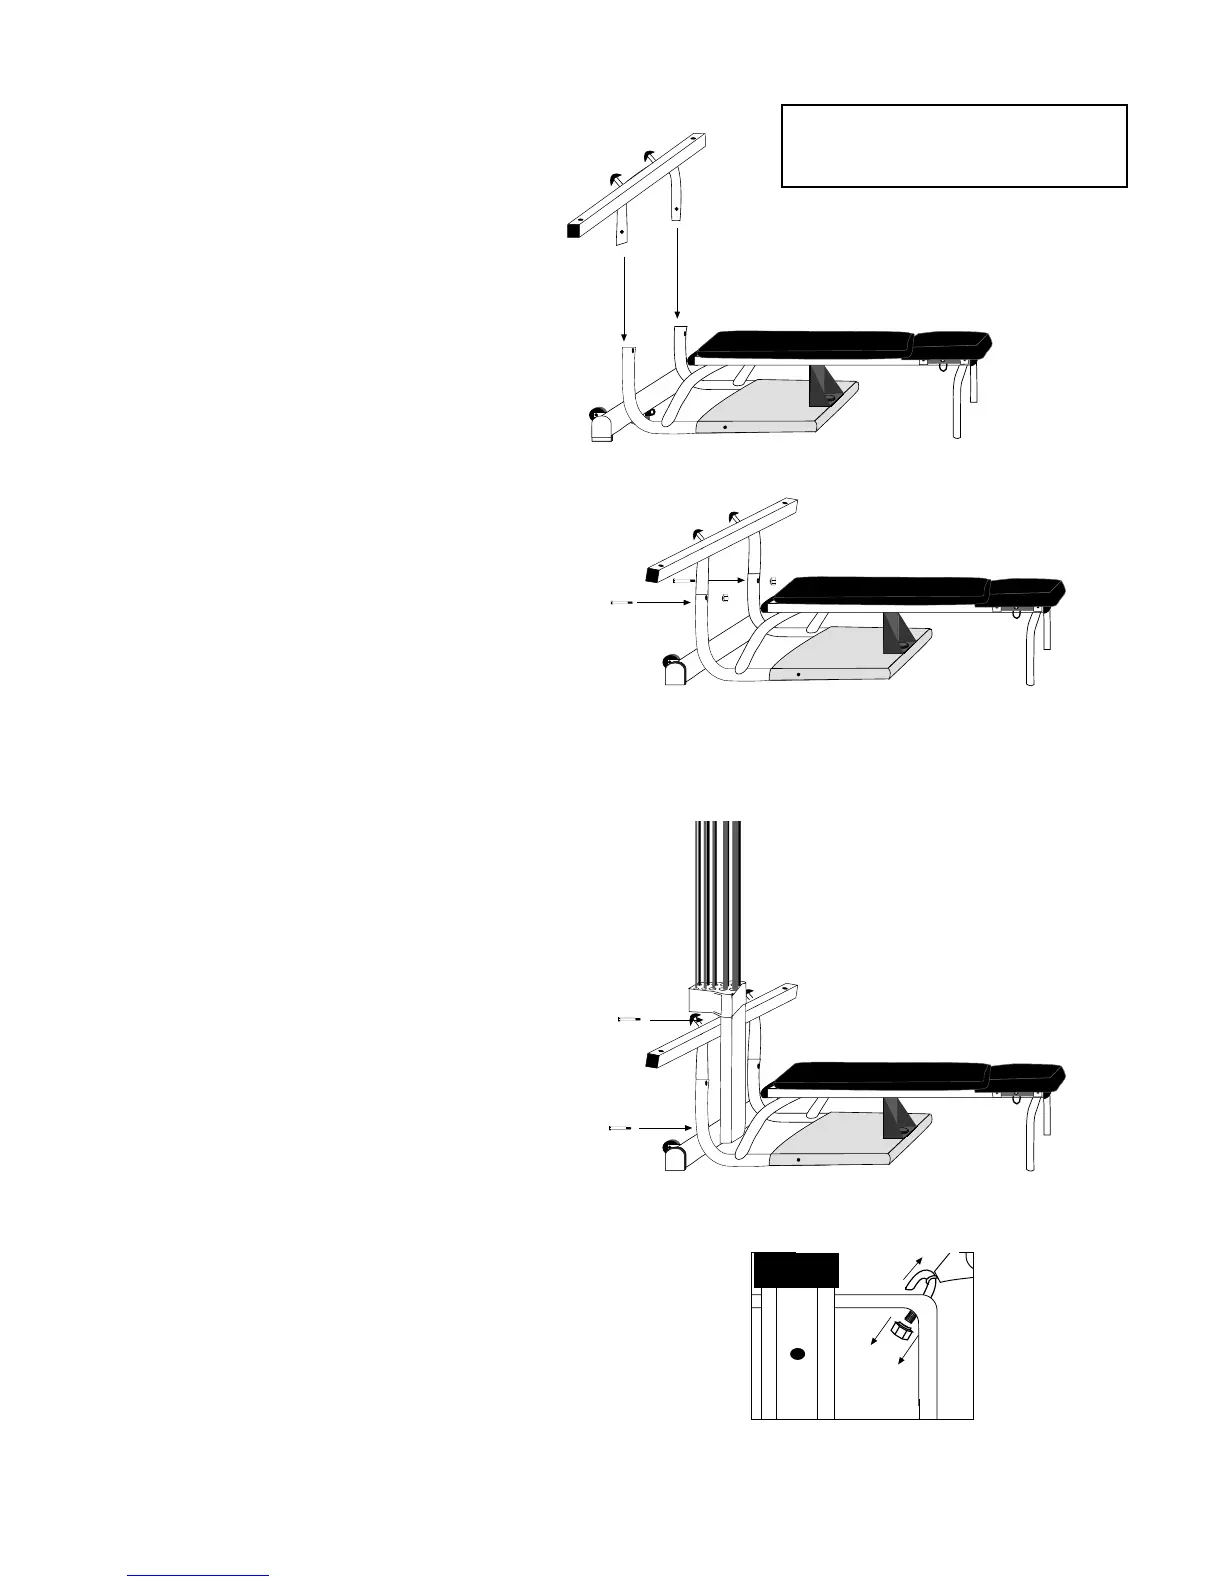
Step 5:
Position your Chest Bar upright and insert
to the machine frame where you just
removed the U-Bar.
Step 6:
Line up holes on machine and Chest Bar.
Using the nuts and bolts that you previously
removed in Step Two, attach Chest Bar
to machine frame. Tighten securely.
Step 7:
Replace the Vertical Main Frame with Rod
Pack that you removed in step two. Secure
with bolts that were set aside.
Step 8:
Find existing pulley on U-Bar that you
removed. They are connected to frame
using a J-Bolt and a Nylon Lock Nut.
Remove nut from bolt. When finished
simply pull up J-bolt to remove.
Remove Nylon
Lock Nut
16
Note:
Once you finish installing your chest
bar, go back to page 8, step 4 and continue
assembling your Bowflex.
Components for this assembly
are in a box labeled
Chest Bar Attachment