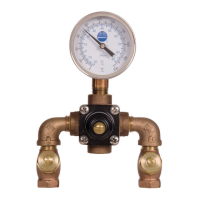
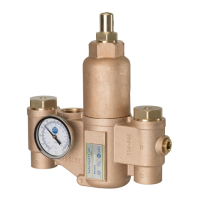
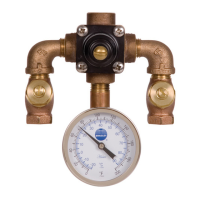
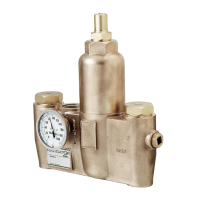
Bradley EFX 8 Thermostatic Mixing Valve with Optional Cabinet
Model S19-2000 Series Installation and Maintenance Instructions
8 Bradley Corporation • 215-1291 Rev. L; EN 07-903A
5/14/08
Thermostatic Mixing Valve Maintenance, continued . . .
Check the thermostat for proper operation
To check the valve’s thermostat for proper operation, follow
the procedures outlined below.
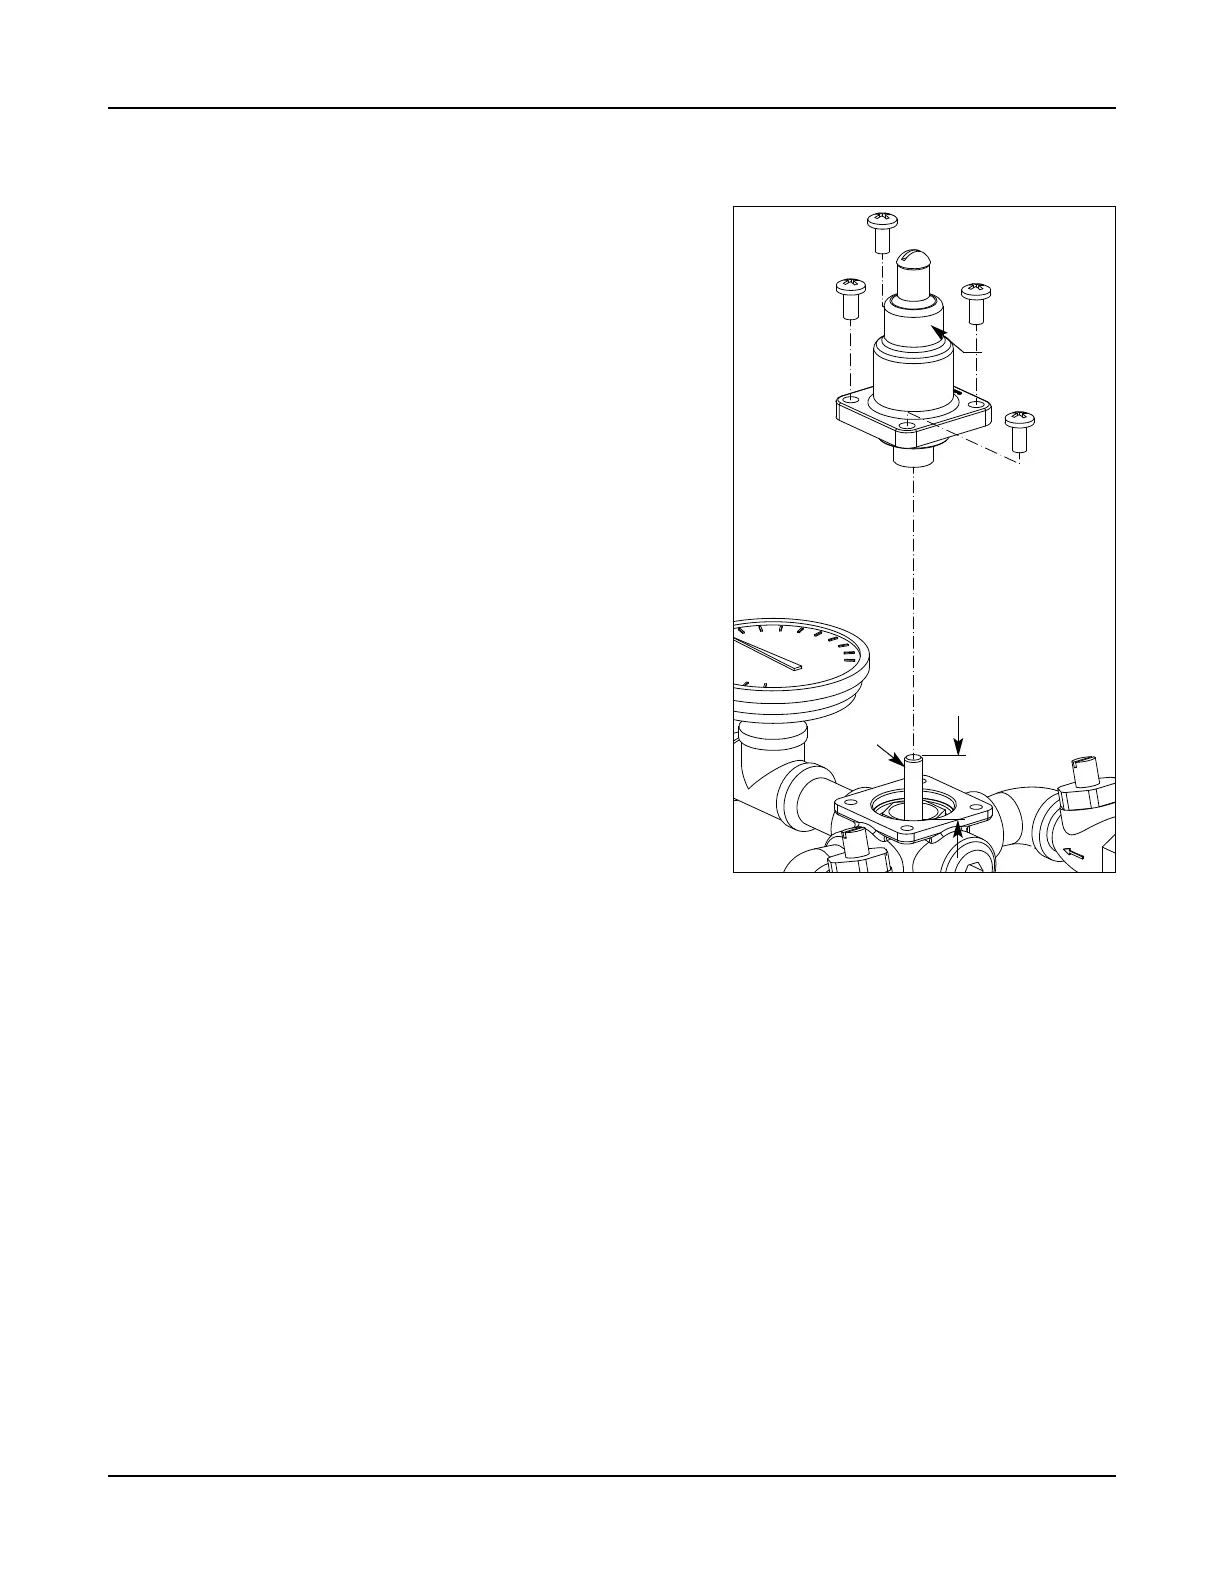
1. Remove the top cap and thermostat (see Figure 5, page 7).
2. Insert a 5/16" dia. rod into the thermostat bellows. Mark
the length of the rod inside the bellows (see Figure 8).
3. Mark the length of the thermostat bellows (at room tempera-
ture, with 10 lb. of force, the bellows length should be
approx. 1-1/4") (see Figure 8).
4. If the thermostat bellows length is not in the proper range,
the thermostat must be replaced (it cannot be repaired).
Contact your Bradley representative and ask for
Thermostat Kit (part number S65-171).
Adjust the temperature
To adjust the valve’s temperature to other than the factory
preset, follow the procedures outlined below.
1. Turn on the water and let it run until at least 3 GPM is
flowing through the valve.
2. Remove the top screw to expose the set screw.
3. Using a 5/32" hex-head Allen key, turn the set screw
counterclockwise to increase the temperature or
clockwise to decrease the temperature.
4. When the adjustment is complete, replace the cover screw
and turn off the water.
Thermostatic Mixing Valve Troubleshooting
Note: Before attempting to troubleshoot the valve or disassemble the components, check for the following
conditions:
• make sure that the stop/check valves are fully open (the slotted stem must extend out approximately
1/4" (6 mm) from the valve cap) (see Figure 1 on page 3) and that all inlet and outlet shut-off valves
are open
• make sure that the hot and cold inlet pipes are connected properly, and that there are no cross-
connections or leaking stop/check valves
• check the hot water heater output to make sure that it is at least 15°F above the set temperature.
Be sure to close the appropriate shut-off valves prior to disassembly of the valve and reopen the valves
after inspection and repair is complete.
Problem: No hot water flow (cold water flow only)
Cause: The thermostat has failed and, subsequently, the safety shut-off has engaged (the shut-off valve has
closed on either the inlets or outlet).
Solution: See “Check the thermostat for proper operation” above and follow the step-by-step procedure.
Bellows length
should be 1-1/8"
to 1-5/16"
Figure 8
TOP CAP &
THERMOSTAT
5/16"
ROD