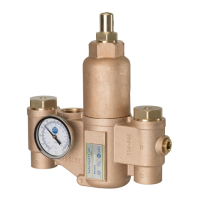
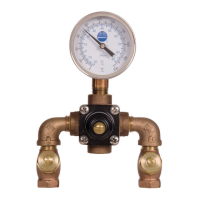
EFX 25/S19-2100
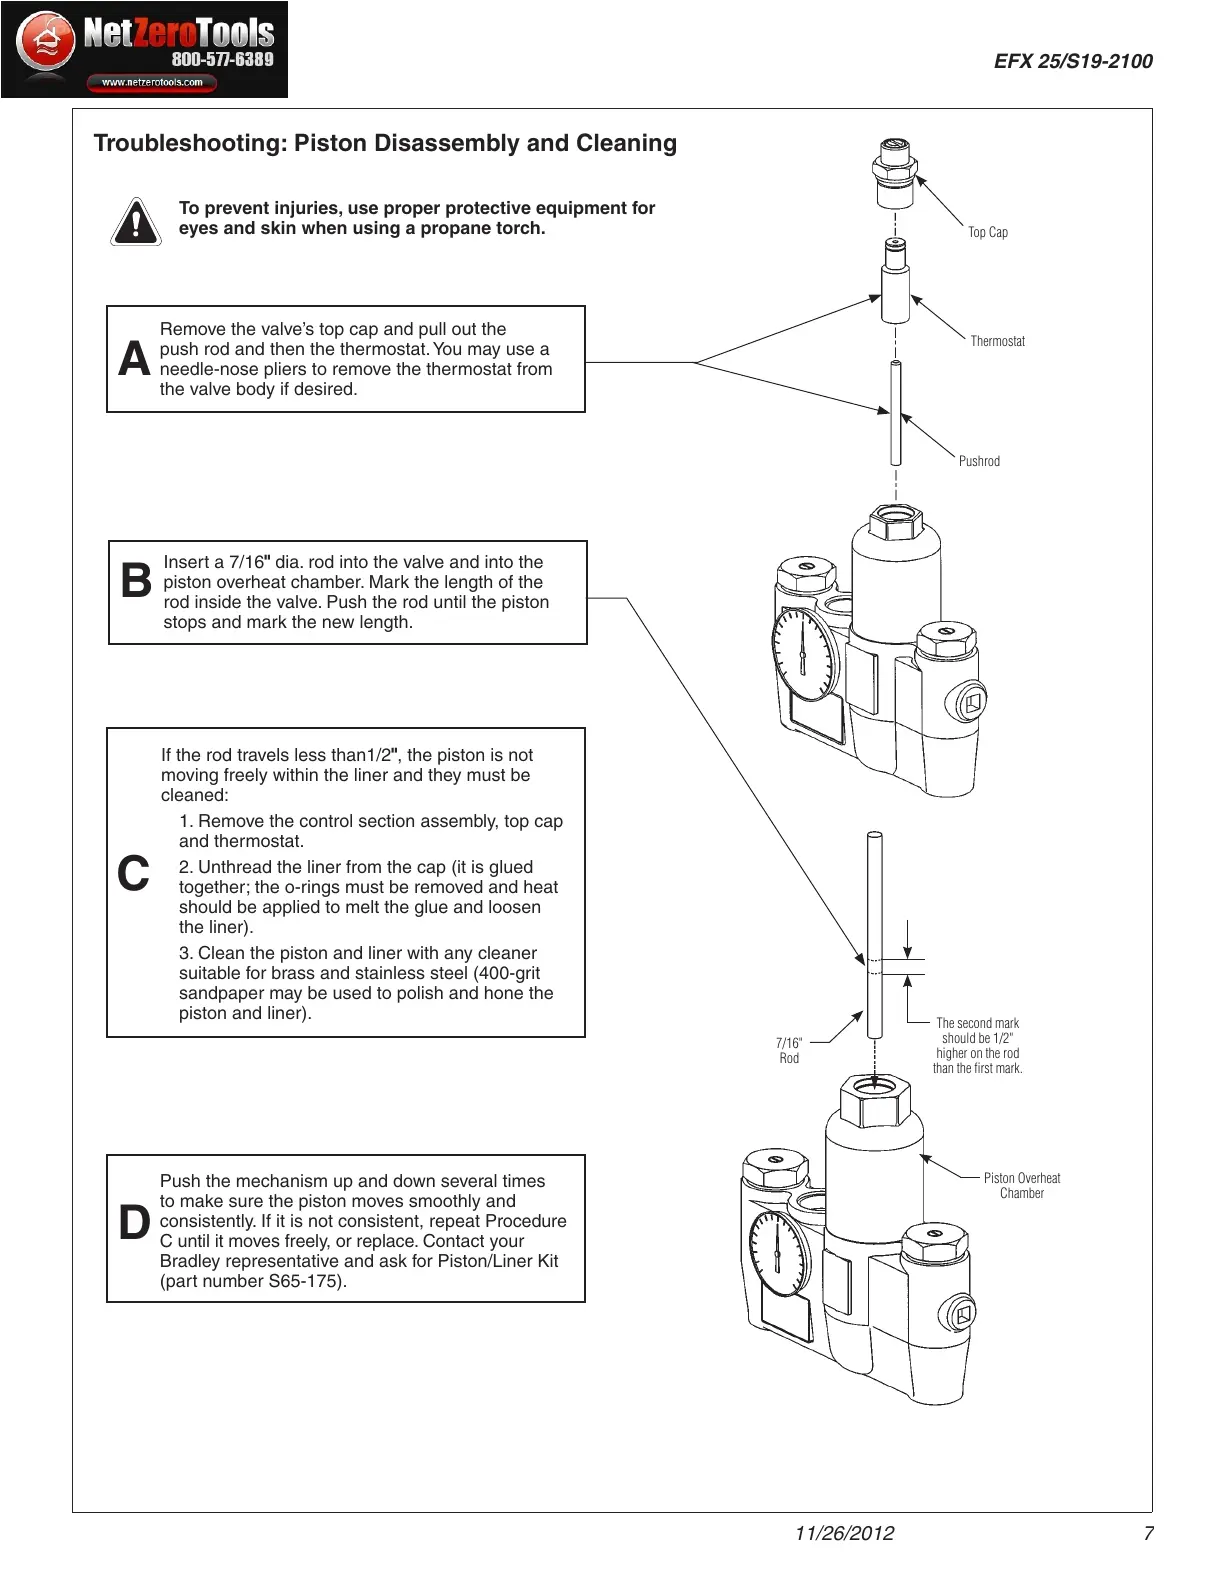
C
If the rod tr
avels less than1/2", the piston is not
cleaned:
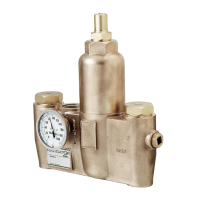
1. Remove the control section assembly, top cap
and thermostat.
together; the o-rings must be removed and heat
should be applied to melt the glue and loosen
the liner).
suitable for brass and stainless steel (400-grit
sandpaper may be used to polish and hone the
piston and liner).
Troubleshooting: Piston Disassembly and Cleaning
To prevent injuries, use proper protective equipment for
eyes and skin when using a propane torch.
Thermostat
Pushrod
Top Cap
7/16"
Rod
Piston Overheat
Chamber
The second mark
should be 1/2"
higher on the rod
than the first mark.
B
Inser
t a 7/16" dia. rod into the valve and into the
rod inside the valve. Push the rod until the piston
D
consistently. If it is not consistent, repeat Procedure
C until it moves freely, or replace. Contact your
(part number S65-175).
A
Remo
ve the valve’s top cap and pull out the
push rod and then the thermostat. You may use a
needle-nose pliers to remove the thermostat from
the valve body if desired.
 Loading...