80 Complete Function Check
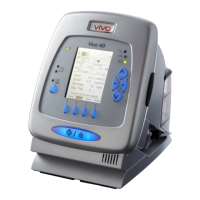
Vivo 40 clinician’s manual
Doc. 003886 En-Us A-1e
9.2 Alarm Check
Prepare the Vivo 40 for the Alarm Test
1
Connect Vivo 40 to the AC power supply and turn it on.
2
Press the Start/Stop button on the front panel. Check that a short sound
signal is heard. Press the Start/Stop button again to switch off the Vivo 40.
3
The Vivo 40 shall be in standby mode (not operating) and the AC LED
(see “The Vivo 40’s Front Panel” on page 24) shall be lit.
4
Adjust the ventilator settings as follows:
Check the Low Leakage Alarm and High Leakage Alarm
5
Connect the patient circuit to a test lung (<1.5 l) and a leakage connector.
6
Enter operating mode by starting the treatment.
7
Block the leakage port.
If an alarm check fails, do not use the Vivo 40 and contact your responsi-
ble service provider for an inspection of the device.
Chapter “Alarms” on page 66 has a detailed description of the alarm functions
used for the Vivo 40.
SETTING VALUE
Mode PCV
IPAP 14 cmH
2
O
EPAP 2 cmH
2
O
Set rate 10 BPM
Inspiration time 1.5 sec
Rise time 4
Inspiration trigger Off
Low pressure alarm 2 cmH
2
O
Low volume alarm 0.05 l
High breath rate alarm Off
Low breath rate alarm 4 BPM
 Loading...